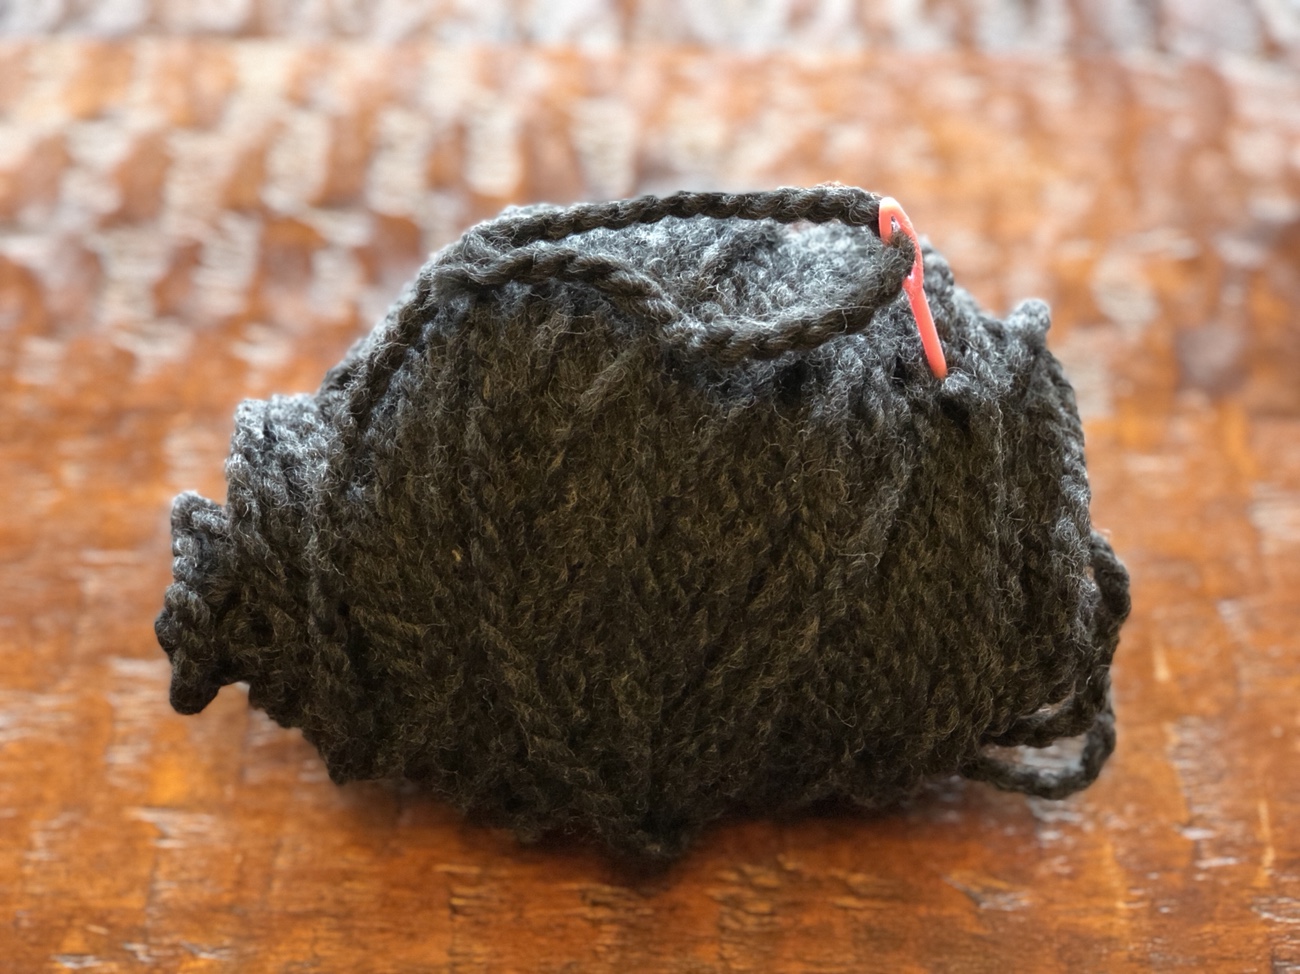
So, I’ve made a few hats on my round looms…and I’ve “frogged” a few, too. You know – rip it, rip it. Actually, after exploring options for adding onto a too-short hat, deciding a slouchy one was just too slouchy, and giving the thumbs-down to the folded-over brims my first hats had (too puffy with the bulky yarn I used), I just unraveled the ones that didn’t make the cut. Re-do time!
Slouchy Hat Rework
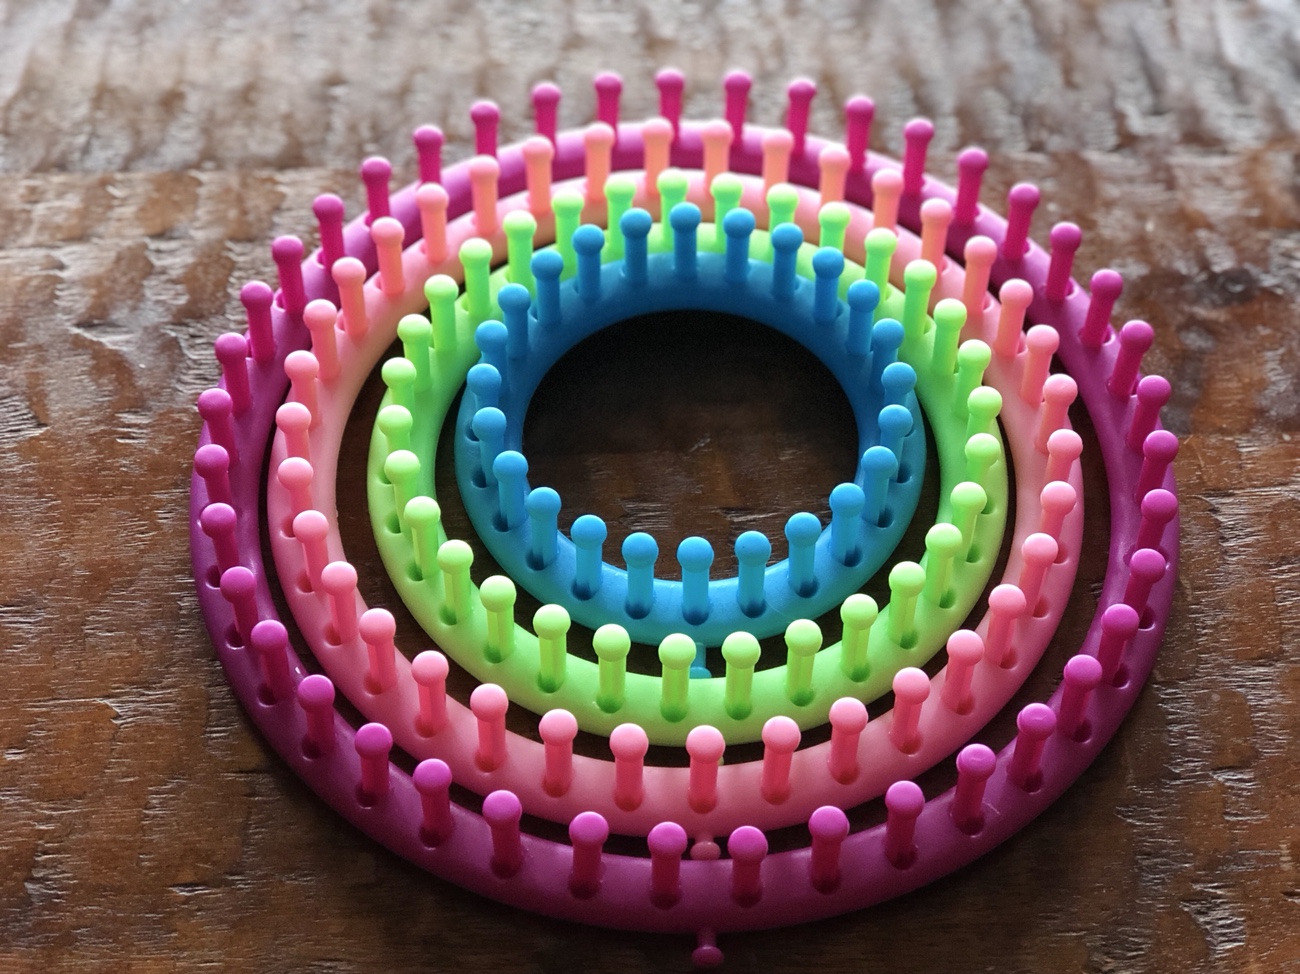
My first hat, I made it on the largest loom (in my set, it’s the purple one) and used the “fold over” brim technique from the instructions. While definitely loose and slouchy – as I wanted – after wearing it a few times, it became clear that it was too loose in the brim area and kept inching down. So I unraveled it and knitted a new hat on a smaller loom (pink).

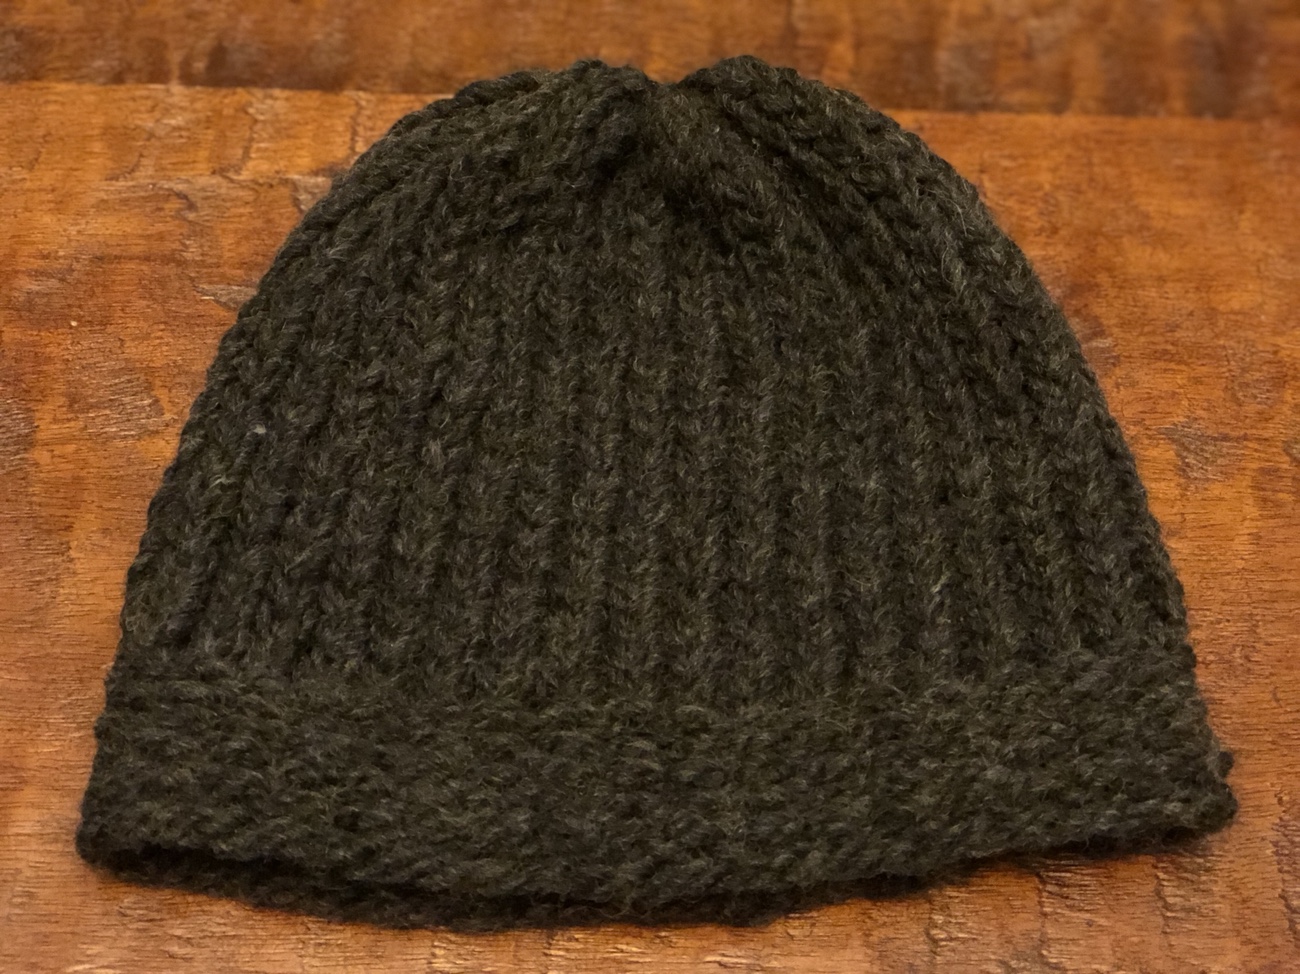
V2.0 allowed me to use my new skills with some different stitches: the purl and the knit. I decided, since this was a hat I’d be wearing, to make a flat brim using alternating purl and knit stitches. It created a tighter knit and was nicely differentiated from the twisted knit stitch that I used for the body of the hat…and it fits perfectly: not too tight or loose. Later, while researching, I found that using alternating rows of purl and knit stitches creates a “garter stitch“, which I had, unknowingly, created by doing the same to practice these new stitches. I love it when things work out that way! I’ll definitely be using this type of ribbing for flat brims again in the future.

Too Short Hat
This one was made with the remnants of yarn left from the three previous hats, and it simply wasn’t enough. I initially thought I might be able to partially deconstruct it by untying the gather at the top, resetting the loops on the loom, and then add a few more rows to lengthen it, but it turned out to be very difficult to get the loops back onto the pegs properly. It was also a pain to try to ensure that I had loops from the same row on the pegs because it all looked the same with the monochromatic yarn. This was the first finished item I unraveled, and while I paused briefly before I took it apart, unraveling items became much easier after the first one. Don’t like it? Undo it and make it again.
Reading Patterns
Christmas comes early this year for me – my new yarn is due to arrive this week! I already have some plans for projects, but I’ve discovered that reading patterns requires a bit of practice; it’s like reading a code, and while there seems to be some generally-accepted conventions for creating patterns, there are still variations to be found among authors.
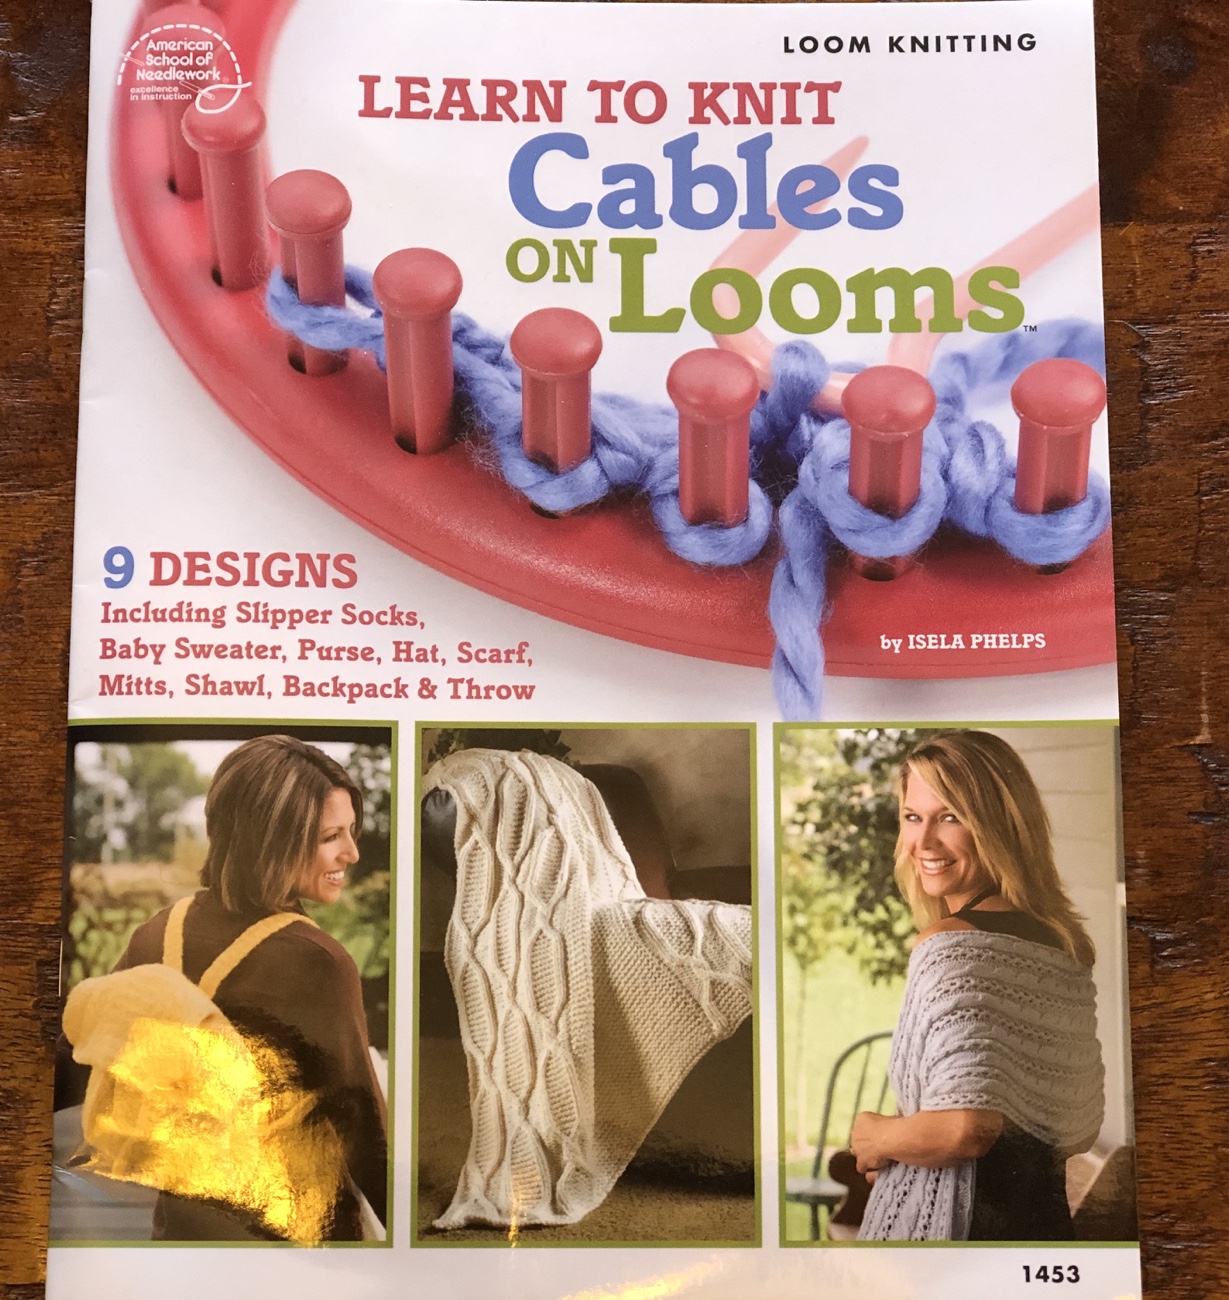
When I first received my book, Isela Phelps’s “Learn To Knit Cables On Looms”, I thought I could jump right in and start making the slipper socks on page 16. Wrong. The book refers to “LT”, “W&T”, and has instructions like “Round 1: *K2, p2; repeat from * to the end of round”. I’ll get right on that.

I realized (later) that these are intermediate patterns, and I’m really at the “beginner” stage, but once I get the hang of reading patterns, sky’s the limit! I’d really like to make some fingerless mittens, and am learning about how to knit flat panels on round looms (now, a pattern that says to use 18 pegs on a 24 peg loom actually makes sense – when I first read that, I thought there was some kind of math problem).
Resources
Are you interested in knitting on round looms? It’s easy to get started, and there are many online resources. Isela Phelps has posted a collection of her helpful tutorials here. I noticed that the link to “Learn to Loom Knit Cables” in that list of publications didn’t load, but this link seems to be working.
I can finally say that I have my ideal hat, and best of all, I made it myself. Sure, it took two iterations, but isn’t that how continuous improvement is supposed to work? It’s been fun and challenging to learn new stitches and how to read patterns, and the perfectionist in me is relieved and gratified when I can simply undo a piece I don’t like and create something better. How often can that be said?
