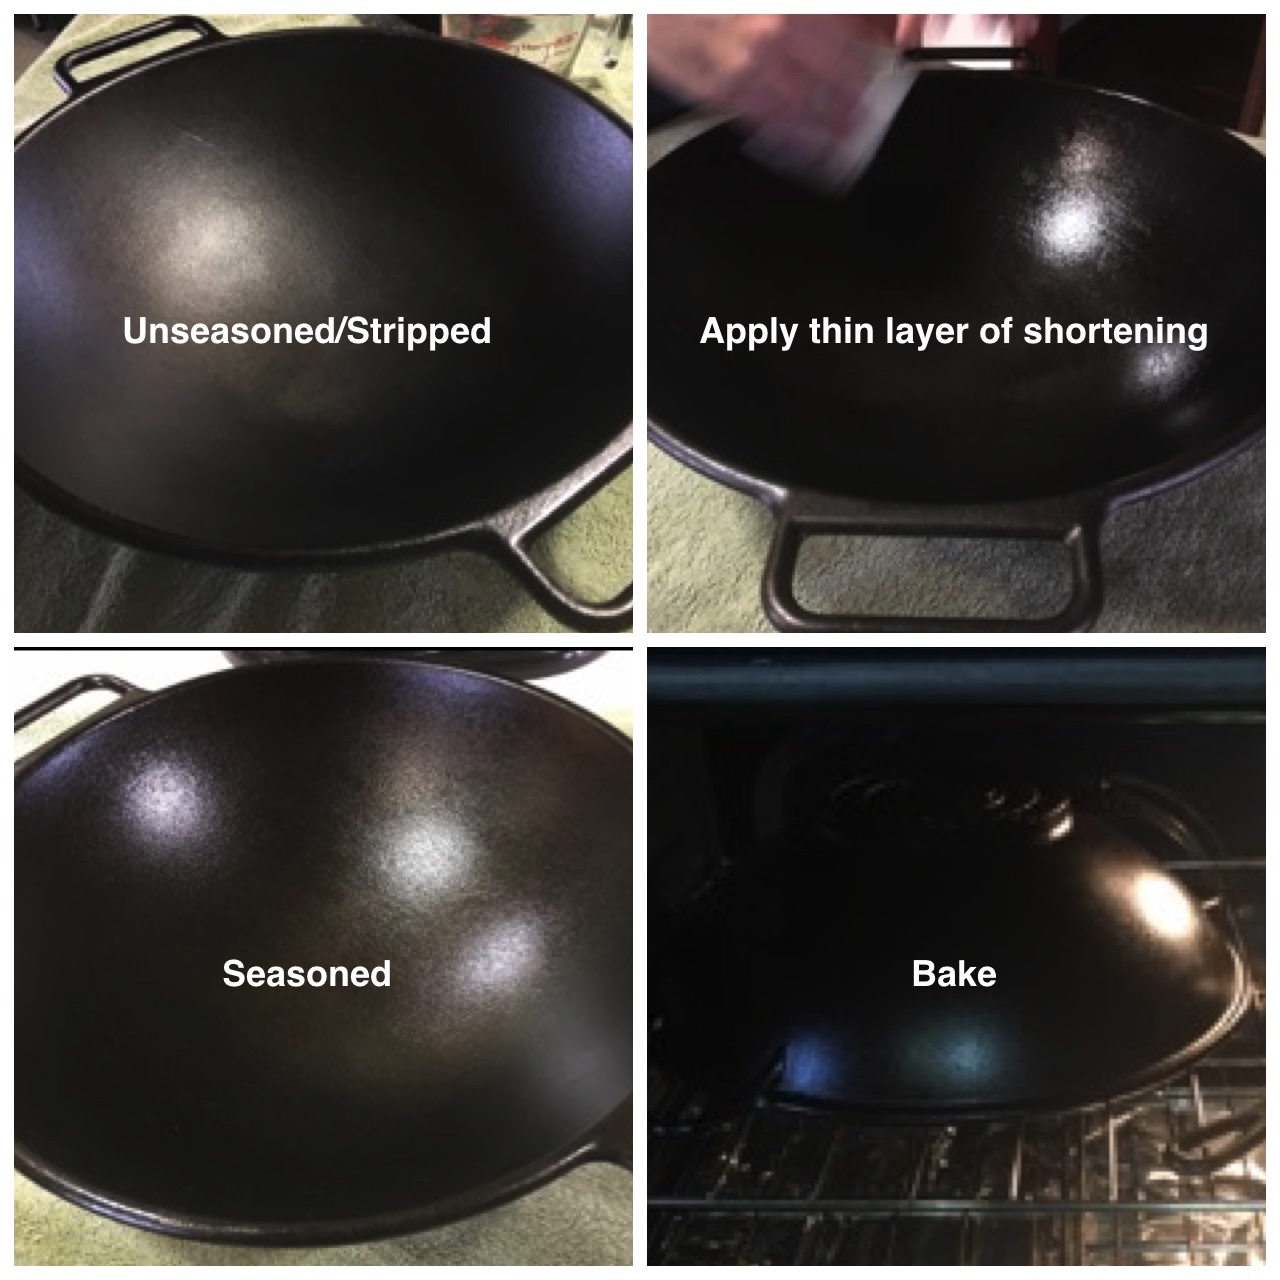
Yesterday, we dug out some cast iron cookware that has been languishing in storage for many moons. It’s made several cross-country moves with us (and you should see the movers’ faces when they spy the tub labeled “cast iron”). Even though the cookware is pre-seasoned, after spending years in a heavy duty tote, it needed to be spruced up and re-seasoned. We found a reversible grill, a large dutch oven, a couple of small dutch ovens, a big wok, and a small skillet. It really is still Christmas!
We started with a really cool (and heavy) cast iron wok and a small skillet. The first step was cleaning the surface of the pans: they were washed with hot water and soap, followed by a steel wool scrubbing. The pans looked oddly dull and lighter in color afterward.
Once clean, the pans were dried thoroughly with a towel and then a light coating of melted organic non-hydrogenated vegetable shortening was applied, including on the bottom of the pan. Note: melting the shortening before applying allows you to get an even, light coating; applying the shortening in its solid state may result in too thick a coating and your pans ending up with a sticky surface.
The shiny pans are then placed bottoms up in the oven, which is turned to 400 degrees (the pans are in there while the oven is heating up to temperature). The pans should be allowed to bake for at least an hour. Note: the very bottom rack needs to be lined with foil before the pans go in to prevent melted shortening from dripping down onto the heating coils in the oven…or you’ll have a stinky, smelly mess and your smoke detector will probably be screaming at you.
Once the time has elapsed, turn the oven off and allow the pans to rest in there until they have cooled completely. Note: you may repeat the shortening/baking step more than once, as needed, to build a deeper base layer of seasoning. When the pans have cooled completely, remove them from the oven and apply a very light coating of vegetable oil (we use olive oil) to the inside of the pans only. Store them, uncovered, in a dry area like a cabinet until you’re ready to use them to make something amazing!
Remember: for the first few uses after seasoning your pans, be sure to cook something with a lot of fat to supplement your base layer of seasoning – frying potatoes, for example, is a great way to help build the seasoning.

Comments are closed.