
I’ve purchased a fair number of winter hats over the years, and each has disappointed. Some creep, leaving ears uncovered; some are too snug, leaving a weird impression on your forehead; and others (like chenille) shed everywhere. This is warm hat weather, so what to do? Make your own!
First, let me be clear that I’m not a knitter…nor am I particularly “crafty”. I recently purchased some wooden knitting needles with the intent of learning to knit, but while deciding what to make as a first project, I realized that a loom would be a good introduction to the art…and would allow me to produce wearable hats quickly. Bonus!
My first hat needed to meet the following criteria: slouchy, warm (but breathable), and good-looking. Fortuitously, a slouchy beanie hat can very easily be made on a round loom – so I acquired a set with four different sized looms, a yarn needle, and a pick tool. It also came with pom-pom makers, but I’m skeptical that those will ever be used.
Money saving idea: if I were considering purchasing the looms again, I might just buy the two sizes that seem the most useful, and skip the largest and smallest looms (depending on the projects I wanted to make). Another economical approach would be buying a used loom or two at a thrift store or on eBay; the yarn needle and pick tool might need to be purchased separately, but they’re inexpensive.
Once I had the looms in hand, I then needed some yarn. There is a mind-boggling array of choices of yarn materials – cotton, acrylic, wool, blends – and thicknesses, from very fine to very chunky. Knowing that I wanted a soft, warm, and chunky hat, I chose a “super bulky” (#6) weight yarn in an acrylic/wool blend. The instructions I found online indicated that I would need a skein of yarn per adult hat, so to maximize usability of the yarn, I ordered two of the same color.
Hat #1
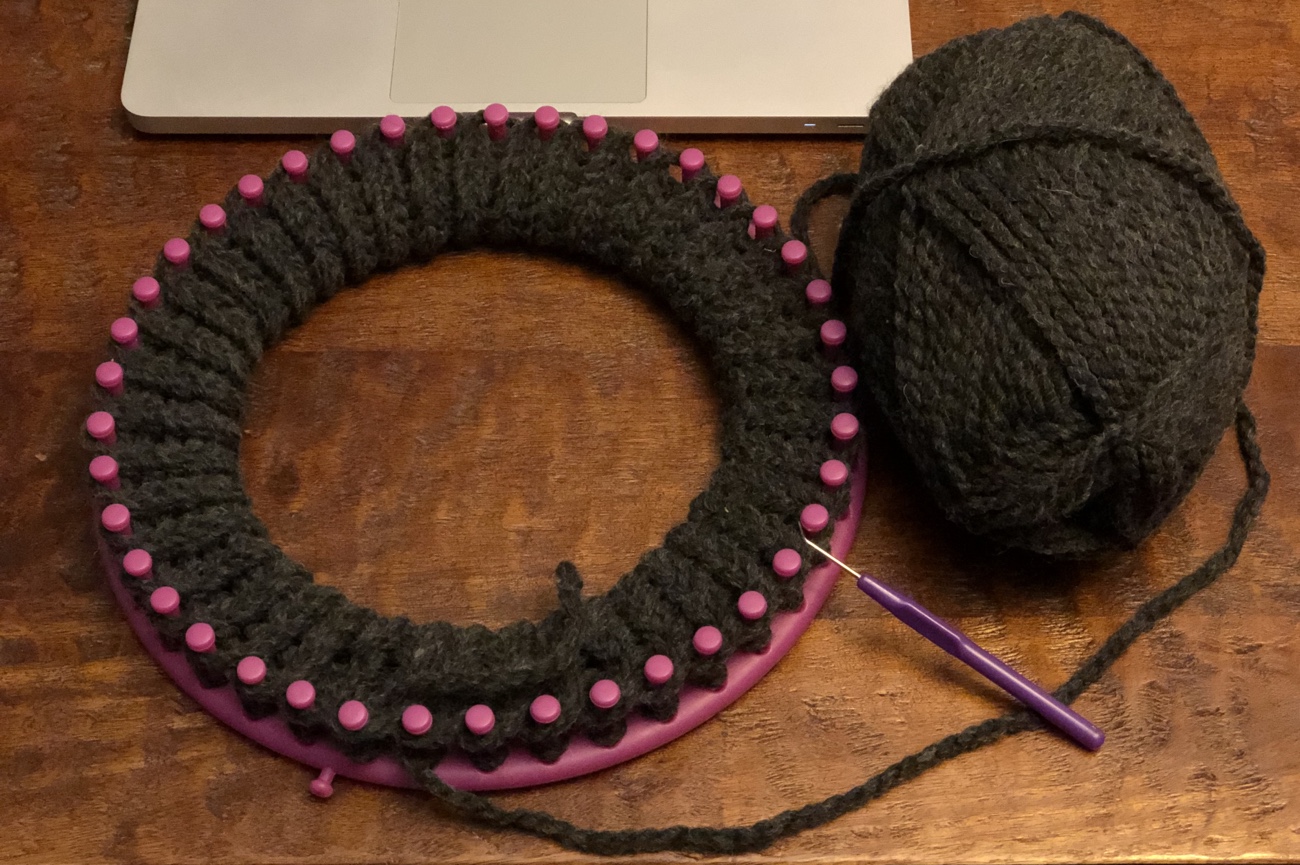
Once I had the yarn in hand, I was ready to begin. I found instructions online for making a slouchy hat on a round loom and went for it. Using the largest loom (40+ pegs), I affixed my slip knot on the designated peg and began casting on the foundation row, using the e-wrap method. Once I had two rows, I was able to make the first twisted knit stitches. From there, I knitted about twelve more rows, then completed the brim.
After the brim, it was back to rows and rows more of twisted knit stitches. I just kept knitting until the hat looked like it would be long enough, then performed the bind-off using a gather removal. Lesson learned: don’t skimp on the amount of working yarn you leave attached to the item because you don’t want to have to get creative (when you realize you shorted yourself) and try to splice on something like a rubber band – just leave about 8″ on before you cut the yarn. Trust me.
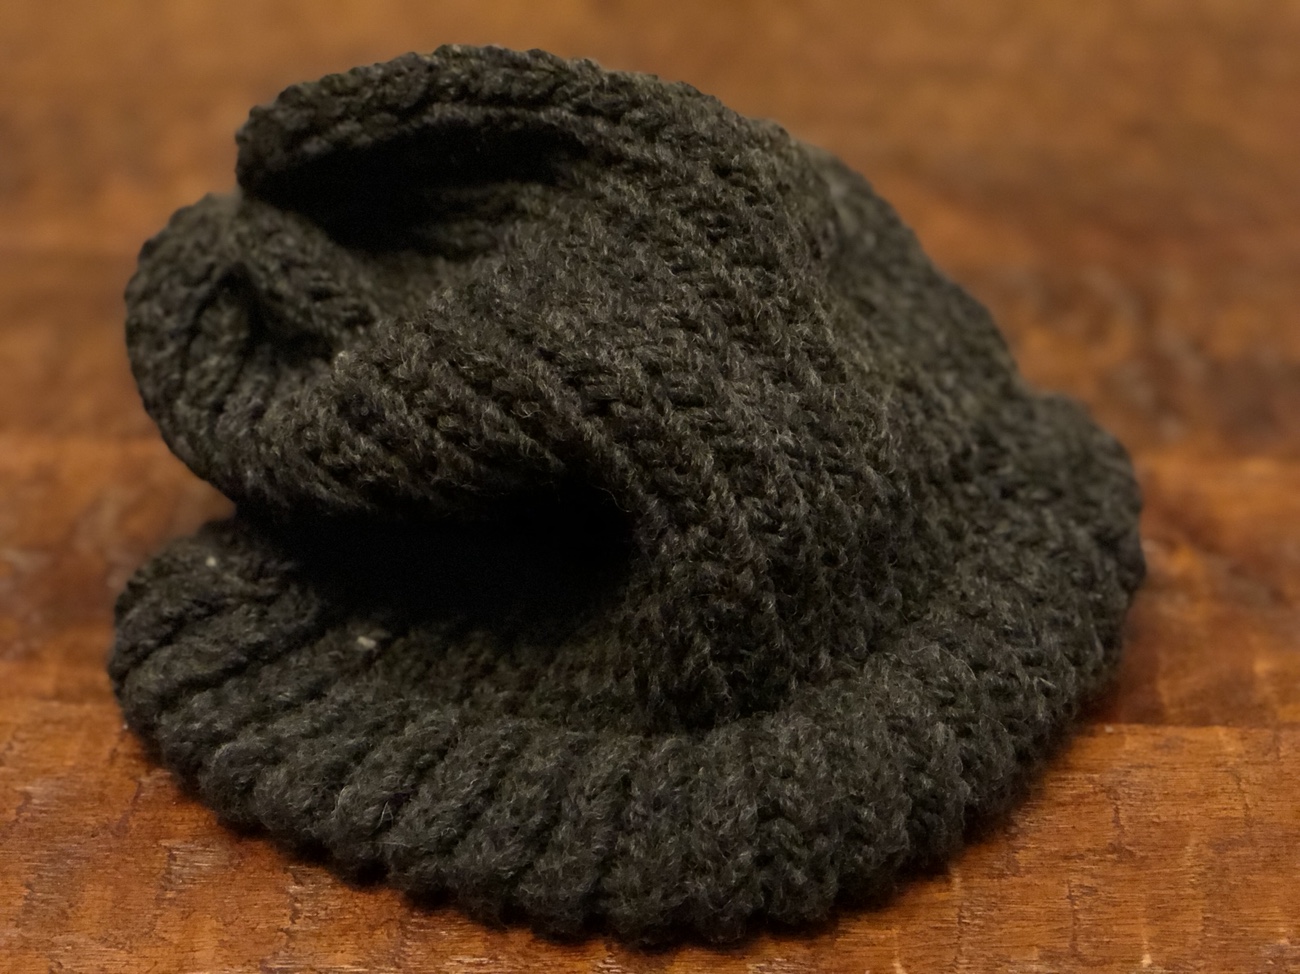
My slouchy hat was definitely slouchy, and in retrospect, I think I would have preferred it with a slightly tighter fit around the sides of my head – the next size (smaller) loom would have worked perfectly and saved me some yarn, to boot (it took about 2/3 of a skein of yarn). Overall, though, I’m pretty pleased with my first hat.
Hat #2
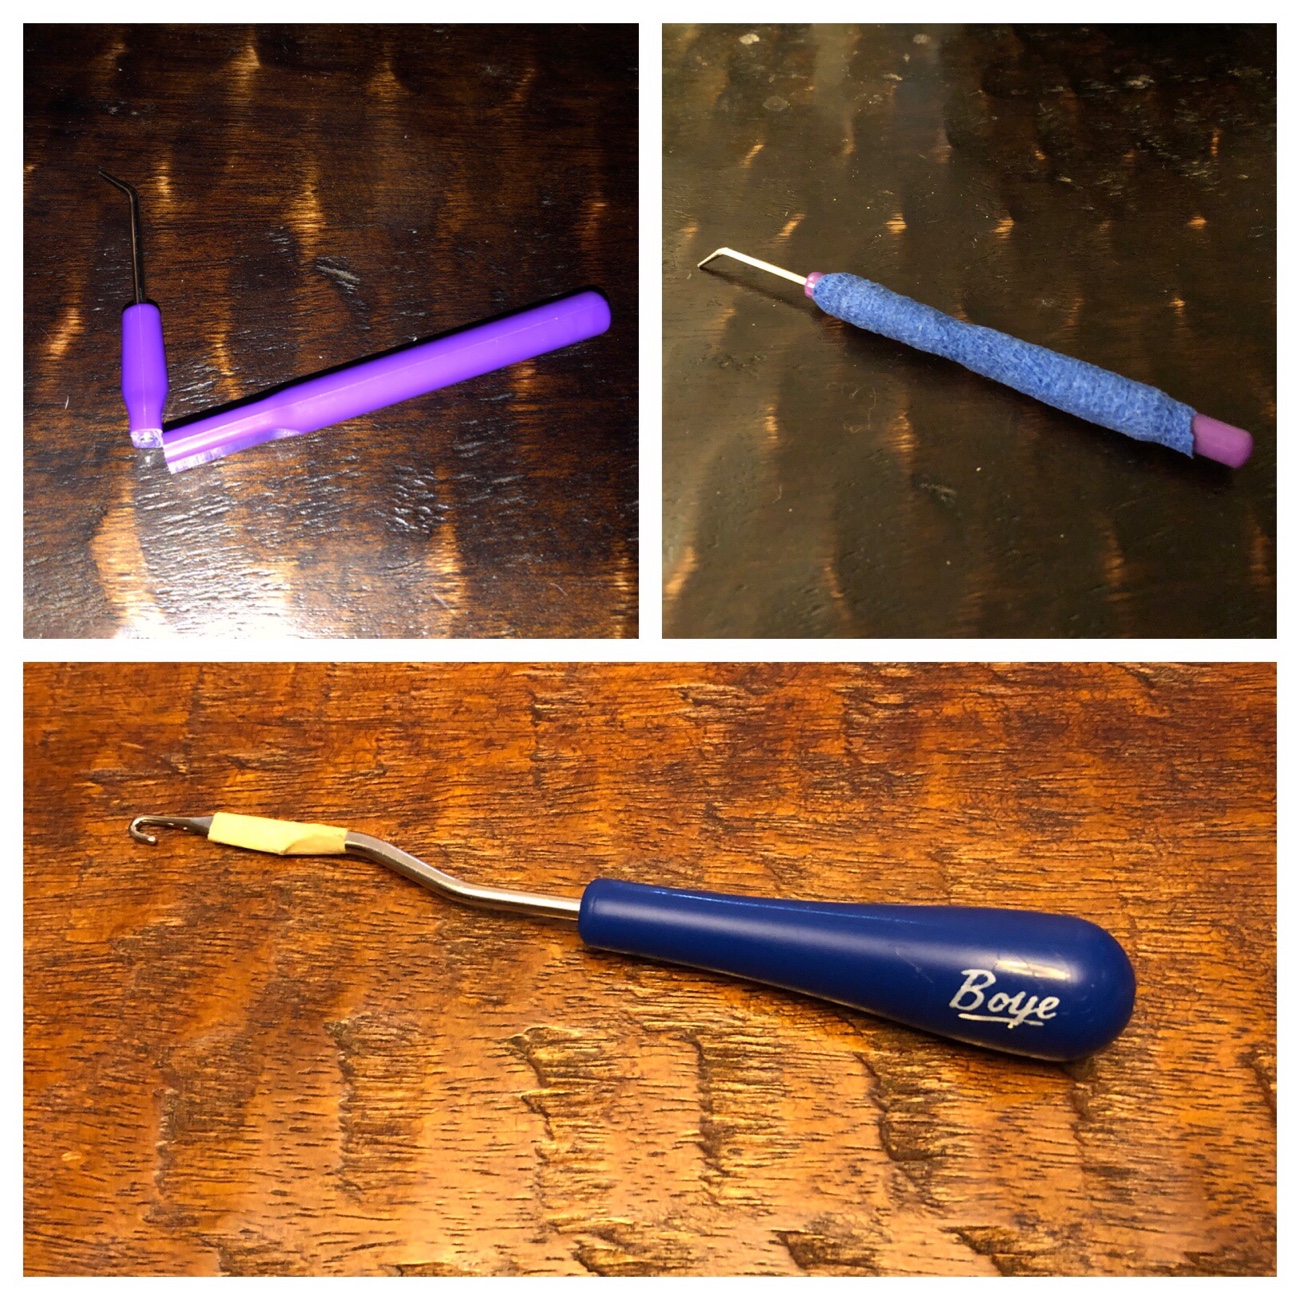
The second hat was intended to have a closer fit and be more of a traditional beanie. I used the same stitch pattern, but I made it on a smaller loom. It came out exactly as I had hoped: long enough to cover ears, but still reasonably close-fitting. Unfortunately, my pick tool – a key part of the knitting process – snapped in half when I was finishing the brim of hat #2. I tried gluing and wrapping the tool back together, but it only lasted a few more stitches. I finally ended up buying a different tool and even got a spare…just in case. Lesson learned: make sure you have a spare pick tool (ideally, with a full-length metal support running through it) in case the cheapie one that came with the loom set breaks – and don’t pull the stitches too tight.
Another challenge I faced with hat #2 was joining two skeins of yarn. I reviewed photos and instructions online and attempted a Russian Join multiple times, just ruining yarn over and over because I couldn’t extricate the yarn from the yarn needle during the first part of the join and had to cut it loose, leading me to conclude that it wasn’t bad technique; rather, the bulky yarn I was using didn’t lend itself to this method. Finally, I just did a Textbook Join and aside from a few slightly larger (and hardly noticeable) stitches, it was a seamless join. Lesson learned: practice joining yarn before you’re in the middle of a project and need to figure it out.

Hat #3
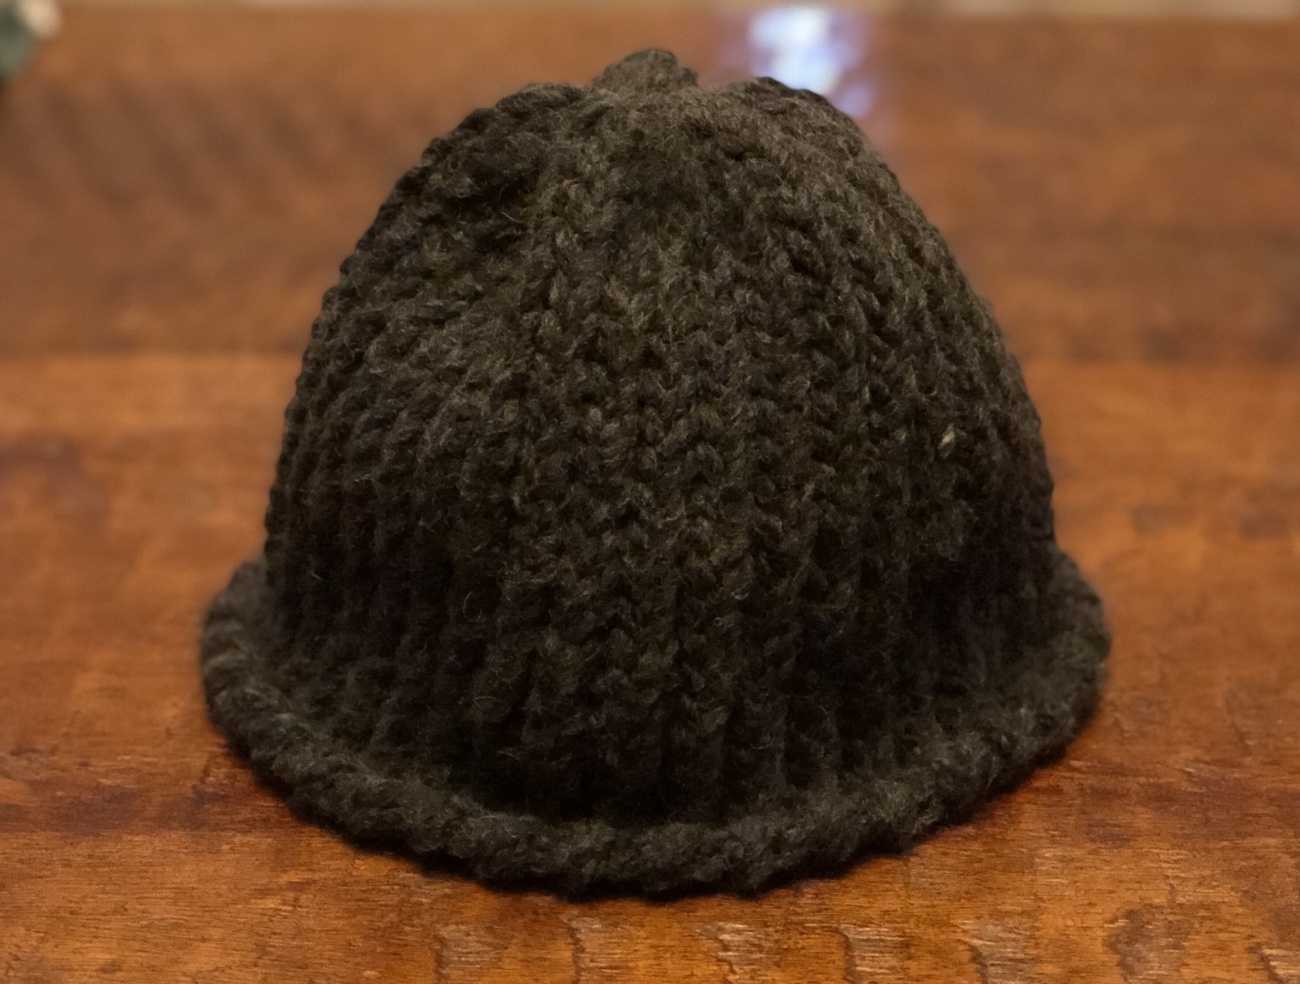
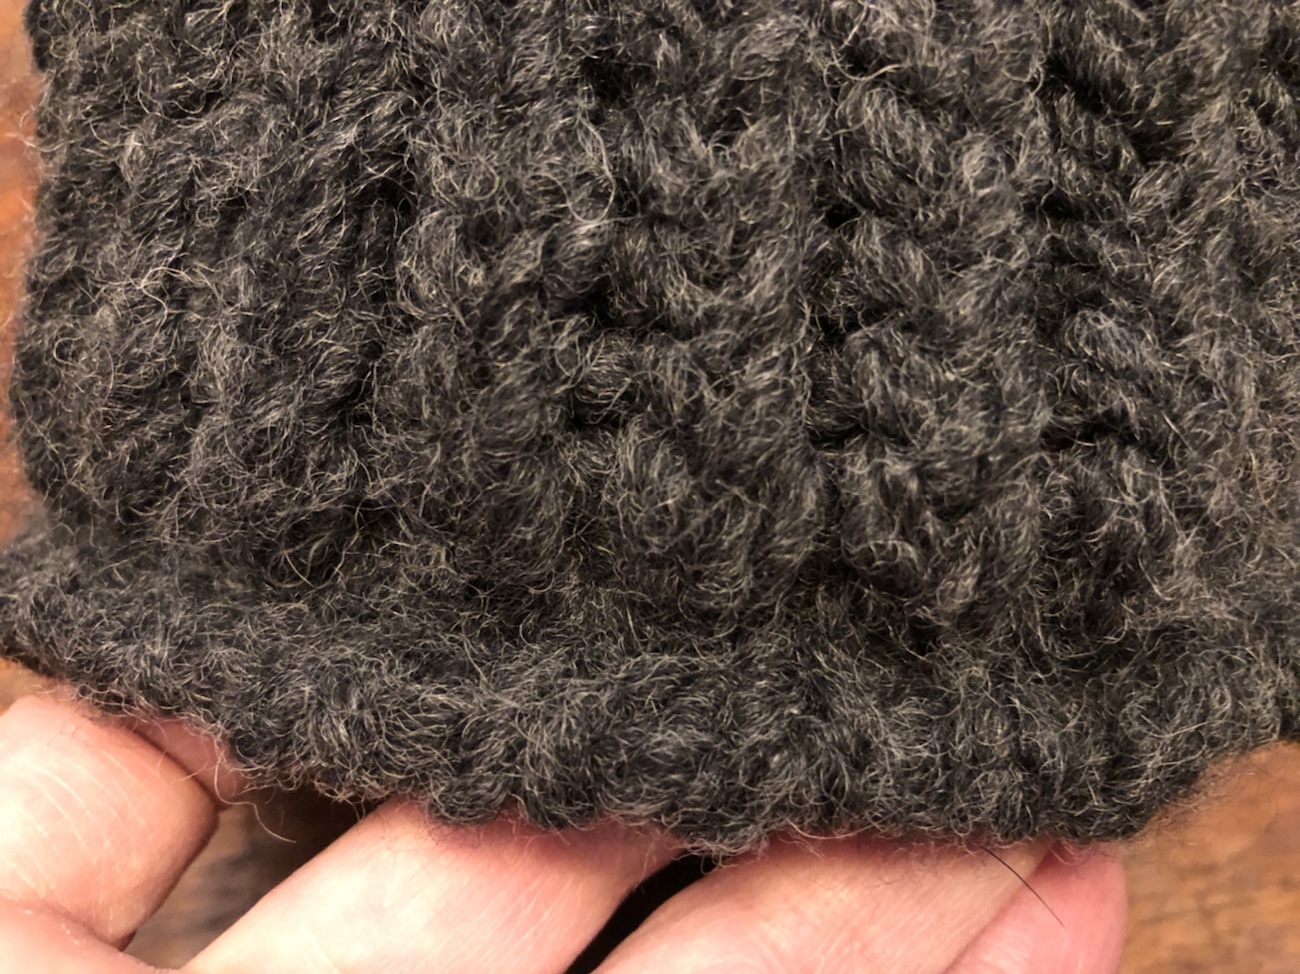
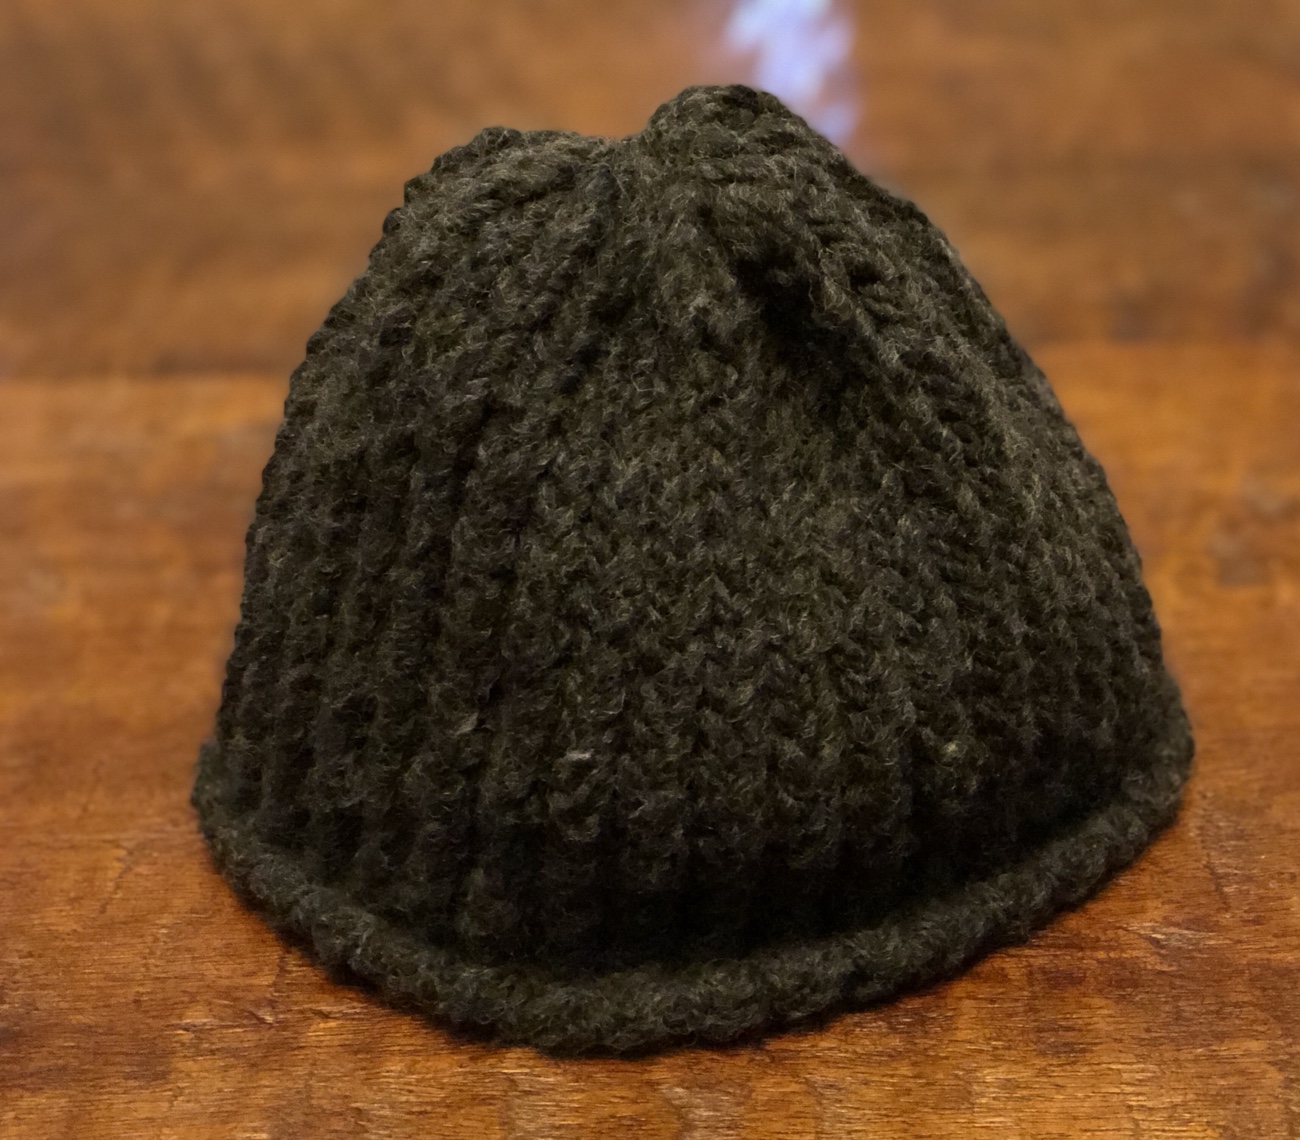
With two hats under my belt, I decided I would try a different brim technique and a different stitch. The two earlier hats used a brim method comprised of folding the knitted material in half and securing the brim. While effective, it created a pretty thick, kind of puffy, brim and I wanted to try making a slimmer one. I also wanted to conserve yarn to try to get another hat out of the remaining yarn, so a skinnier brim would be a win-win.
Instead of making the brim at nearly 15 rows, I simply secured it at around 6, which created a thin, almost rope-like edge. Very streamlined, but substantial enough to help keep the hat on your head. I also used the twisted knit stitch again. The hat was the right length, but not quite as long as #2.
Hat #4
At this point, I figured I had the basics down: slipknot anchor, e-wrap cast on, twisted knit stitch, securing the brim, gathering/binding off. I was beginning to feel a little bored. Time to try something different!
I found a used loom knitting book on eBay and ordered it so that I can learn how to make more than just hats (ha ha). I also wanted to try other stitches so that the items don’t all look the same. While waiting for the book to arrive, I found a (free) downloadable booklet by Isela G. Phelps called “Loom Knitting Basics: Knitting in the Round”. While I had already learned much of what was covered (but wish I had found her primer first), she covers some additional stitches in it. Hooray! I immediately decided that I would try the knit stitch, which looks like a needle knit stitch. Isela’s instructions are clear, so I was able to jump right in and create the brim of #4 using this new (to me) stitch. I realized, though, that it was a tighter stitch and was using more yarn than the twisted knit stitch, so I resumed using the twisted knit stitch after securing the brim.
I’m just going to be honest and admit that I ran a bit short on yarn for the last hat – it’s more of a skullcap, and it doesn’t really cover my ears. It’s a kid-sized hat. I think that once I have some extra yarn in the future that’s suitable, I’ll try adding a contrasting brim piece to extend the hat another few inches. In any case, I still had fun making it and really enjoyed trying a new stitch.
What’s next on the horizon? I’d like to make an infinity scarf, some socks, and maybe a cowl – but there are many other items that can be made on a round loom, like throw pillows, knitted baskets, fingerless mittens, blankets, leg warmers (yeah, those awesome 80’s throwbacks – “Flashdance”!)…and I’ll get to them once I buy more yarn. And the yarn – so many beautiful colors and amazing textures! This could be dangerous.
Fun, economical (if you don’t get crazy with the yarn), and rewarding, loom knitting is a great hobby, appropriate for kids as well as adults. Knit items for yourself, friends, even put your skills to work for charities. Need more reasons to get to crafting? Read on:
Happy knitting!
Comments are closed.