 Making wine at home sounds pretty cool, right? There are a number of approaches, depending on the type of wine you want to make, but non-grape (“country”) wine is simple and suitable for beginners. So let’s get to winemaking!
The winemaking kit we ordered several (like 6) months ago has been sitting patiently in its box, gathering dust. We went with a pre-assembled kit to ensure that we would have all the basic equipment needed to make wine. What’s worse than getting into a project and discovering that you don’t have the right tools?
 Basically, making fruit wine involves adding fruit to water, putting in yeast and sugar, and waiting for the yeast eat the sugar, thereby creating alcohol. That highly oversimplifies the process, but that’s the 10,000 foot view.
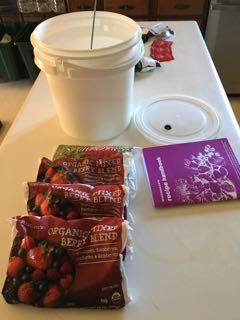
Wine can be made from a surprising variety of fruits…and vegetables. Turnip wine, anyone? After some consideration, we decided to save the onion wine for another day and use the frozen organic berries (blackberry, raspberry, blueberry, and strawberry) have been hanging out in the deep freezer. The process went something like this…
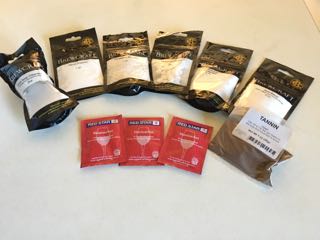
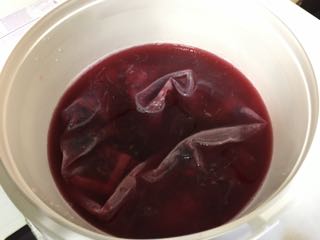
First step: sanitize everything. Check. Add fruit, slightly thawed, to mesh bag, put it in the primary fermenter, squish it with a potato masher until juice comes out and then leave it in there. Ok, and the mashing part was fun. Add water, nutrients, a lot of sugar, pectin, winemaking acid, and a crushed Campden tablet to the primary fermenter and stir. Done. Close primary fermenter and leave it alone for 24 hours. Alrighty then.
 24 hours later: wine yeast added. Primary fermenter closed back up.
After this, the brew needs to be stirred daily while it bubbles away and reaches a certain density. Wine takes time, so we’ll provide an update when it’s time to move the wine to the secondary fermenter (glass jug). Until then, cheers!
