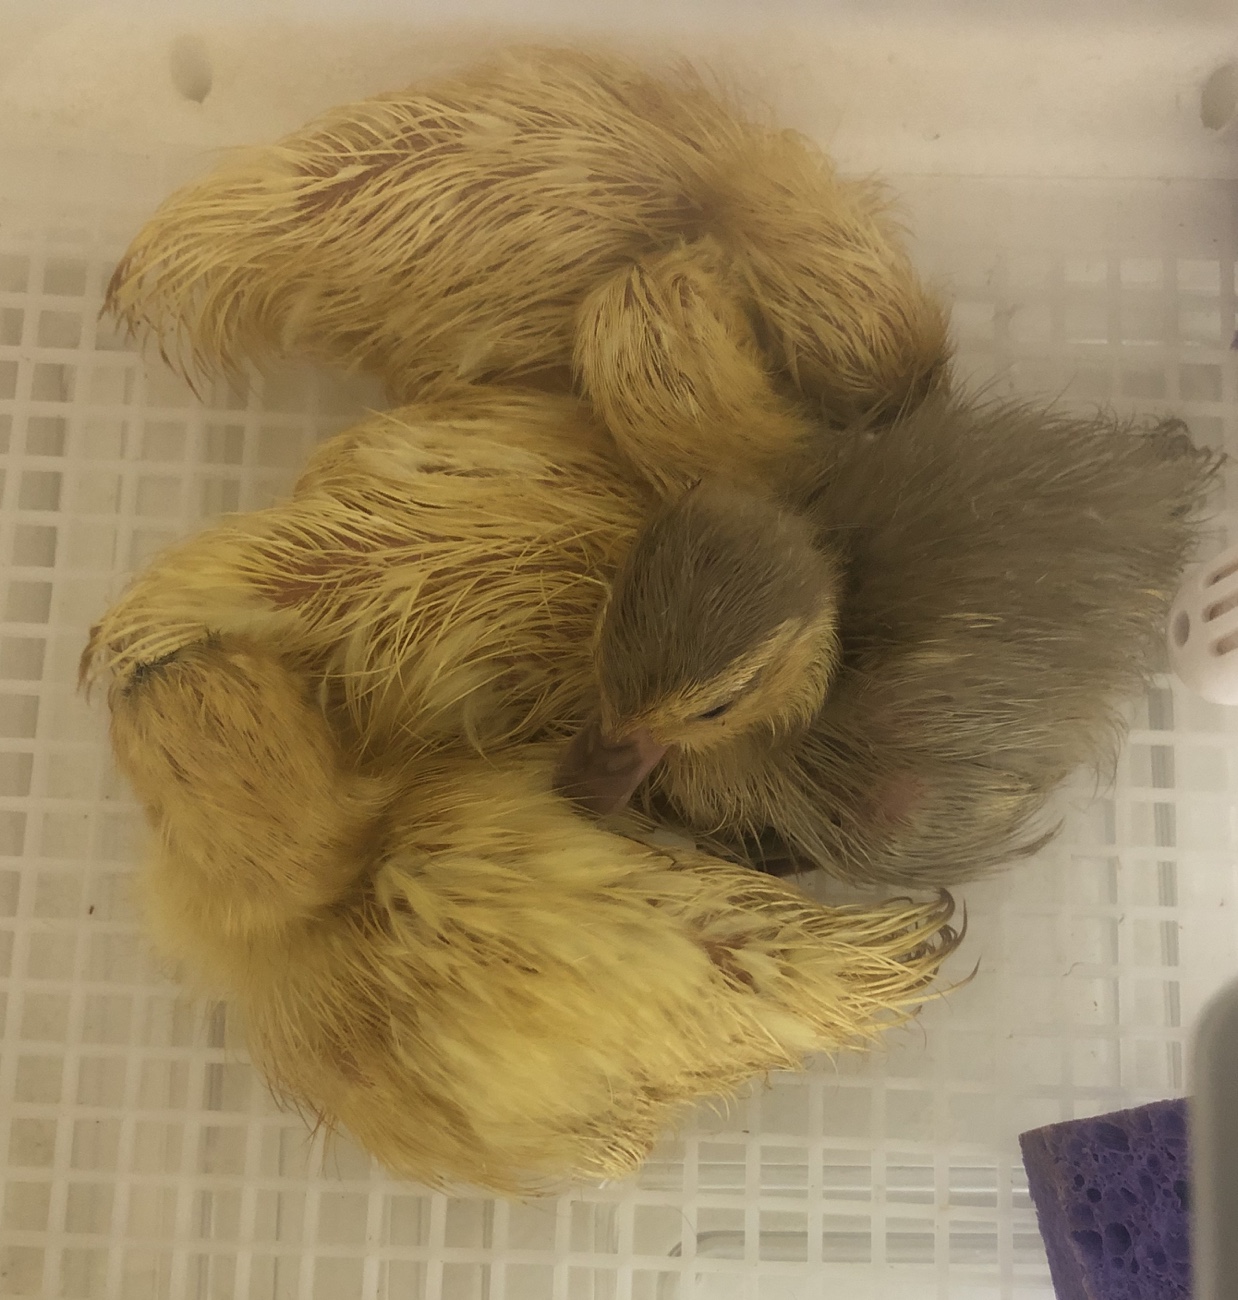
It’s been a long wait for these ducklings – as of today, 34 days. Muscovy ducklings take longer than Mallard-derived breeds (like Indian Runners or Pekins) to hatch, but they’re definitely as cute!
I wasn’t expecting to be hatching ducks in what is nearly Autumn, but an opportunity to acquire a dozen local Muscovy eggs presented itself, and I had a “new” (to me) incubator to test out. Do I need more reason? I personally prefer to hand-turn waterfowl eggs 180 degrees, three times a day, rather delegate to an autoturner, but in this case, I did both.
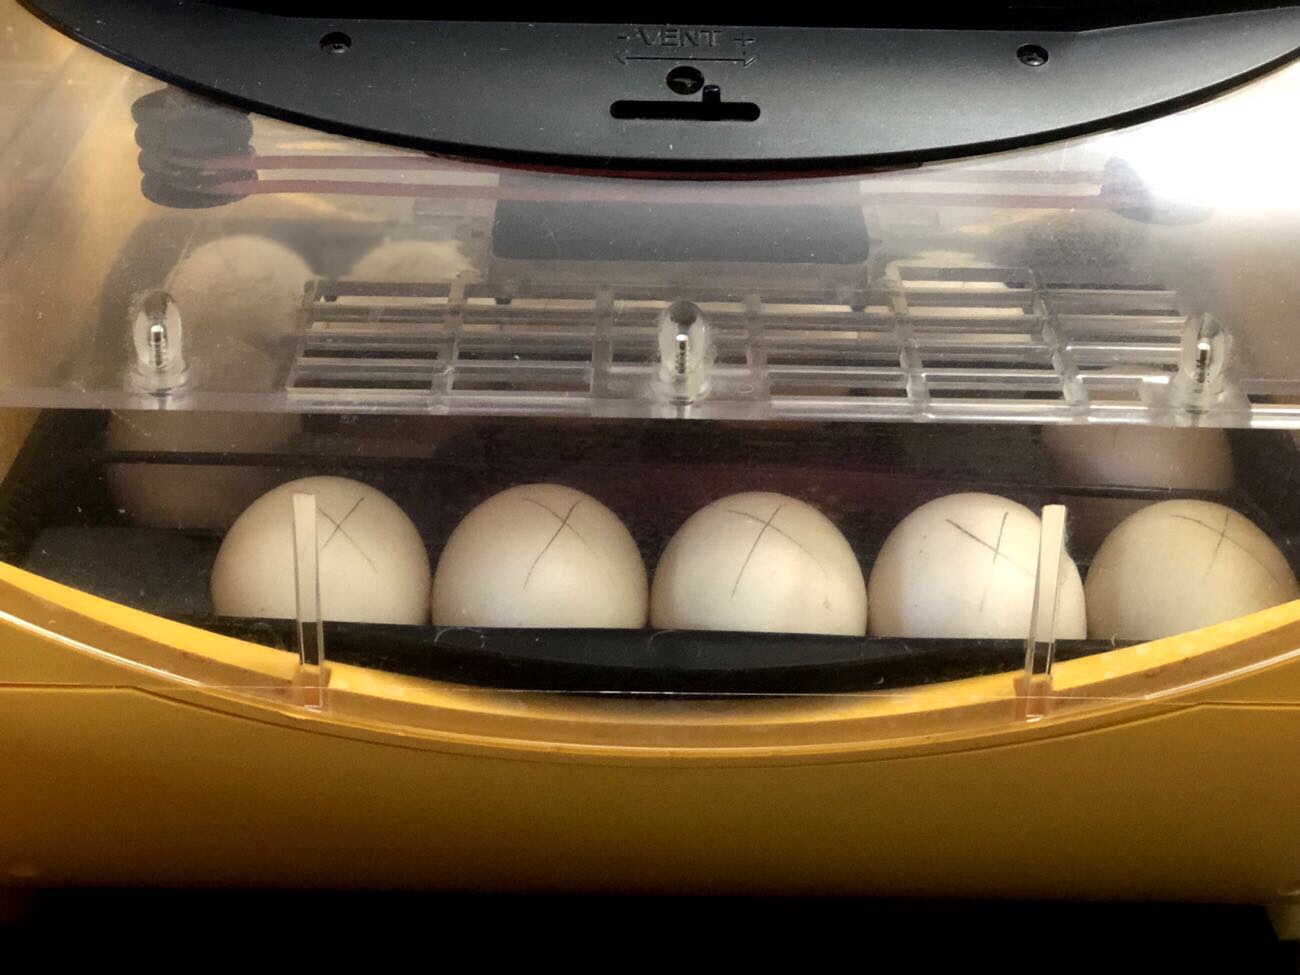
Fertility was good with this batch, with 11 of 12 eggs developing at 10-day candling. Shipping can be extremely hard on hatching eggs, so I try to buy locally whenever possible, even if that means a long trip with the eggs cradled in my lap. I received a couple of shipments of chicken hatching eggs earlier in the year and they were handled so roughly that they were actually smashed, scrambled, and generally damaged beyond belief. Needless to say, hatch rates were very poor, and no one wants to open a box that looks perfectly intact only to find a mess inside. Fortunately, no risk of that with local eggs!
I’ve had extremely good hatch rates with my own flock’s eggs in the past, but the ducks that laid these eggs were new ladies that we got to keep Ellie, our visually-impaired drake, company. I used the same method I’d employed in the past for artificial incubation (lower humidity) and faithfully turned those eggs several times a day until lockdown. While cooling and misting the eggs prior to lockdown, I candled a few (hey, they were already out being cooled, right?) and noticed that one was moving around and possibly already in the air cell…an unmistakable sign that hatching was imminent.
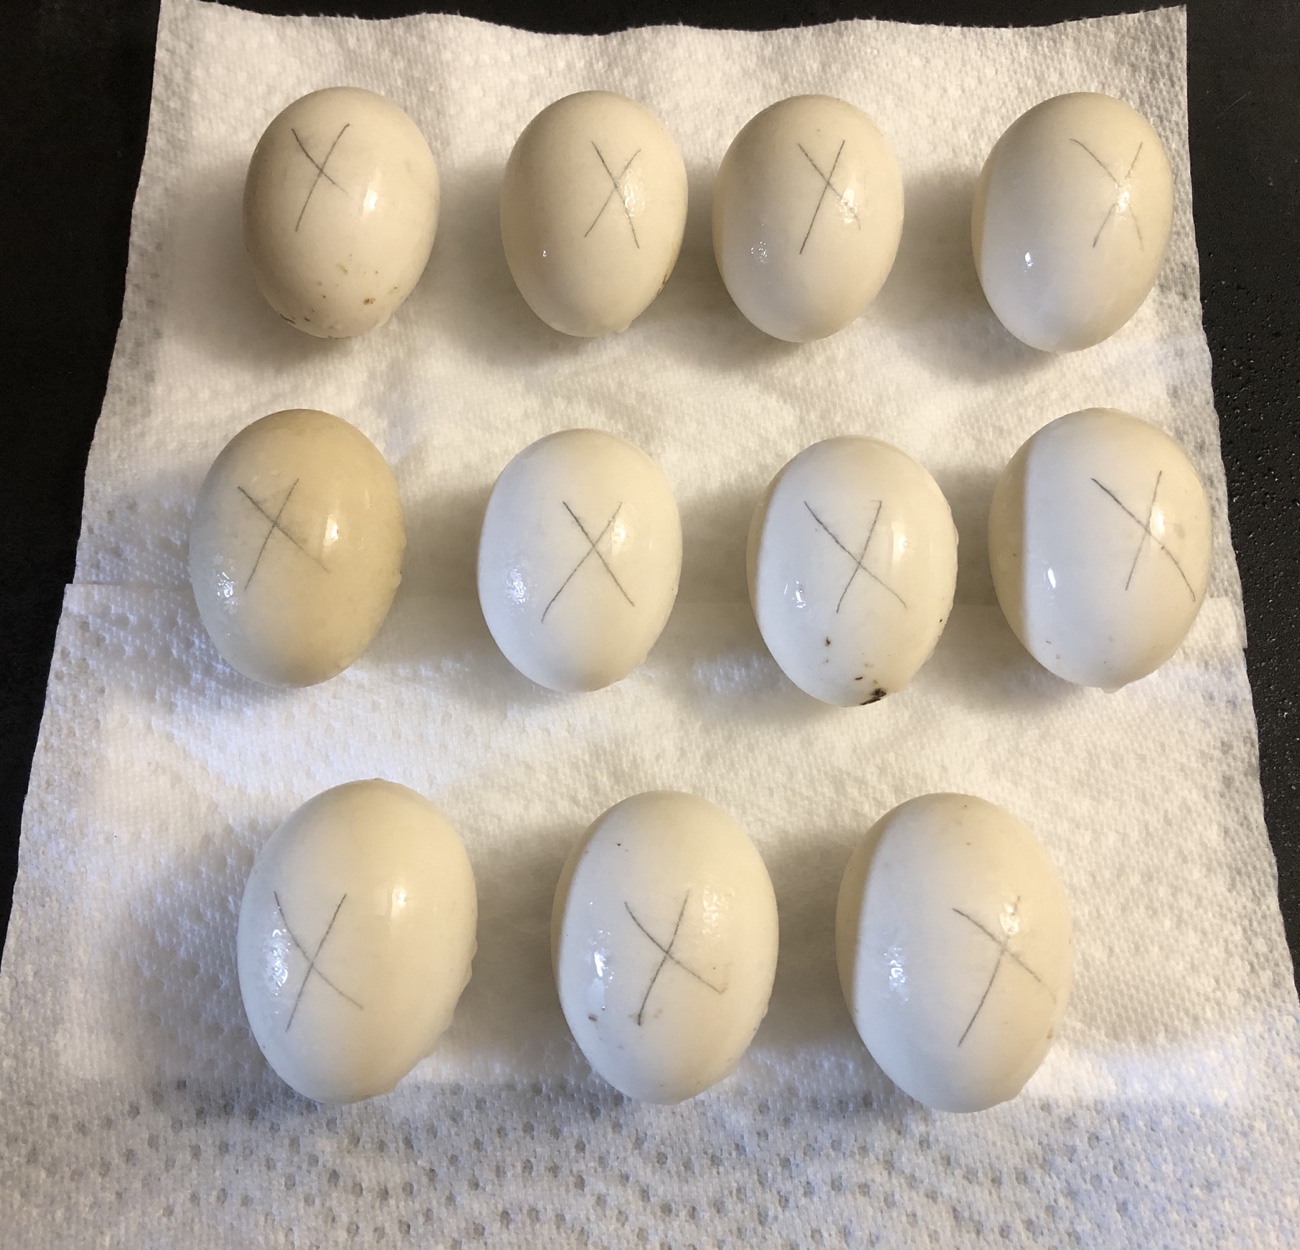
Once the eggs went into the hatcher, all I needed to do was monitor the temperature and humidity. I kept the humidity on the lower side until I saw an external pip, which occurred a little earlier than expected and prompted me to quickly raise the humidity in the hatcher (I aim for 70+% at external pipping) by using warm water, aquarium tubing, and a medical squeeze bottle so I didn’t need to open the hatcher.
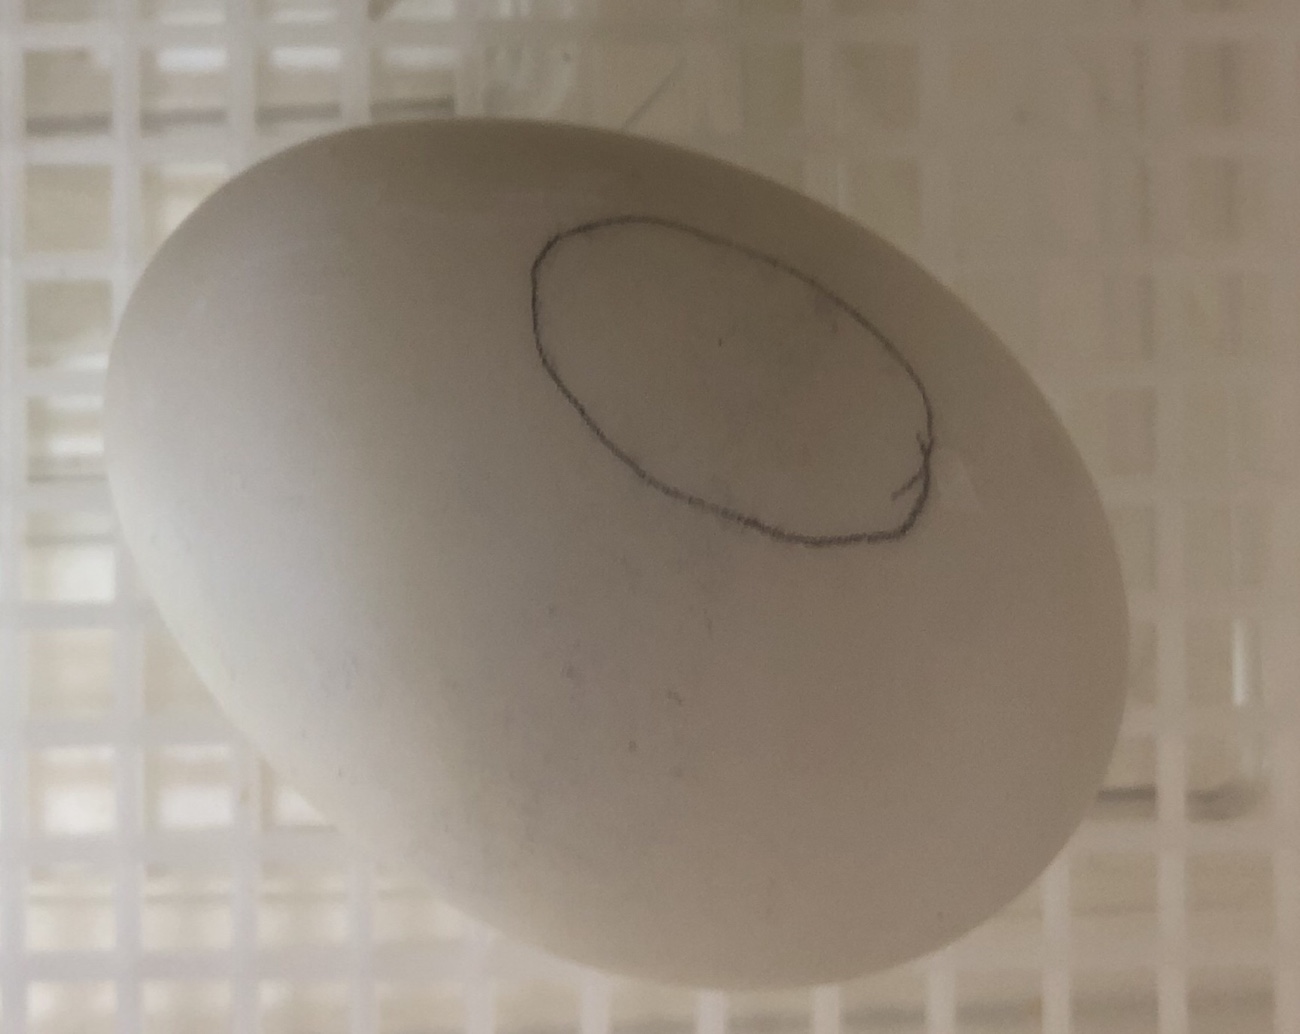
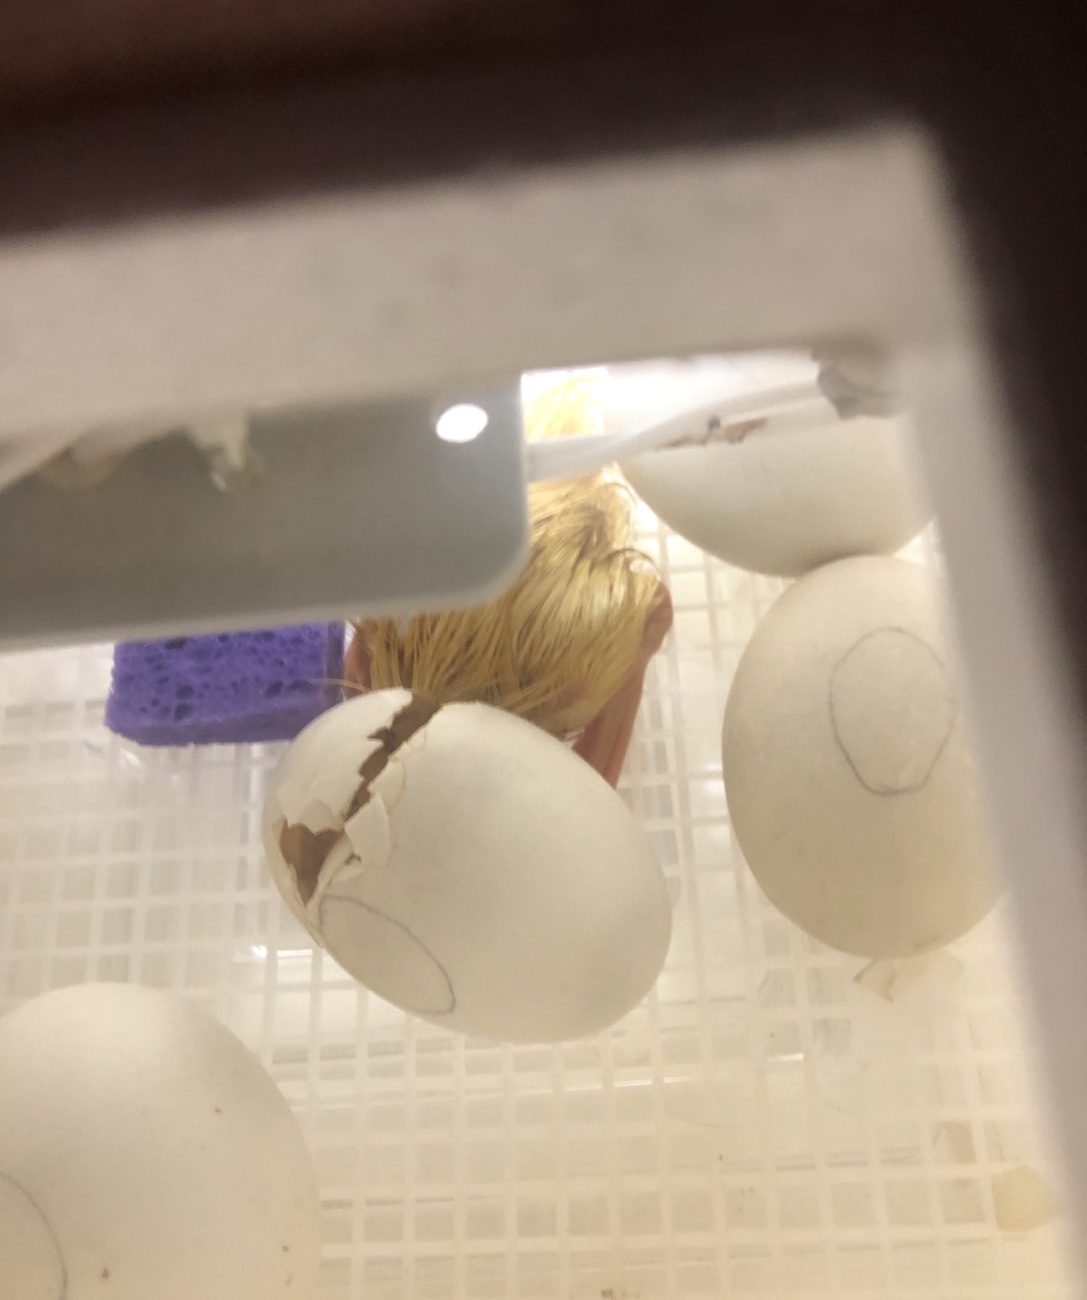
Waterfowl are relatively slow to hatch, so I wasn’t too concerned when the pipped egg just seemed to be resting and not making much noticeable progress. After more than 24 hours, the duckling must have been sufficiently rested to begin zipping. It hatched this morning, followed by several others. Based on how the shells look and the lack of amber fluid on the ducklings, humidity appears to have been appropriate during incubation, validating my belief that lower humidity works better (at least in my location) to hatch Muscovy. I also monitored air cell size at candling, and the air cells grew as expected.
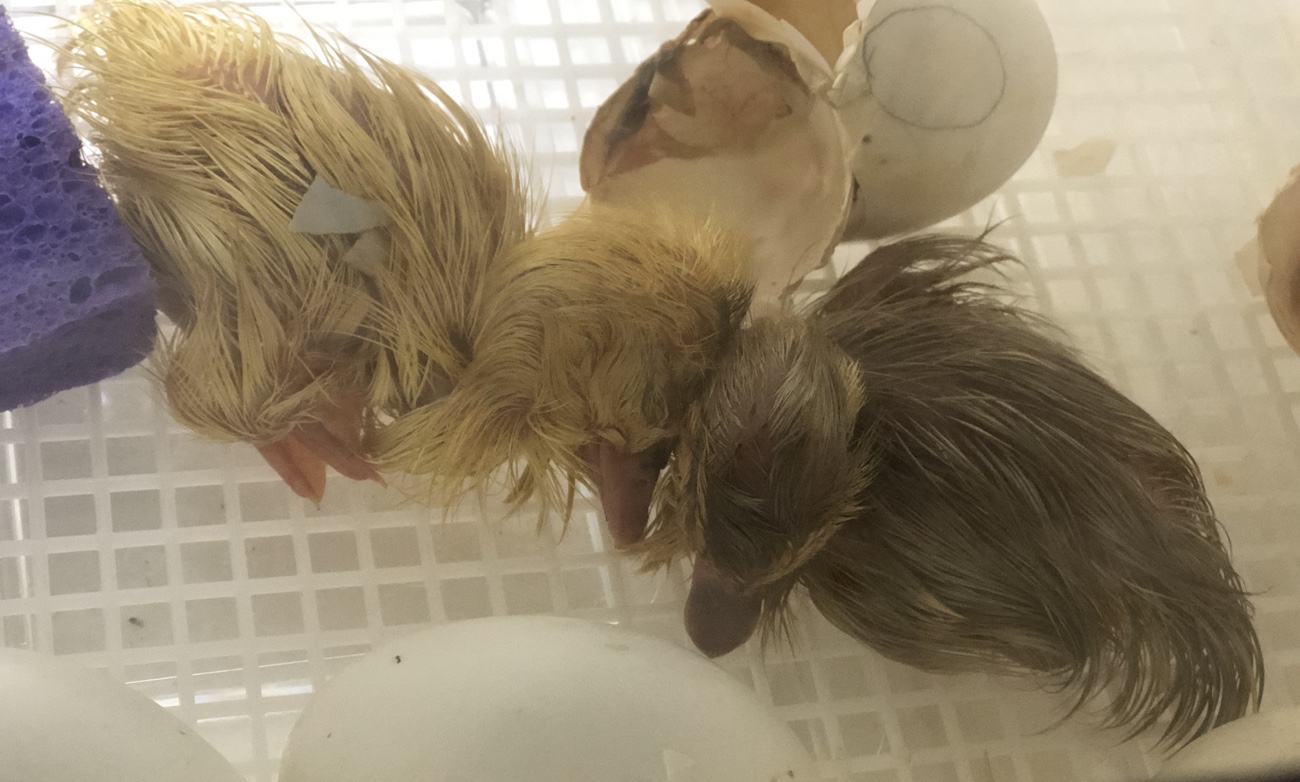
At this point, four five ducklings have hatched, and several other eggs are externally pipped. The hatch could go on for several more days, though I expect that most will hatch by tomorrow. In my experience, “early” hatchers (just a day or two early) tend to be stronger ducklings; conversely, late hatchers sometimes have (usually physical) issues that prevent them from hatching within the same timeframe as their hatchmates.

The first duckling to hatch was one that kept peeping at me while in the egg – a very vocal little creature, indeed. I did the morning chores and when I came back, the duckling had emerged, mostly. Actually, it had hatched, but had been resting its head in the eggshell and got stuck! I think that the shell’s membranes – Muscovy eggs have extremely tough membranes – dried and hardened so that the duckling looked like one of those poor skunks with its head stuck in a peanut butter jar. Or maybe some of that inner-egg (normal) goop dried and glued the little one in there..? In any case, I waited to see if the duckling pushed the shell off, but finally decided to release it from that awkward helmet. It emerged unscathed, dignity intact.
I hope that each and every duckling that hatches is healthy and able to hatch on its own, but if needed, I’ll cautiously intervene as a last resort. While some people hew to the philosphy of “never assist”, I don’t, and I’ve many good outcomes when I’ve judiciously and cautiously assisted. I also believe that artificial incubation is just that – artificial – and that some hatchlings run into difficulty in hatching simply because conditions in the incubator may not have been appropriate during incubation. Whether to assist or not is a personal choice, but I choose to help when I think it’s truly needed.
To be clear, though, “assisting” is not pulling the poor hatchling out of the shell and hoping for the best; rather, it’s about carefully assessing where the hatchling is in its development to ensure that assistance isn’t premature, and identifying possible hatching obstacles like shrinkwrapping due to humidity being too low during incubation or malpositions that could make hatching nearly impossible. When proper assistance is performed, the minimum amount of help is provided, and only to facilitate hatching. The hatchling needs to do as much of work of hatching as possible – for one reason, to strengthen itself, especially its legs. Providing minimal assistance can be a difficult goal for individuals who are new to incubating to understand and appreciate, and it’s easy to get caught up in the excitement of hatching…but the hatchling’s life depends on hatching conditions being right, including having enough time to absorb its yolk, close its abdomen, and for active blood vessels to dry up.
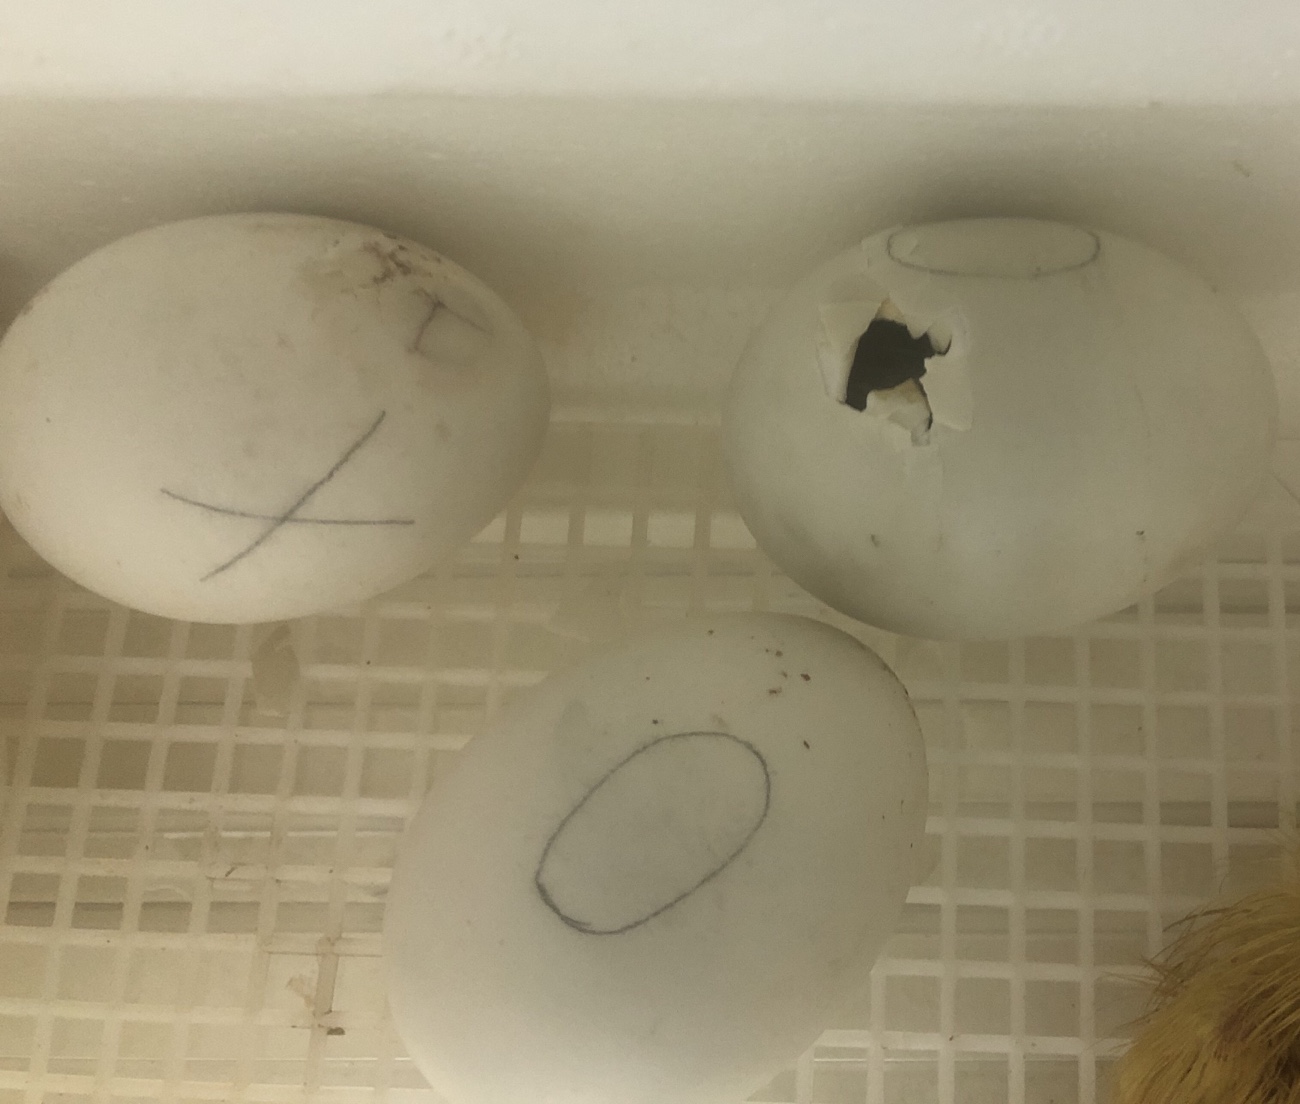
The single best resource I’ve found for assisted hatching is this guide at BackYard Chickens. If you hatch poultry or waterfowl, you should keep it (and your coconut oil!) handy.
It’s a waiting game for the rest of the ducklings, but I have plenty to keep me busy, so I’m not checking on them every five minutes (“a watched pot…”). If you like cute baby farm animal photos, rest assured that I’ll be posting some in the near future. Stay tuned!

Comments are closed.