
Sometimes, you just get a hankering for ice cream…but who wants too much sugar and additives like carrageenan in there? Not us. Our solution? Make ice cream at home – the way we want it.
This recipe is intended to be made in an electric ice cream maker. We bought a Cuisinart one a couple of years ago at a deep discount (no doubt because it’s a baby blue color, which doesn’t match anything in our house). It may not be our ideal color, but it works great, and – once again – it was much less expensive than the more trendy colors. And who, exactly, sees your ice cream maker?
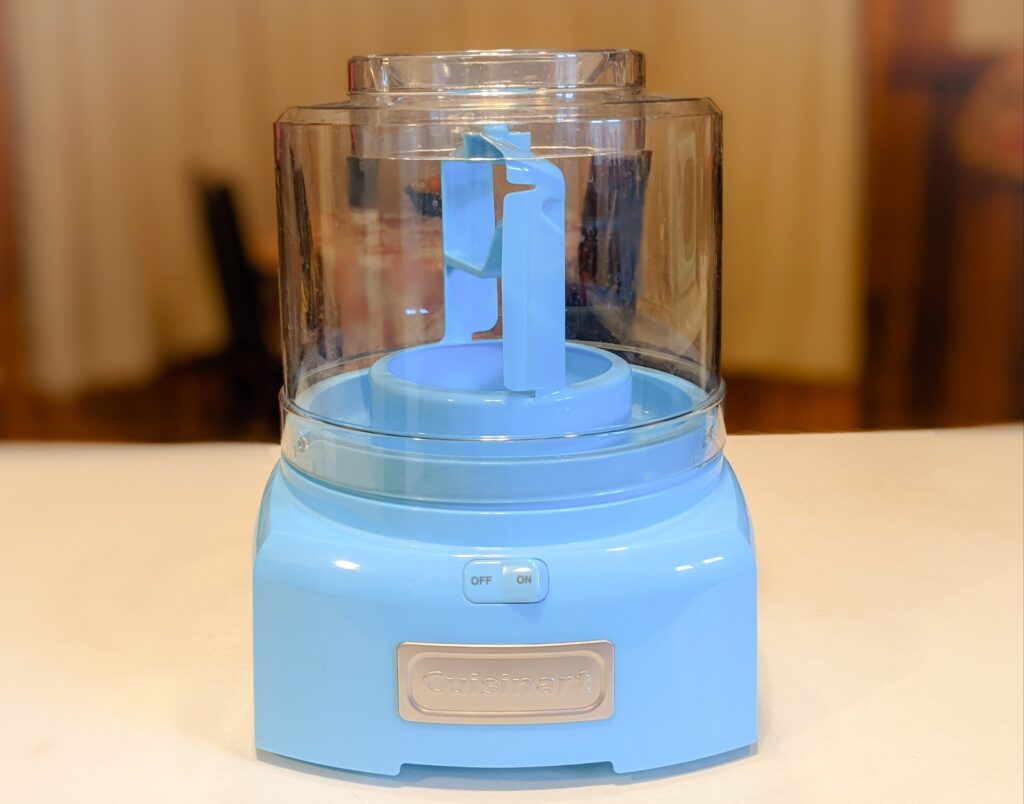
This model of ice cream maker has a bowl that must be frozen before use. It takes about 24 hours for it to freeze completely, so a little advance planning is needed before your homemade ice cream can be enjoyed. Tip: leave the clean bowl in your freezer so it’s ready when you want to make ice cream.
Quality ice cream starts with quality ingredients, like organic heavy cream with nothing added to it. Many commercial manufacturers (like Ben & Jerry’s) add carrageenan, a hydrocolloid derived from a type of seaweed that’s used as a food stabilizer. Carrageenan is also known to cause gastrointestinal inflammation. Back in the day, I used to drink an embarrassing number of soy milk lattes from a certain ubiquitous Seattle coffee chain and frequently had stomach upset later. Know what was in that soy milk? Carrageenan. Once I stopped drinking it, the stomach problems resolved.
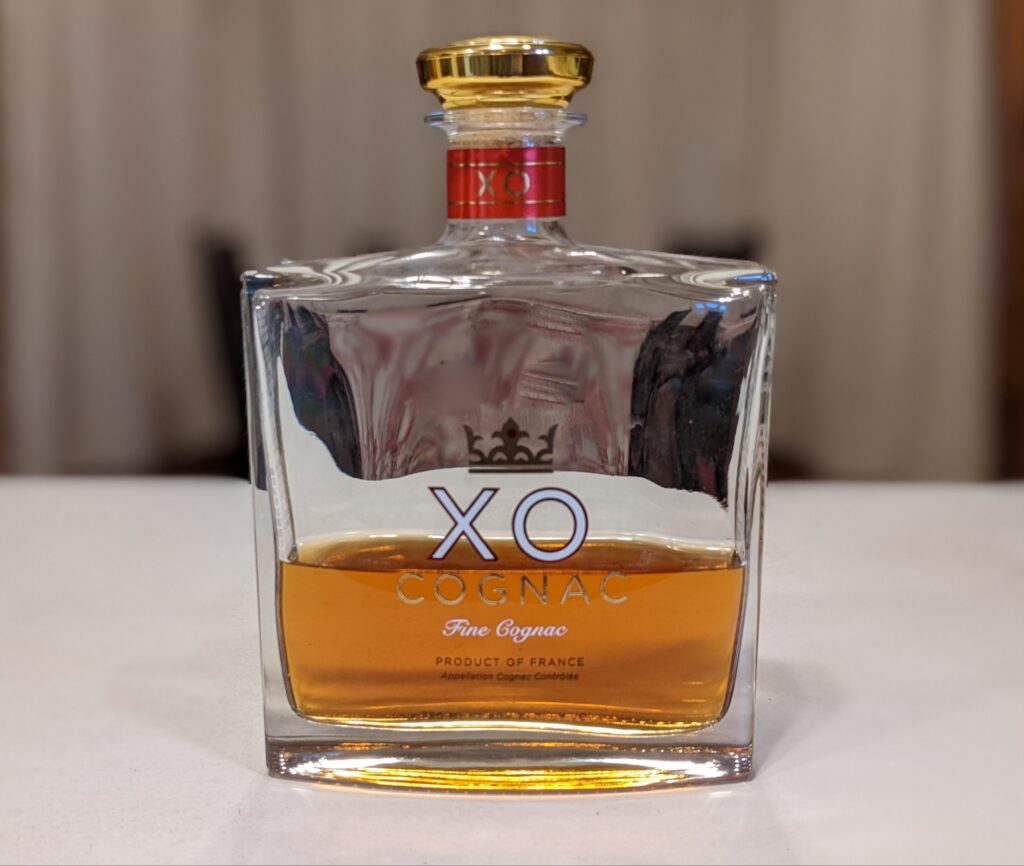
This ice cream has just a few simple ingredients: half and half*, cream, sugar, salt, and vanilla extract; we also added palm oil-free dark chocolate chips, walnut pieces, unsweetened shredded coconut, and a splash of cognac. Skip the spirits if you wish, but it can also help the ice cream from freezing too solid.
Once combined per the recipe’s instructions, it chills for an hour, then the mixture is poured into the pre-frozen ice cream maker’s bowl and the real fun begins. *subbed for milk
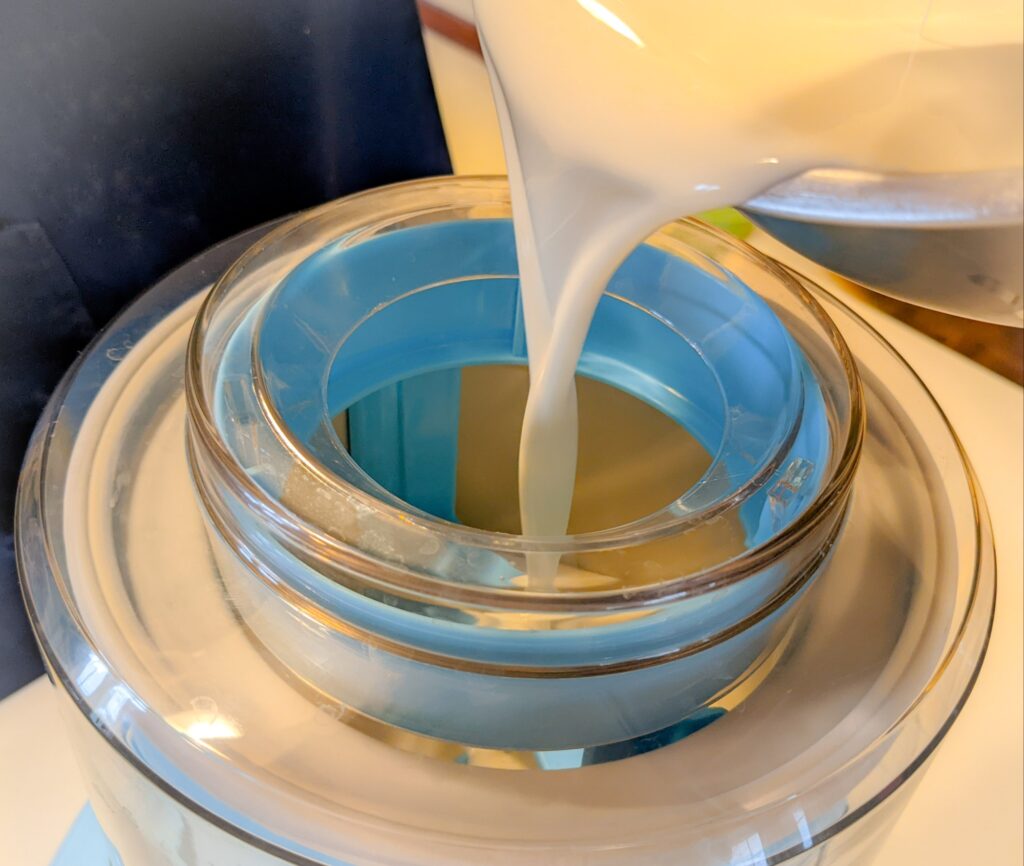
Once the ice cream maker is turned on, the frozen bowl simply spins around and around on the base, while a paddle stirs the mixture. It takes a while, but the ice cream mixture’s consistency gradually changes from milk to milkshake to soft serve. When it began to thicken, we added the chocolate chips, walnuts, and coconut, and the machine stirred them in.
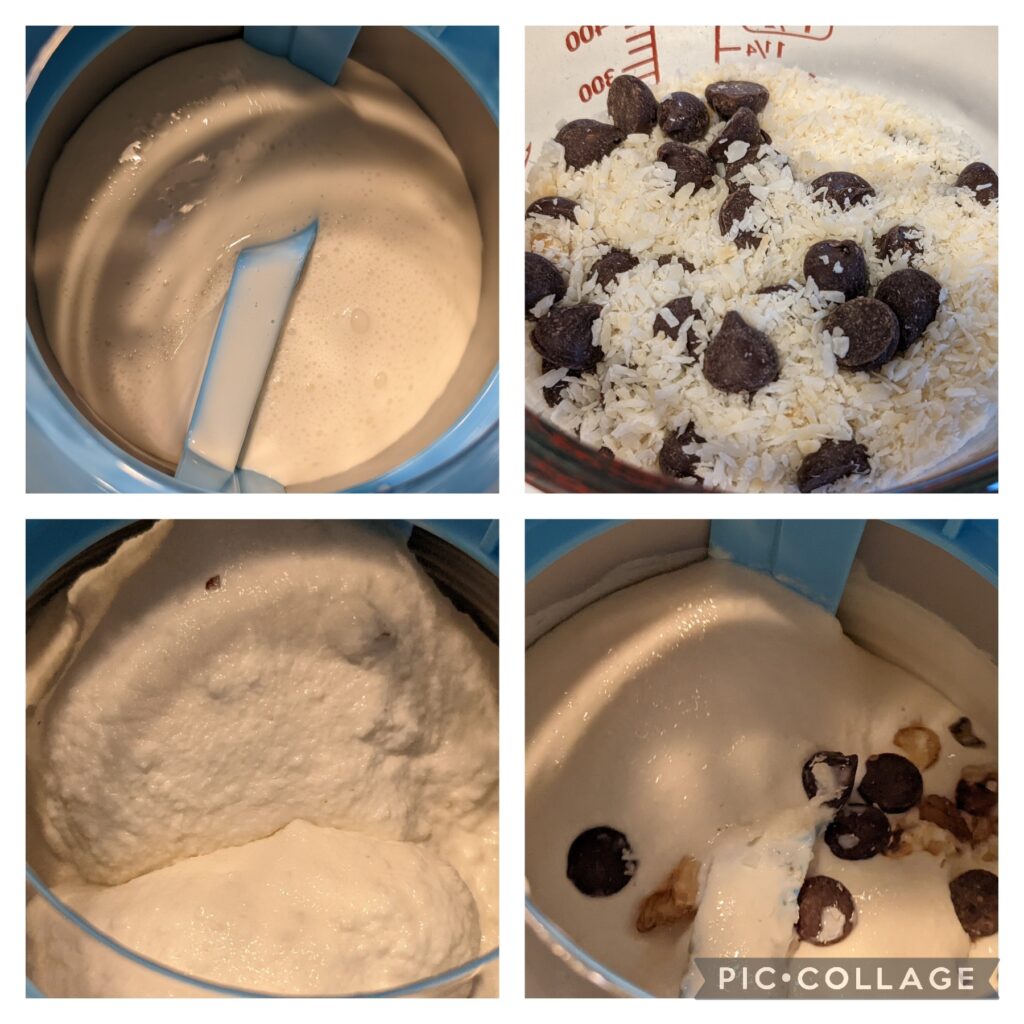
When the ice cream reached a slightly runny soft serve consistency (after about 20 minutes), we poured it into a bowl and placed it in the freezer.
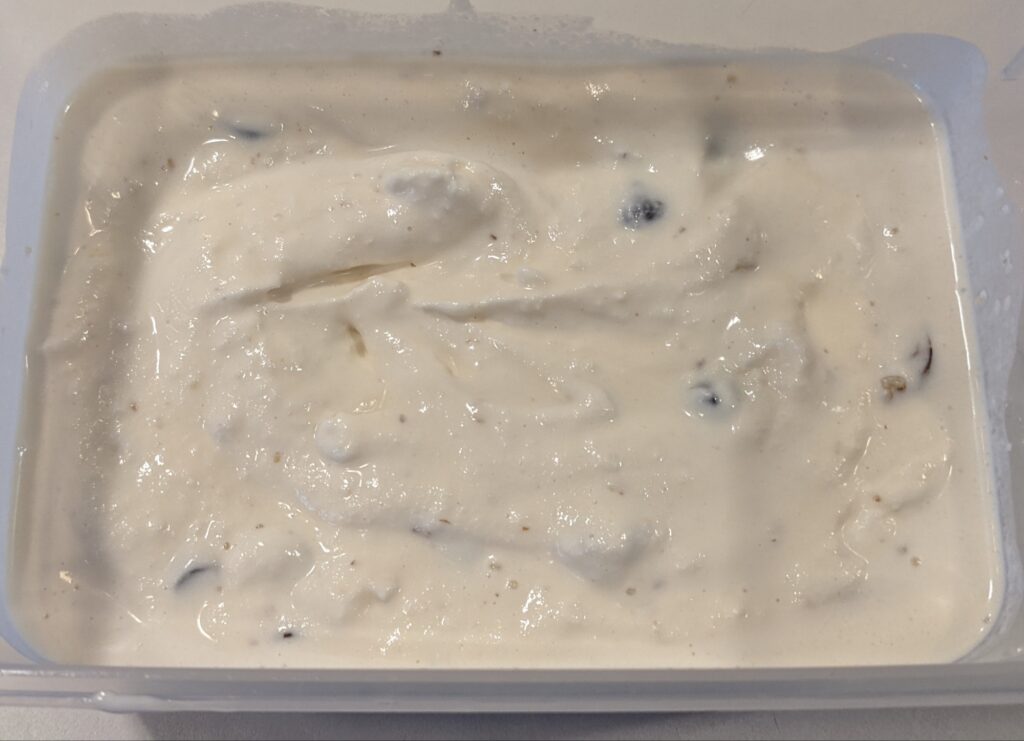
And a few hours later, it was ready to eat.
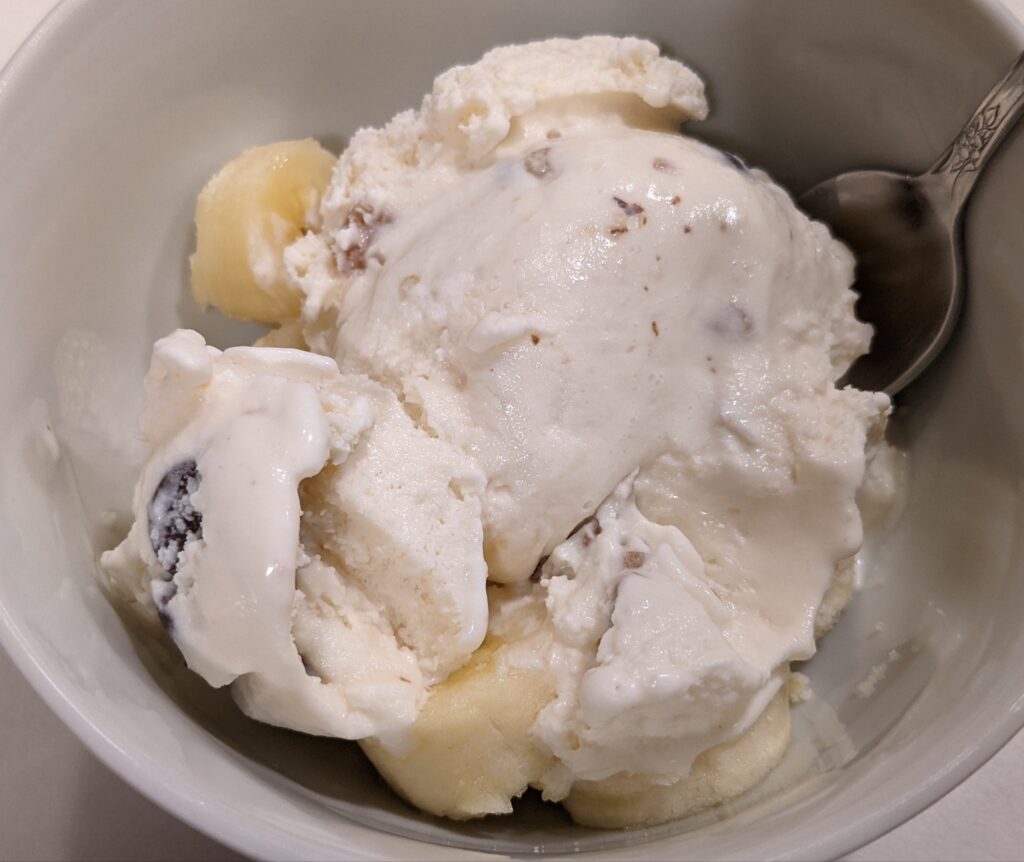
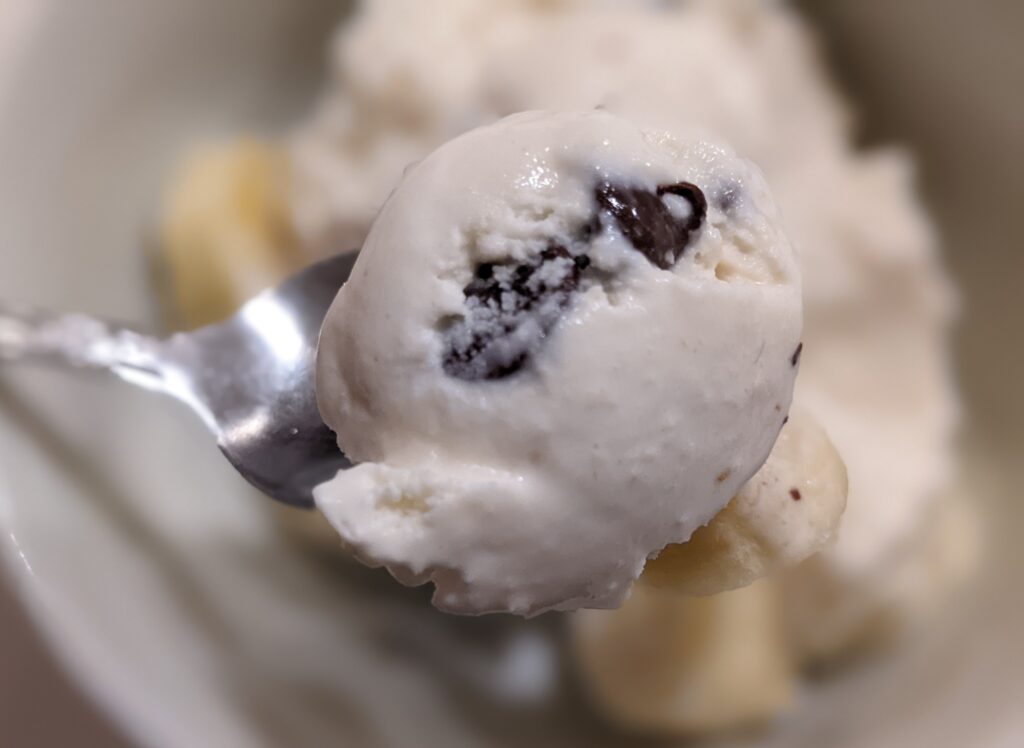
Do you hate how commercial ice cream turns into a rock-hard block in the freezer, making it impossible to scoop? This homemade ice cream stays slightly soft and is a dream to scoop – no hammer and chisel needed. And the flavor? Divine. Seriously, those simple, quality ingredients resulted in the best gourmet ice cream I’ve had in years. No hyperbole – try it yourself!
Note: the chocolate chips froze solid in the ice cream and ended up crunchy. While I didn’t find it unpleasant, I think that smaller chocolate pieces or shavings would distribute more evenly through the ice cream and impart a bit less “crunch”. We also reduced the sugar to 1/2 cup, but I would either reduce it further or substitute stevia in future batches.