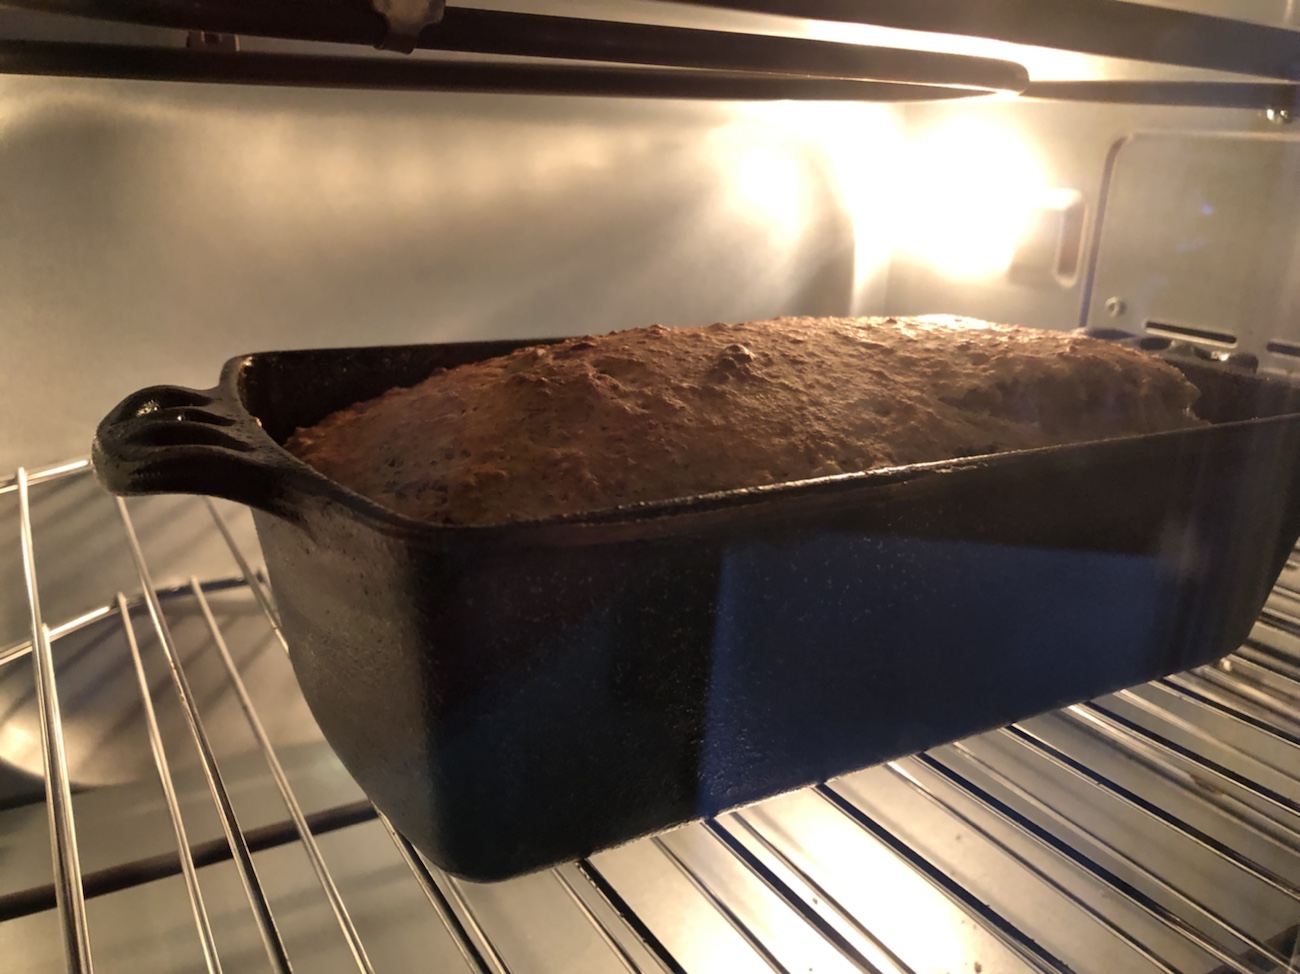
We like our baked goods, so we recently purchased some cast iron pieces that we hope will replace less sturdy and often poorer performing bakeware, like our everything-sticks-in-them muffin pans. This time, we’re using a cast iron loaf pan.
We’re big Lodge fans, but we had to try this Camp Chef pan because of the great reviews (I know, many reviews are suspicious, if not outright paid for) and the value pricing. Would it perform as well as other users say it does? Let’s find out.
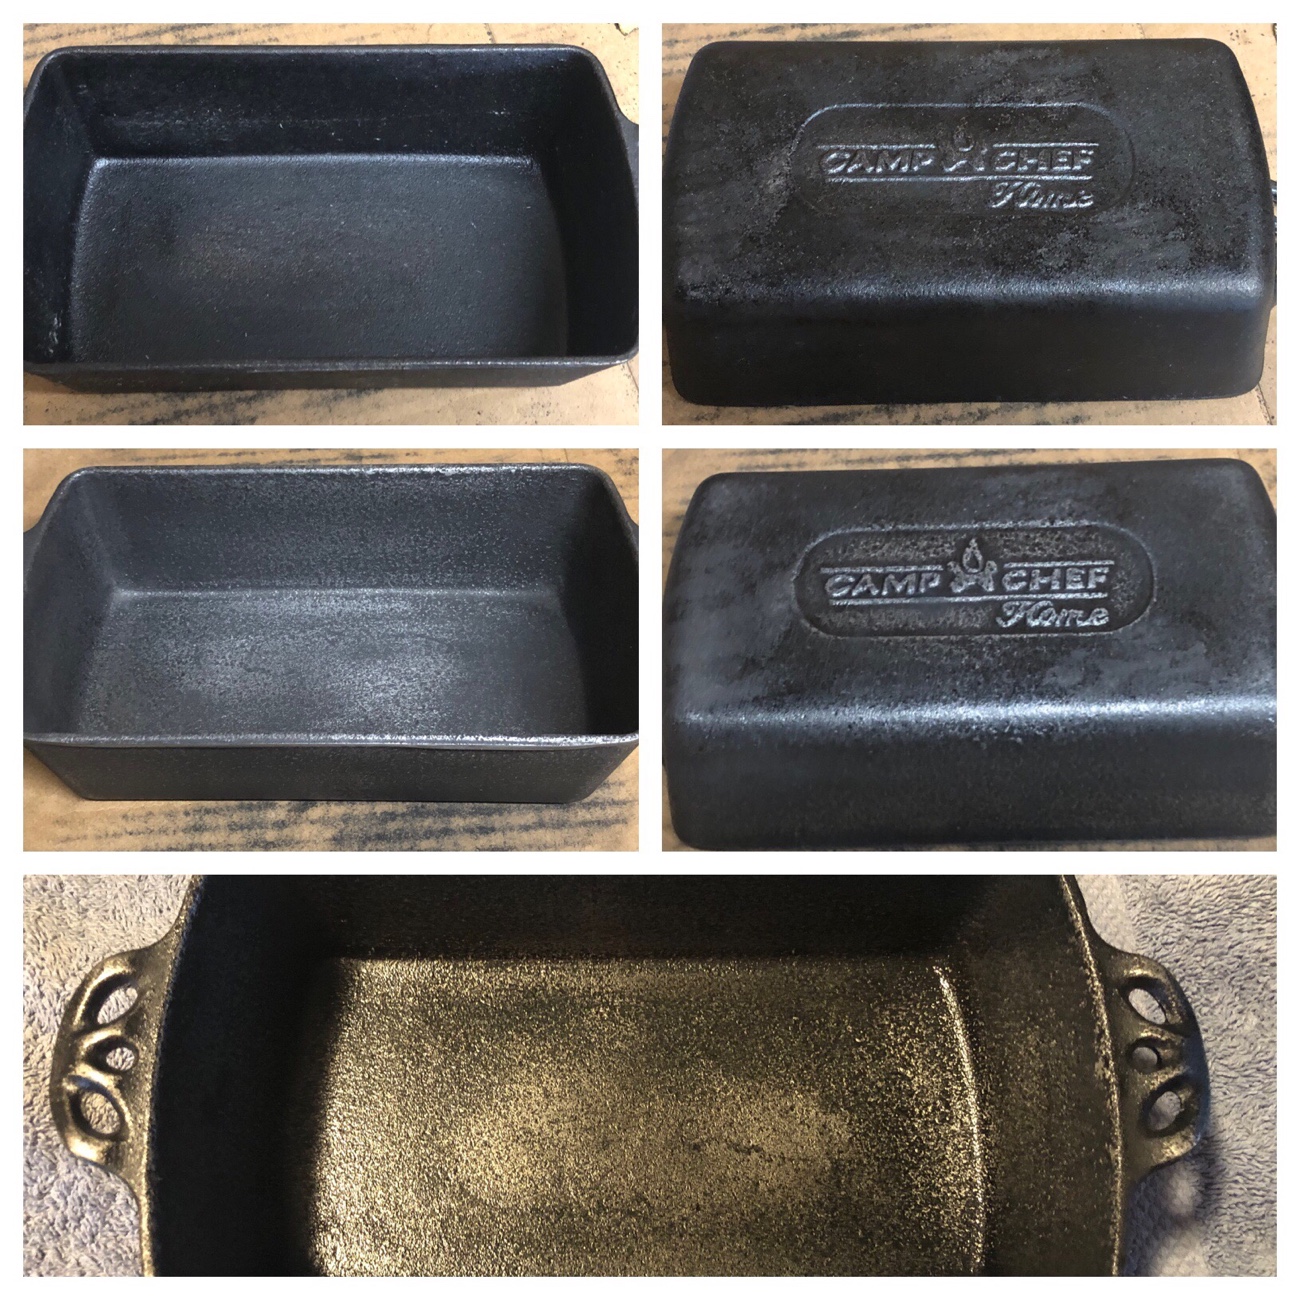
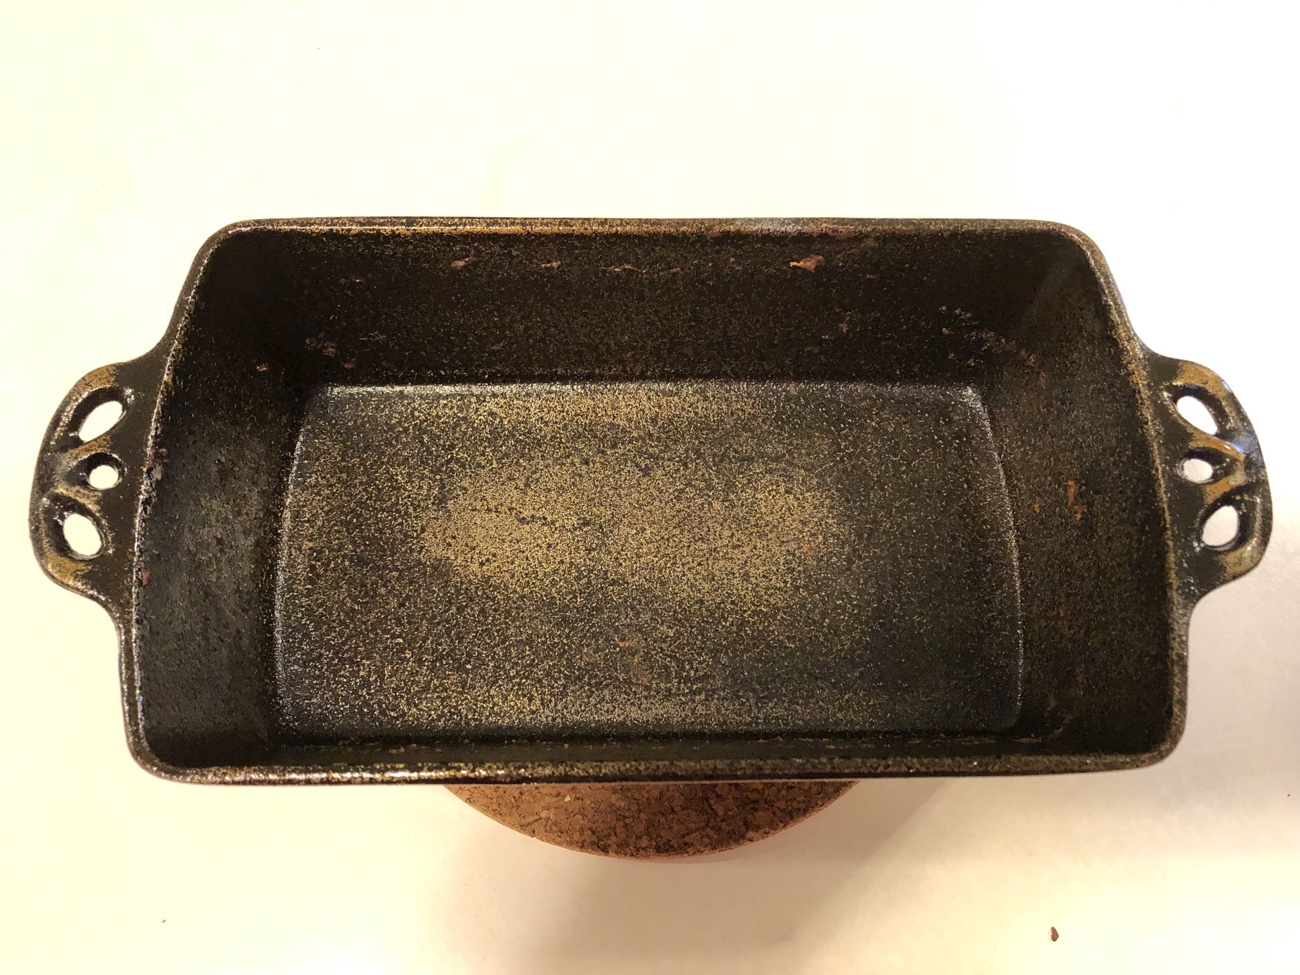
Out of the box, the loaf pan was pre-seasoned, but it’s not the prettiest cast iron I’ve seen. The finish was much rougher than the Lodge mini cake pan‘s finish – rough enough that a quick pass with oil left substantial paper towel lint behind. We generally grease pans with a paper towel soaked in oil (no spray oils here!), so this was going to be a problem.
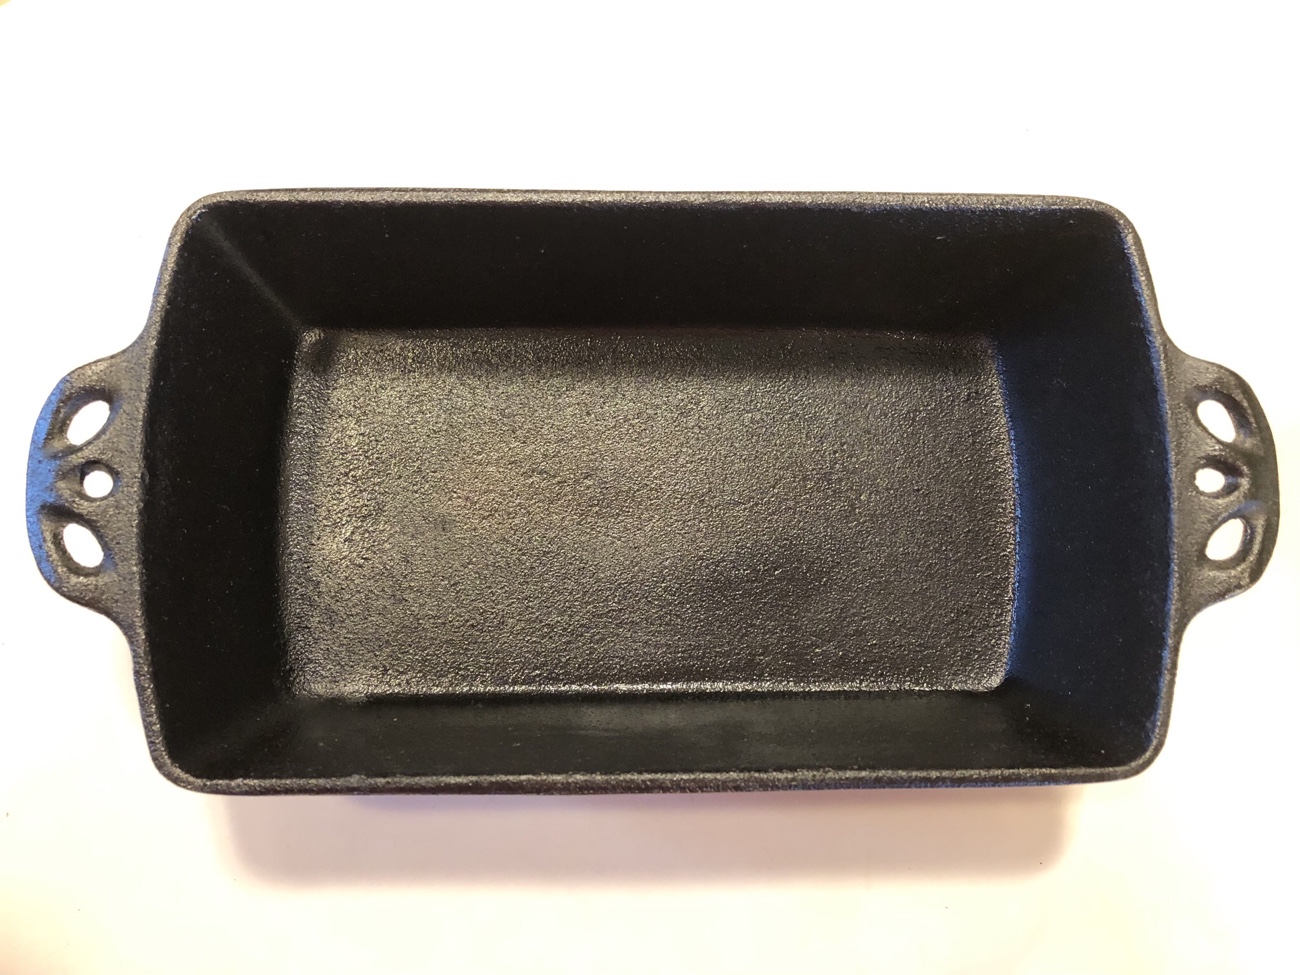
Or not. A brisk sanding with 80-grit sandpaper to slightly smooth the rough surface (just smoothing off the rough edges, not trying to polish it mirror smooth) and re-seasoning in the oven turned this pan’s rough finish into a smoother surface. So far, so good. But the real test was yet to come: baking in it.
Eager to try the newly re-seasoned pan out, I quickly turned several spotty bananas loitering on the table into a vegan* banana bread batter. I poured that batter into the generously-oiled loaf pan and put it in the countertop oven (regular – not convection – bake…because I keep forgetting that it has the convection function).
Since it was the first time I’d used this banana bread recipe, I wasn’t sure how long it would actually need to bake. The instructions said 35-45 minutes, so I set the timer for 35 and kept an eye on it. At about 30 minutes, it was already brown on top. At 32 minutes, it was a little too brown, approaching scorched, on top. Nooooo! I pulled it out, irritated that I hadn’t just gone with my gut and pulled it out when it was perfectly brown, about 5 minutes early. Live and learn…we’ll call this one “extra brown”.
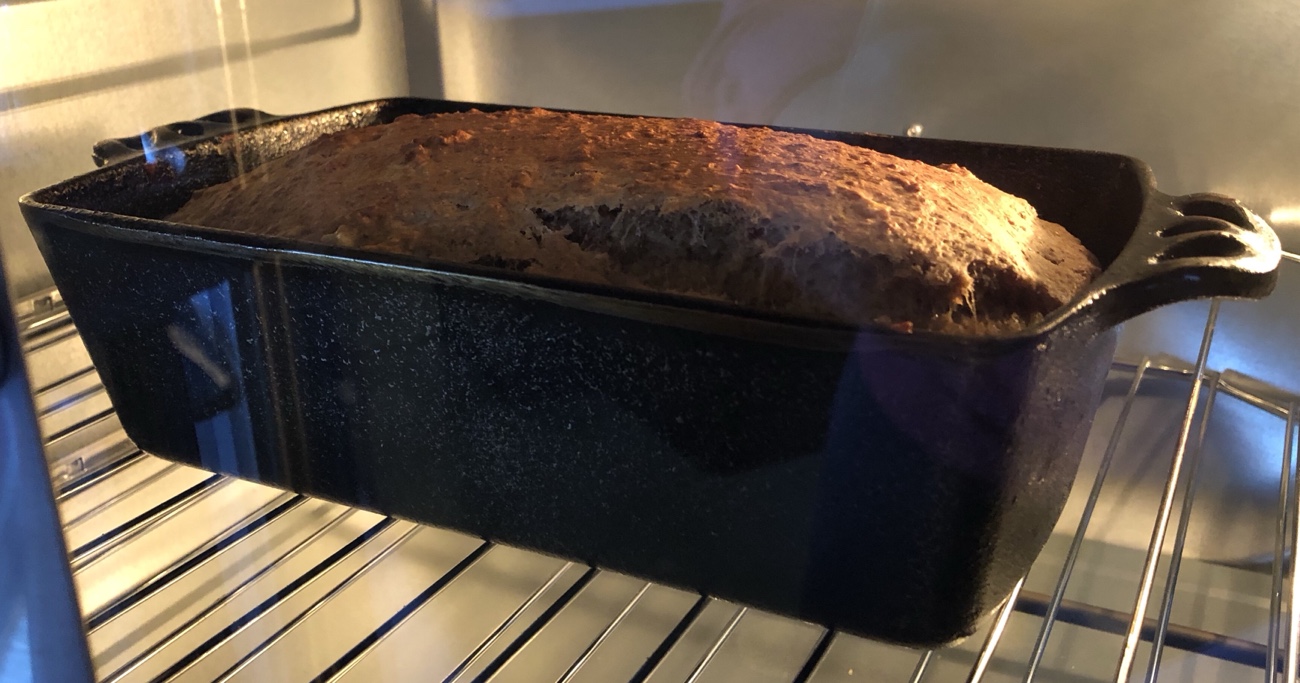
With a little trepidation, I grasped the pan’s handles with my silicone oven mitts and flipped the loaf over the cooling rack. Would it release or would I need to dig it out, like with my old muffin pans? After a long second, it easily slid out of the pan onto the rack. Success!
I did make a few tweaks to the recipe, using:
- Half white and half wheat flour
- *A flax egg instead of a chicken egg
- *Coconut oil instead of butter
- 3 Tbsp (raw) sugar total, skipping the 2 extra Tbsp sugar
- 1 Tbsp ground psyllium husks
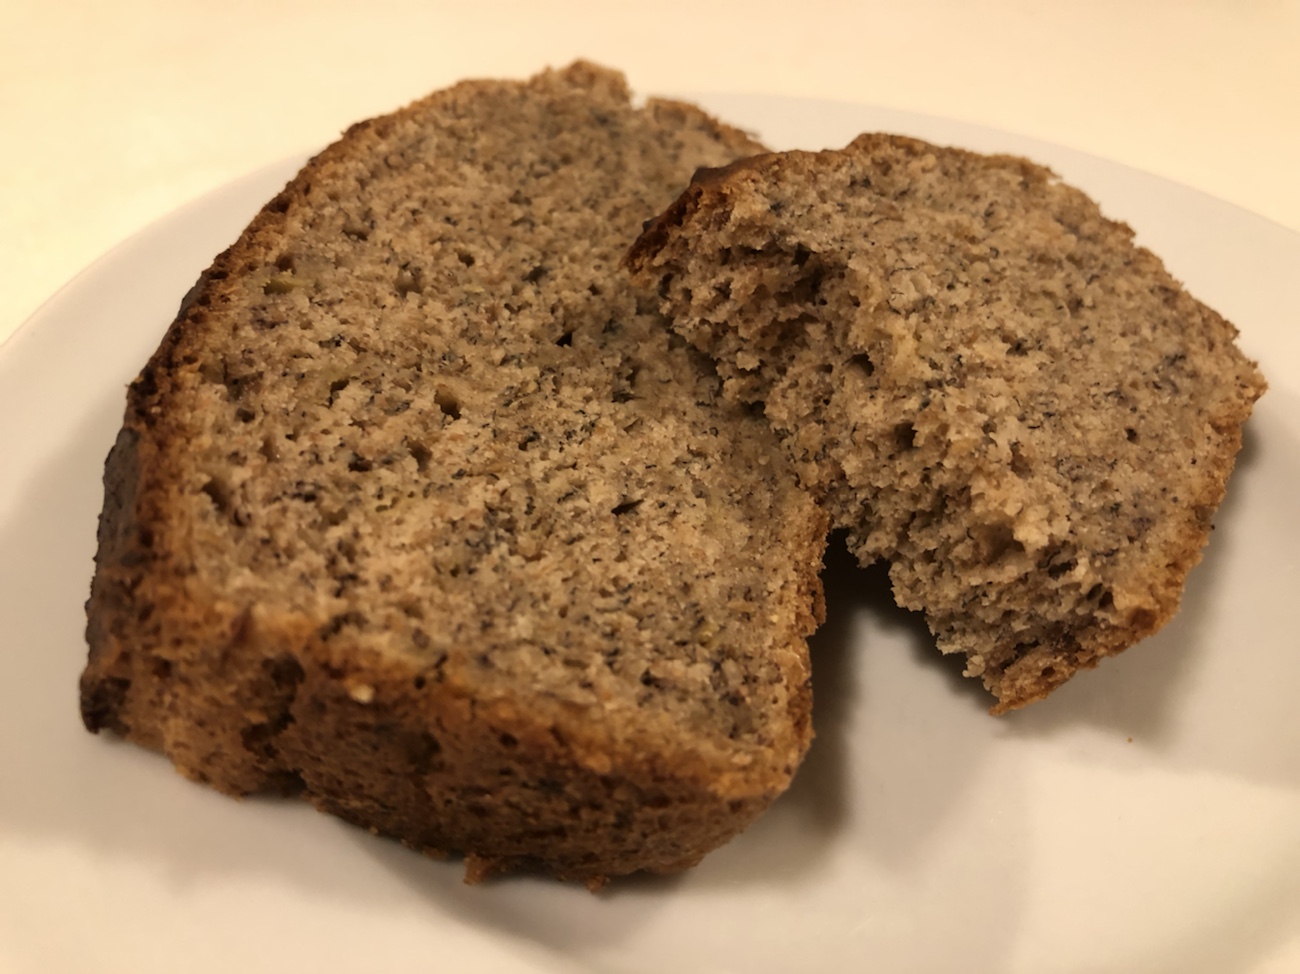
The in-house food critic gave the finished bread a thumbs-up (after having expressed concern earlier about using “his” bread pan, presumably because Audrey would notice it had been sullied, I guess). I think the finished bread had great banana flavor and moistness, but I’ll add chopped walnuts next time for more texture.
For our second test, we baked a sourdough loaf (thanks, Audrey!) in the pan. Once again, it performed as well as it did previously with the banana bread, producing a tall loaf that required just a little coaxing (slipping a silicone spatula around the sides) to get it out of the pan. It’s not quite the golden brown that we were getting with a non-stick steel loaf pan, but adjusting the time and/or temperature should get the loaf to reach the perfect level of browning…and a cast iron non-stick surface is the best kind.
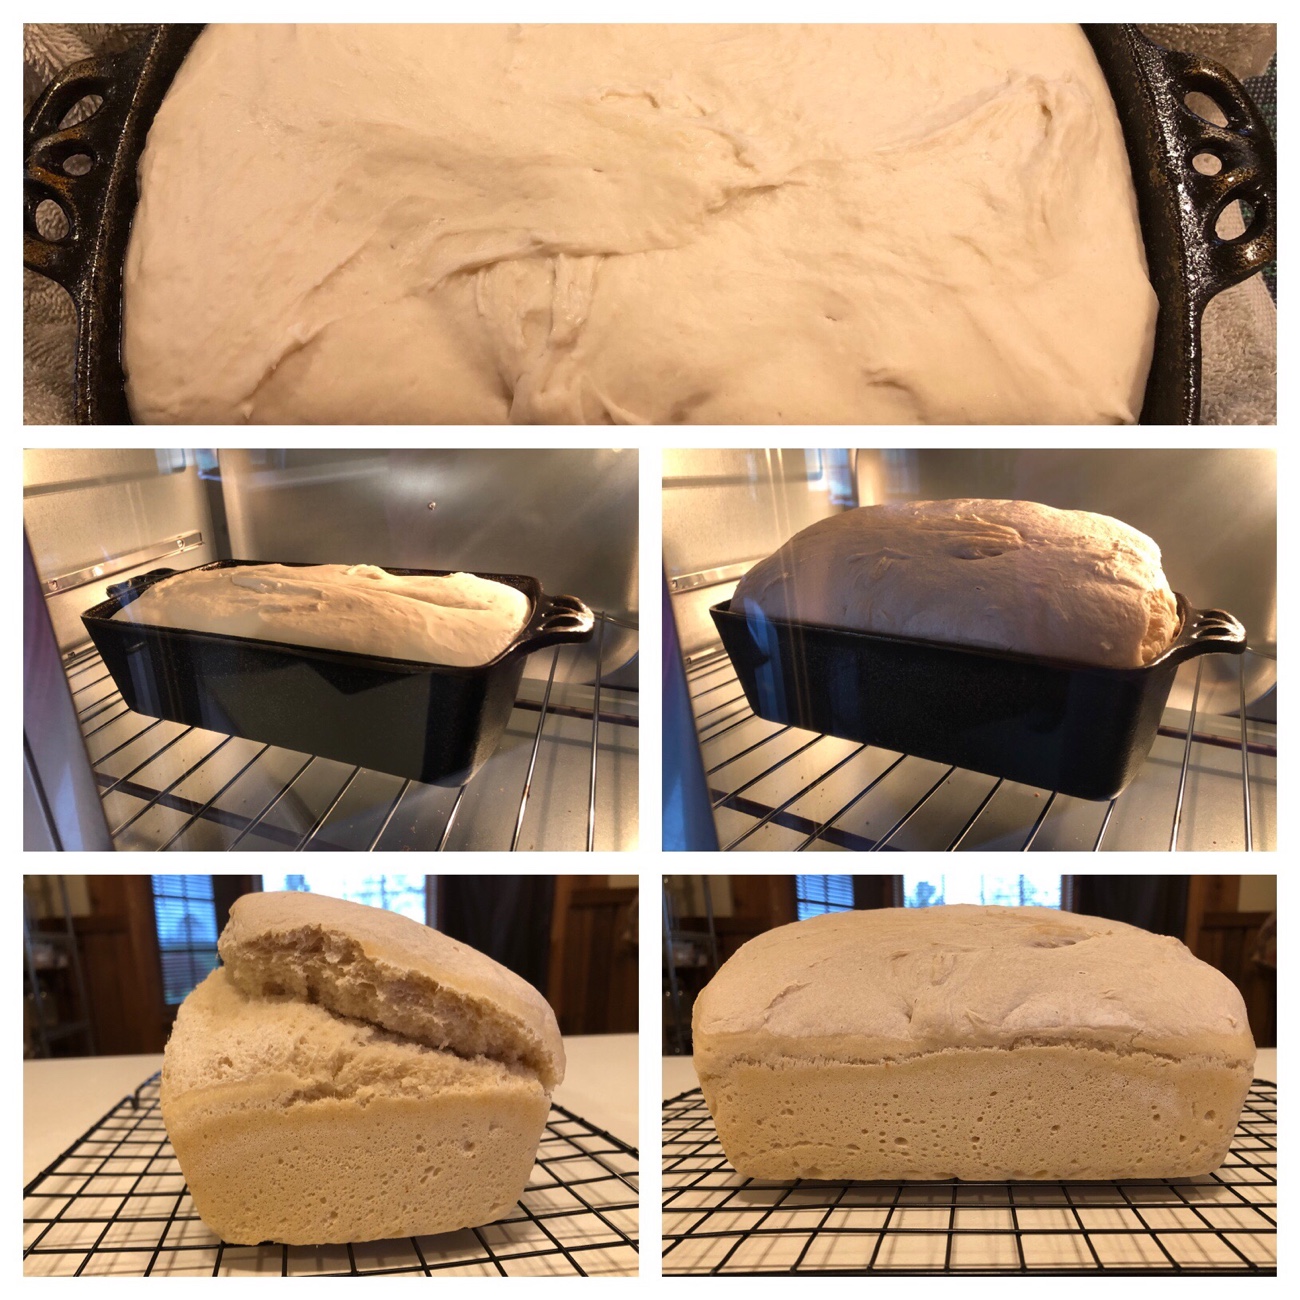
In sum, the cast iron loaf pan works well, and will be replacing our other loaf pans for regular use. As already mentioned, protective oven mitts are wise to use when handling the hot pan (cast iron takes hot to a whole new level – and it’s hot everywhere) and the short handles on the sides of the pan combined with the weight can make for an awkward experience trying to invert the pan to get the loaf out. I chalk this up to just being part of the learning curve with any new bakeware, and look forward to many future loaves baked in this pan.
Like cast iron? Stay tuned for more cast iron adventures!

Comments are closed.