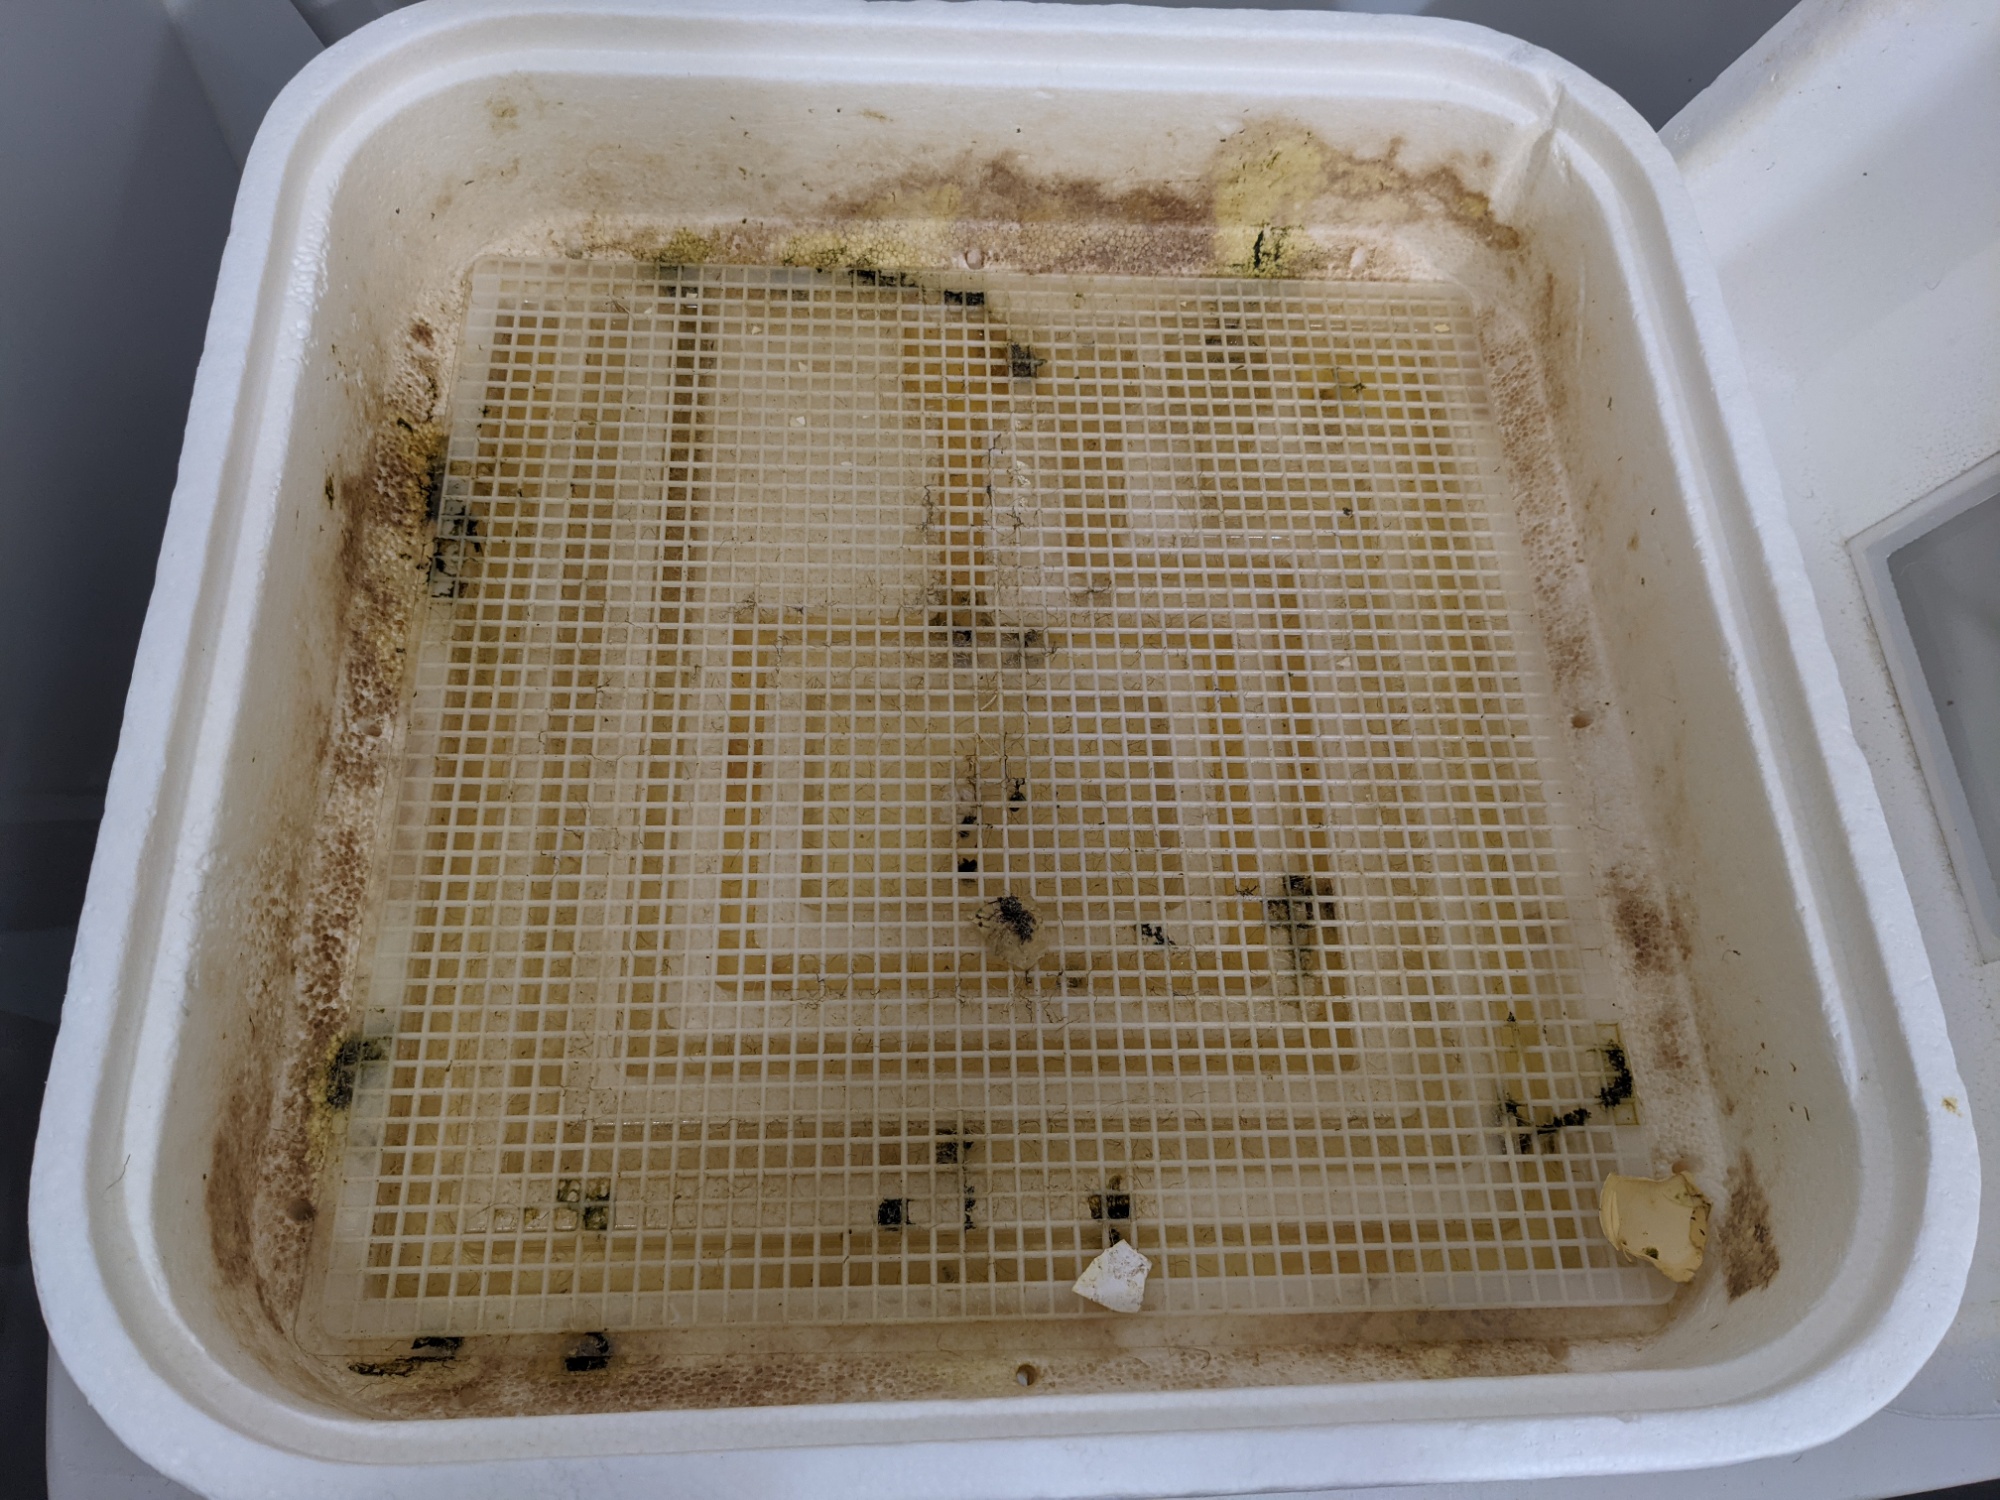
Over the years, I’ve artificially incubated eggs from chickens, guinea fowl, ducks, and geese. When the excitement of the hatch is over, an unpleasant – but important – task awaits: cleaning out the befouled hatcher. And procrastination is not your friend.
Though I began my incubating journey by incubating and hatching eggs in the same incubator, I quickly realized that a dedicated hatcher would allow greater flexibility (like staggered hatches), provide more space for hatchlings, and ensure that more expensive incubators stayed cleaner. After purchasing an inexpensive – and unreliable – still air incubator as a hatcher, I realized that I’d need to shell out a bit more money to get a better unit.
After much research, I landed on the Hova-Bator 2370, a circulated air incubator made by GQF. It’s arguably not as fancy as my Hova-Bator 1588 units, but it holds temperature and humidity like a champ and is comparably sized. At about $80, it cost roughly twice what the first hatcher I purchased cost, but the performance is far superior…and the last thing you need during lockdown is additional stress from temperature fluctuations!
Another unique feature of the HB 2370 is that it also has the ability to be converted, simply by disconnecting a wiring harness, to a still air hatcher. I don’t use it this way because I tend to open the hatcher during the hatch and therefore value its ability to recover temperatures quickly afterward, but this flexibility may be an asset, depending on the species of eggs being incubated.
Ok, enough about the hatcher itself. I’ll wrap this part up by saying that if I needed an affordable tabletop incubator in the future, I’d likely choose the HB 2370 over the 1588, which runs nearly twice the 2370’s cost. The 2370’s performance is solid, and running humidity at 70%+ during the hatch (sometimes spiking upwards of 80%+ as wet hatchlings emerge from their shells) hasn’t posed a problem – but the 1588 has a warning on the unit that the humidity shouldn’t go above 65%. What??
So, after waterfowl like our wonderful goslings have hatched, they leave all kinds of colorful (green, black, yellow) hatching gunk inside the hatcher. If the hatch goes long, or a weaker hatchling needs to stay in the hatcher for an extra day or two, those substances become a crust on the styrofoam that can be a challenge to remove. And that hatcher needs to be thoroughly cleaned and disinfected prior to the next hatch.
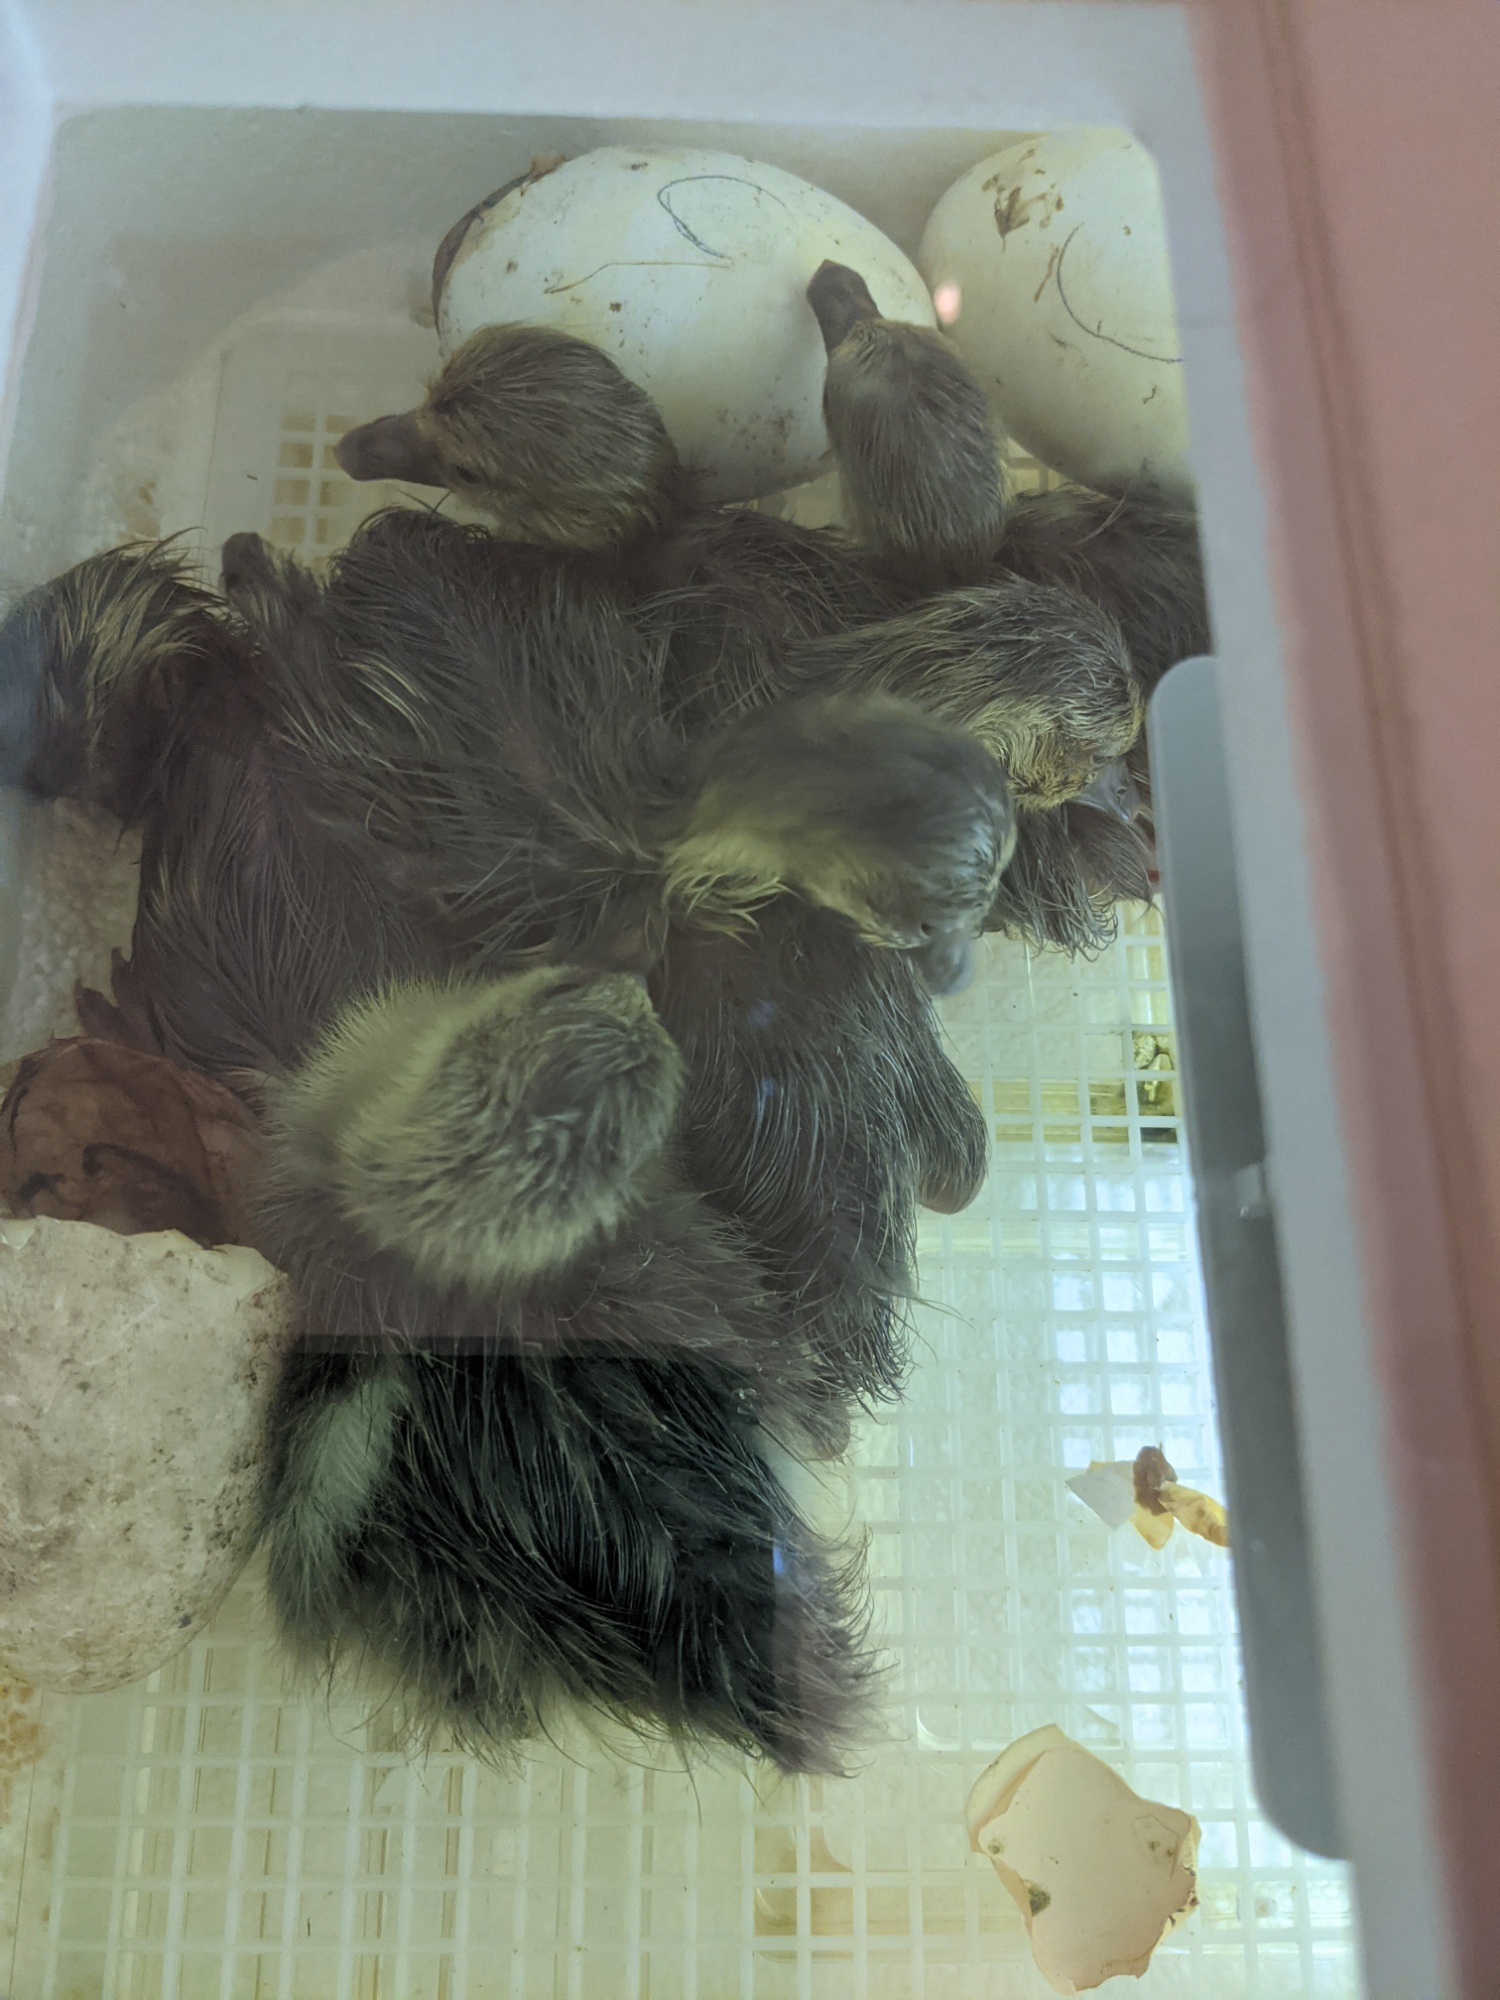
I detailed the process in a previous post; the short version is that I wash the bottom parts of the hatcher (the styrofoam bottom piece, the plastic “liner” with the water channels, and the plastic mesh floor) with liquid dish soap and water, followed by (diluted) bleach disinfection and, if the weather permits, UV disinfection. Even the filthiest hatcher can be returned to a respectable-looking and clean state with some elbow grease, cleaning agents, and scrubbing tools. And the sun!
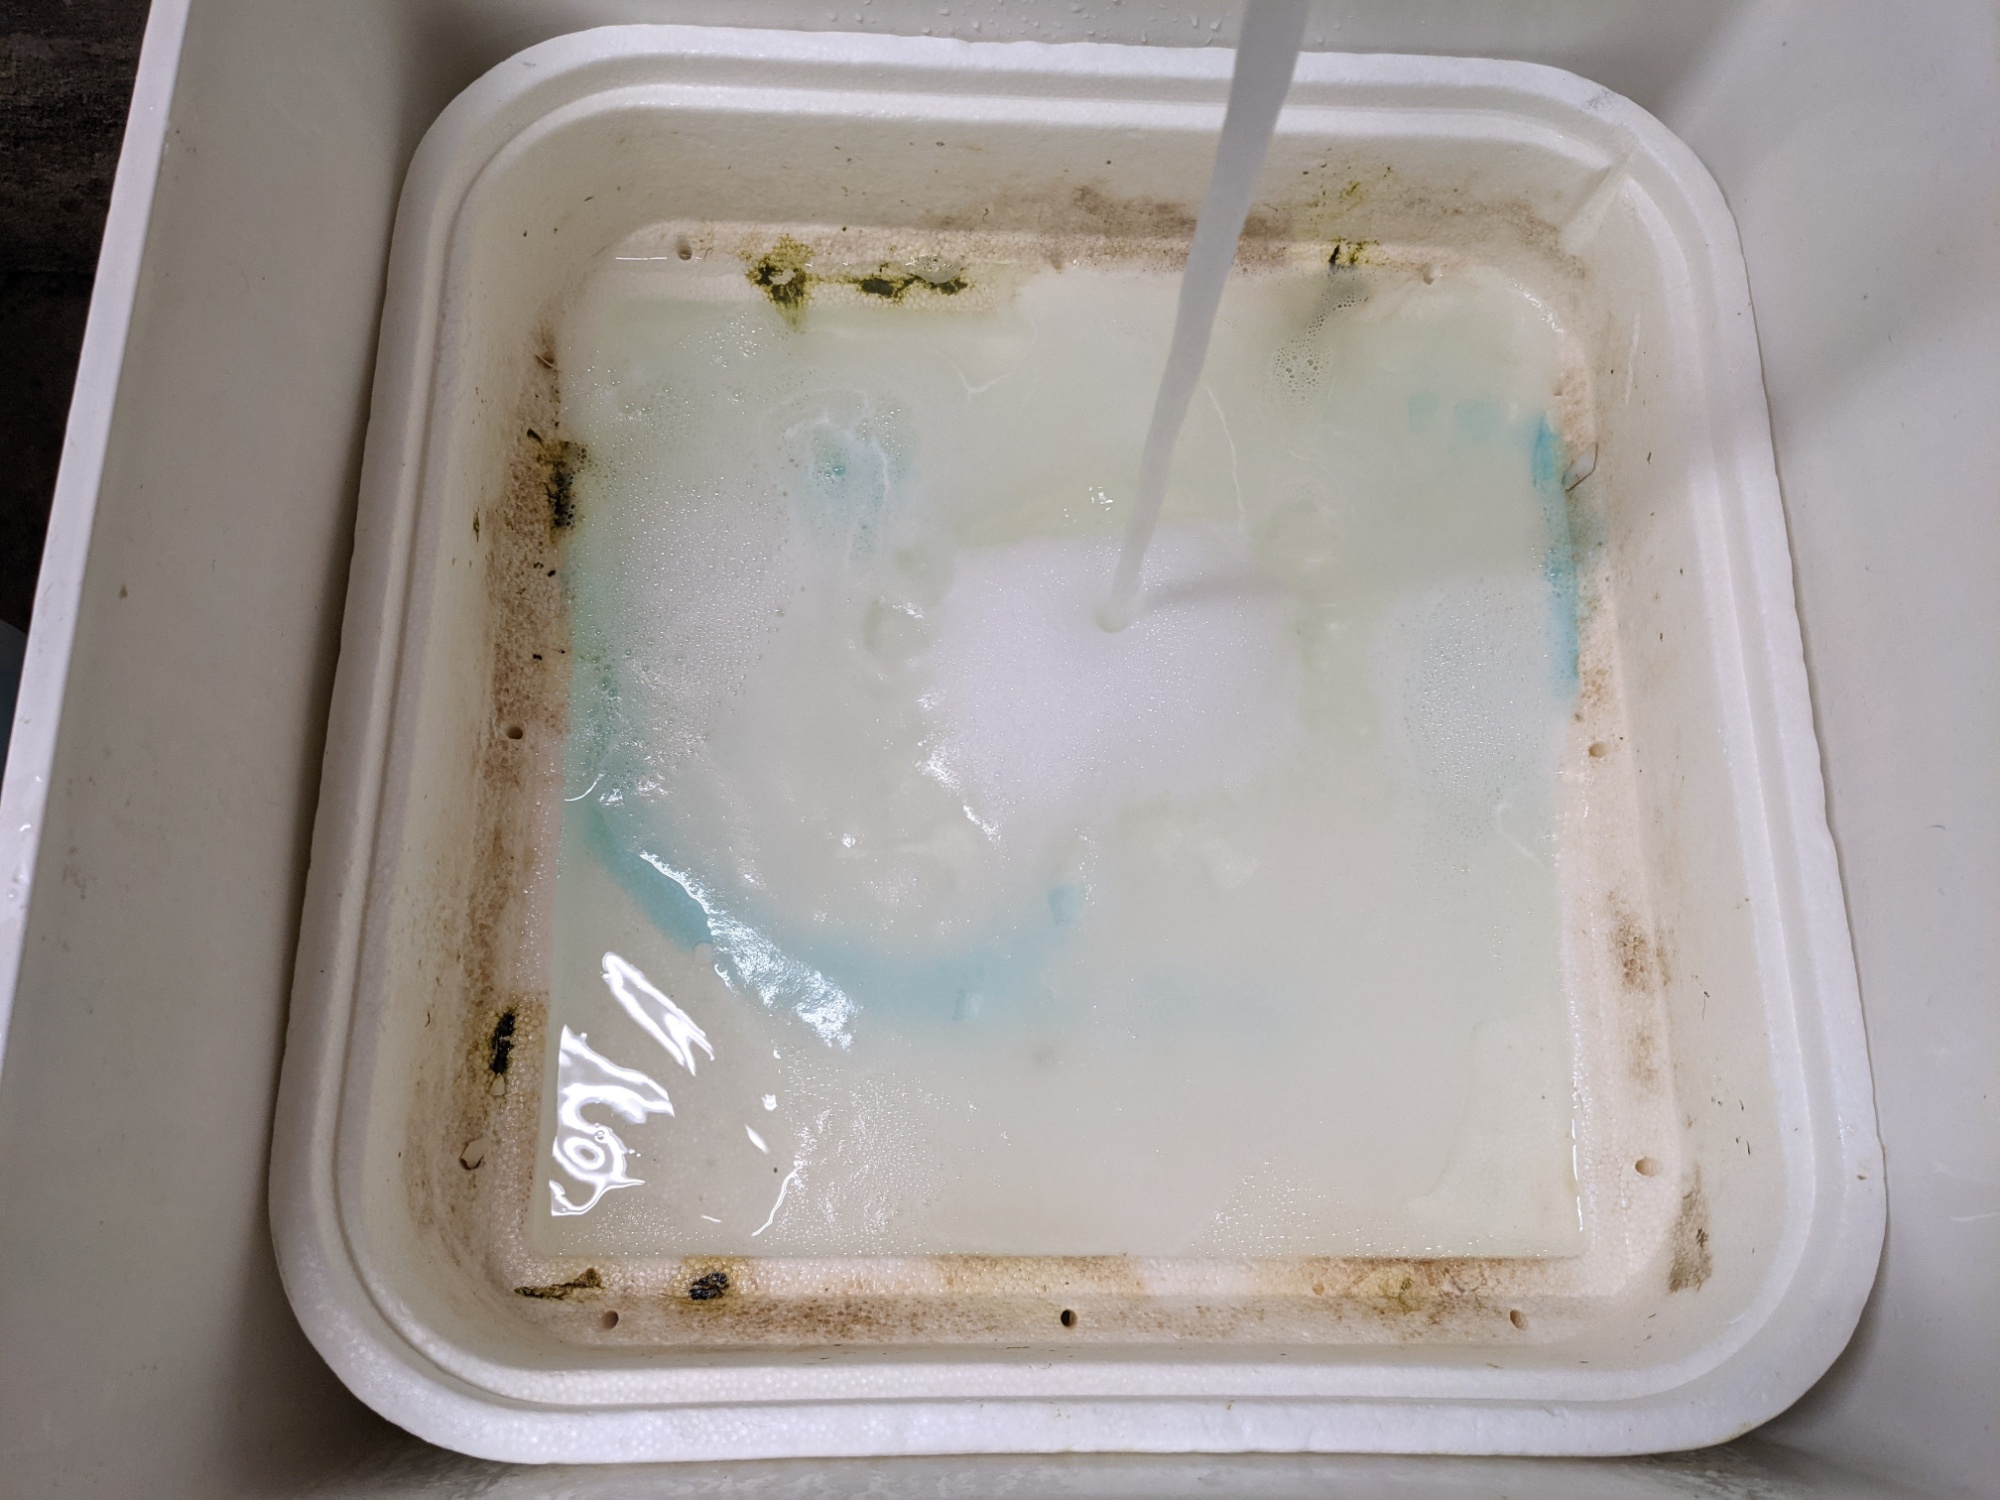
Soak 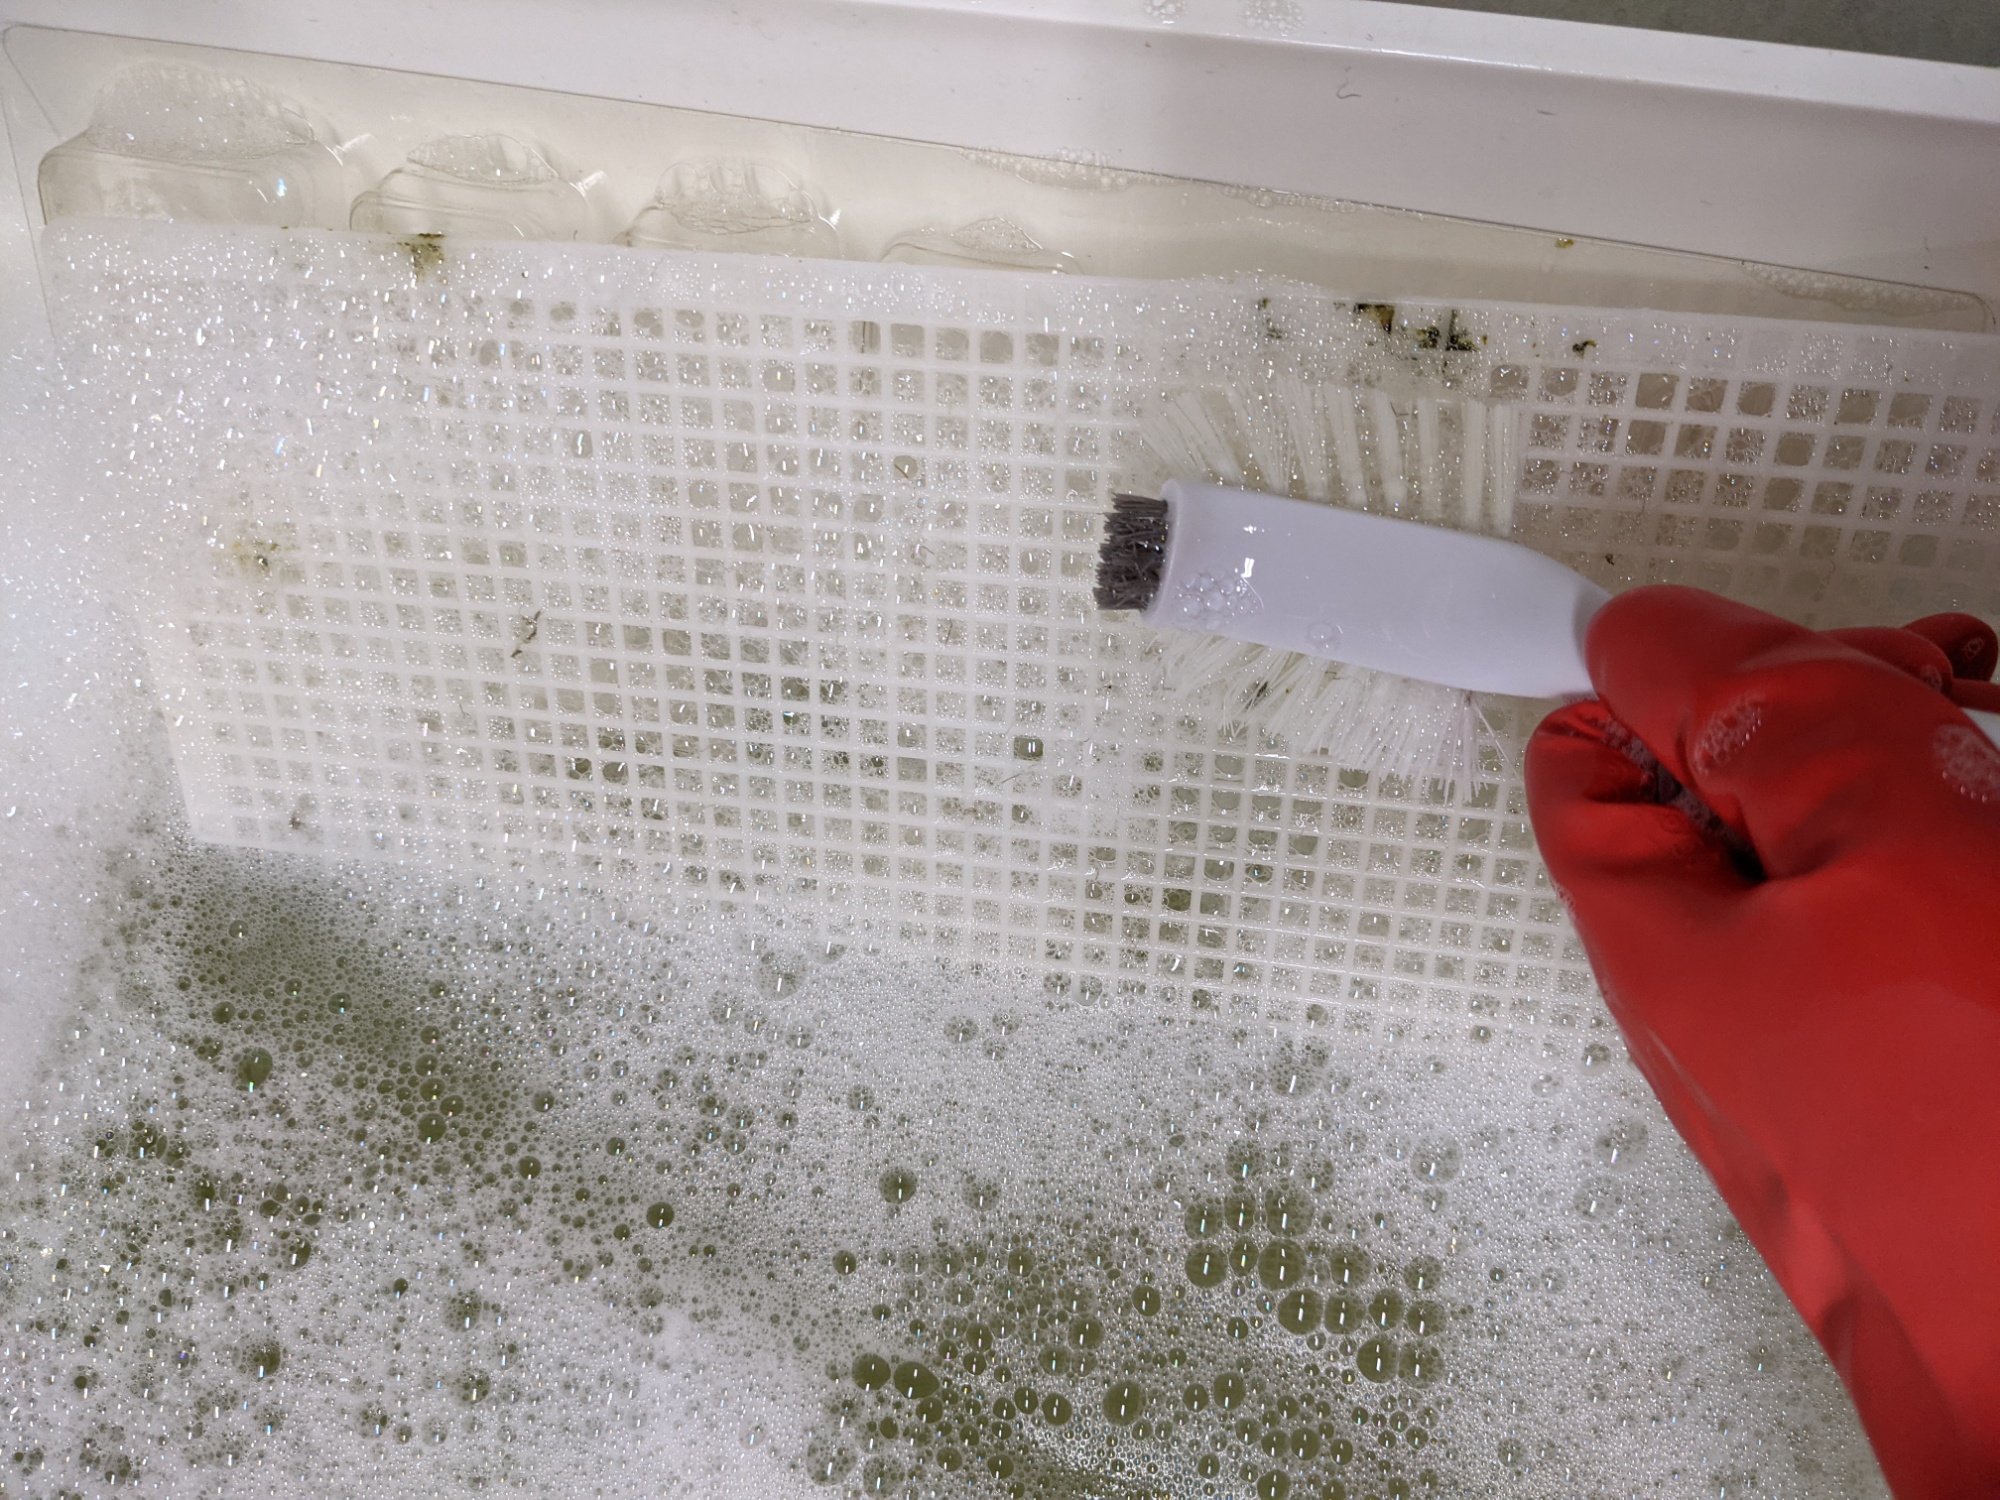
Scrub 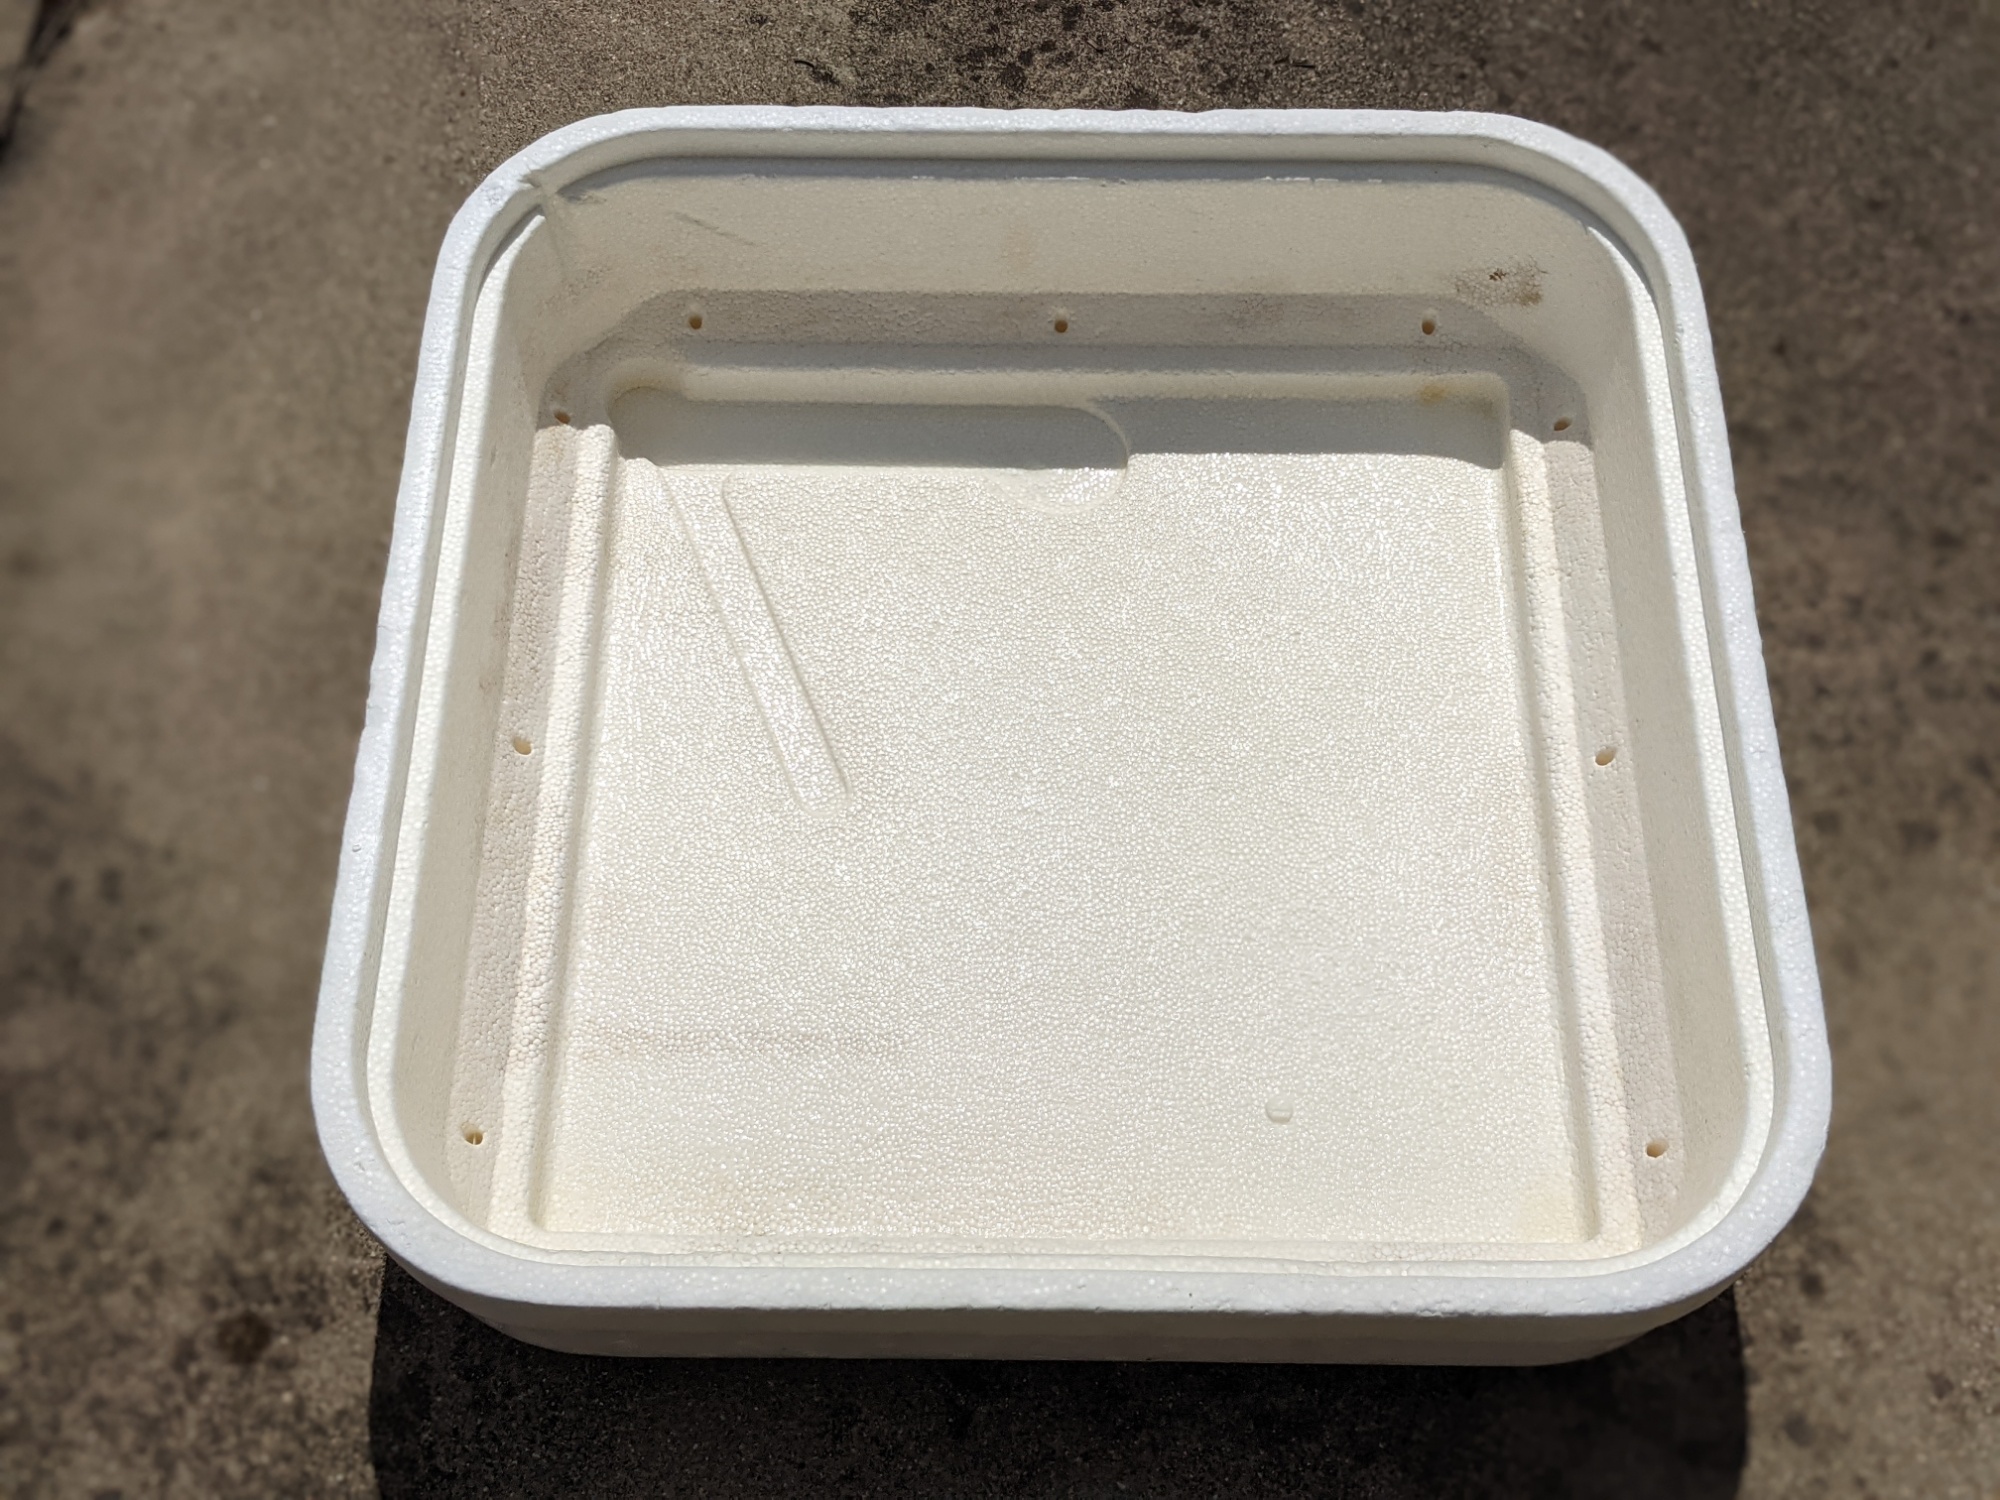
UV disinfection 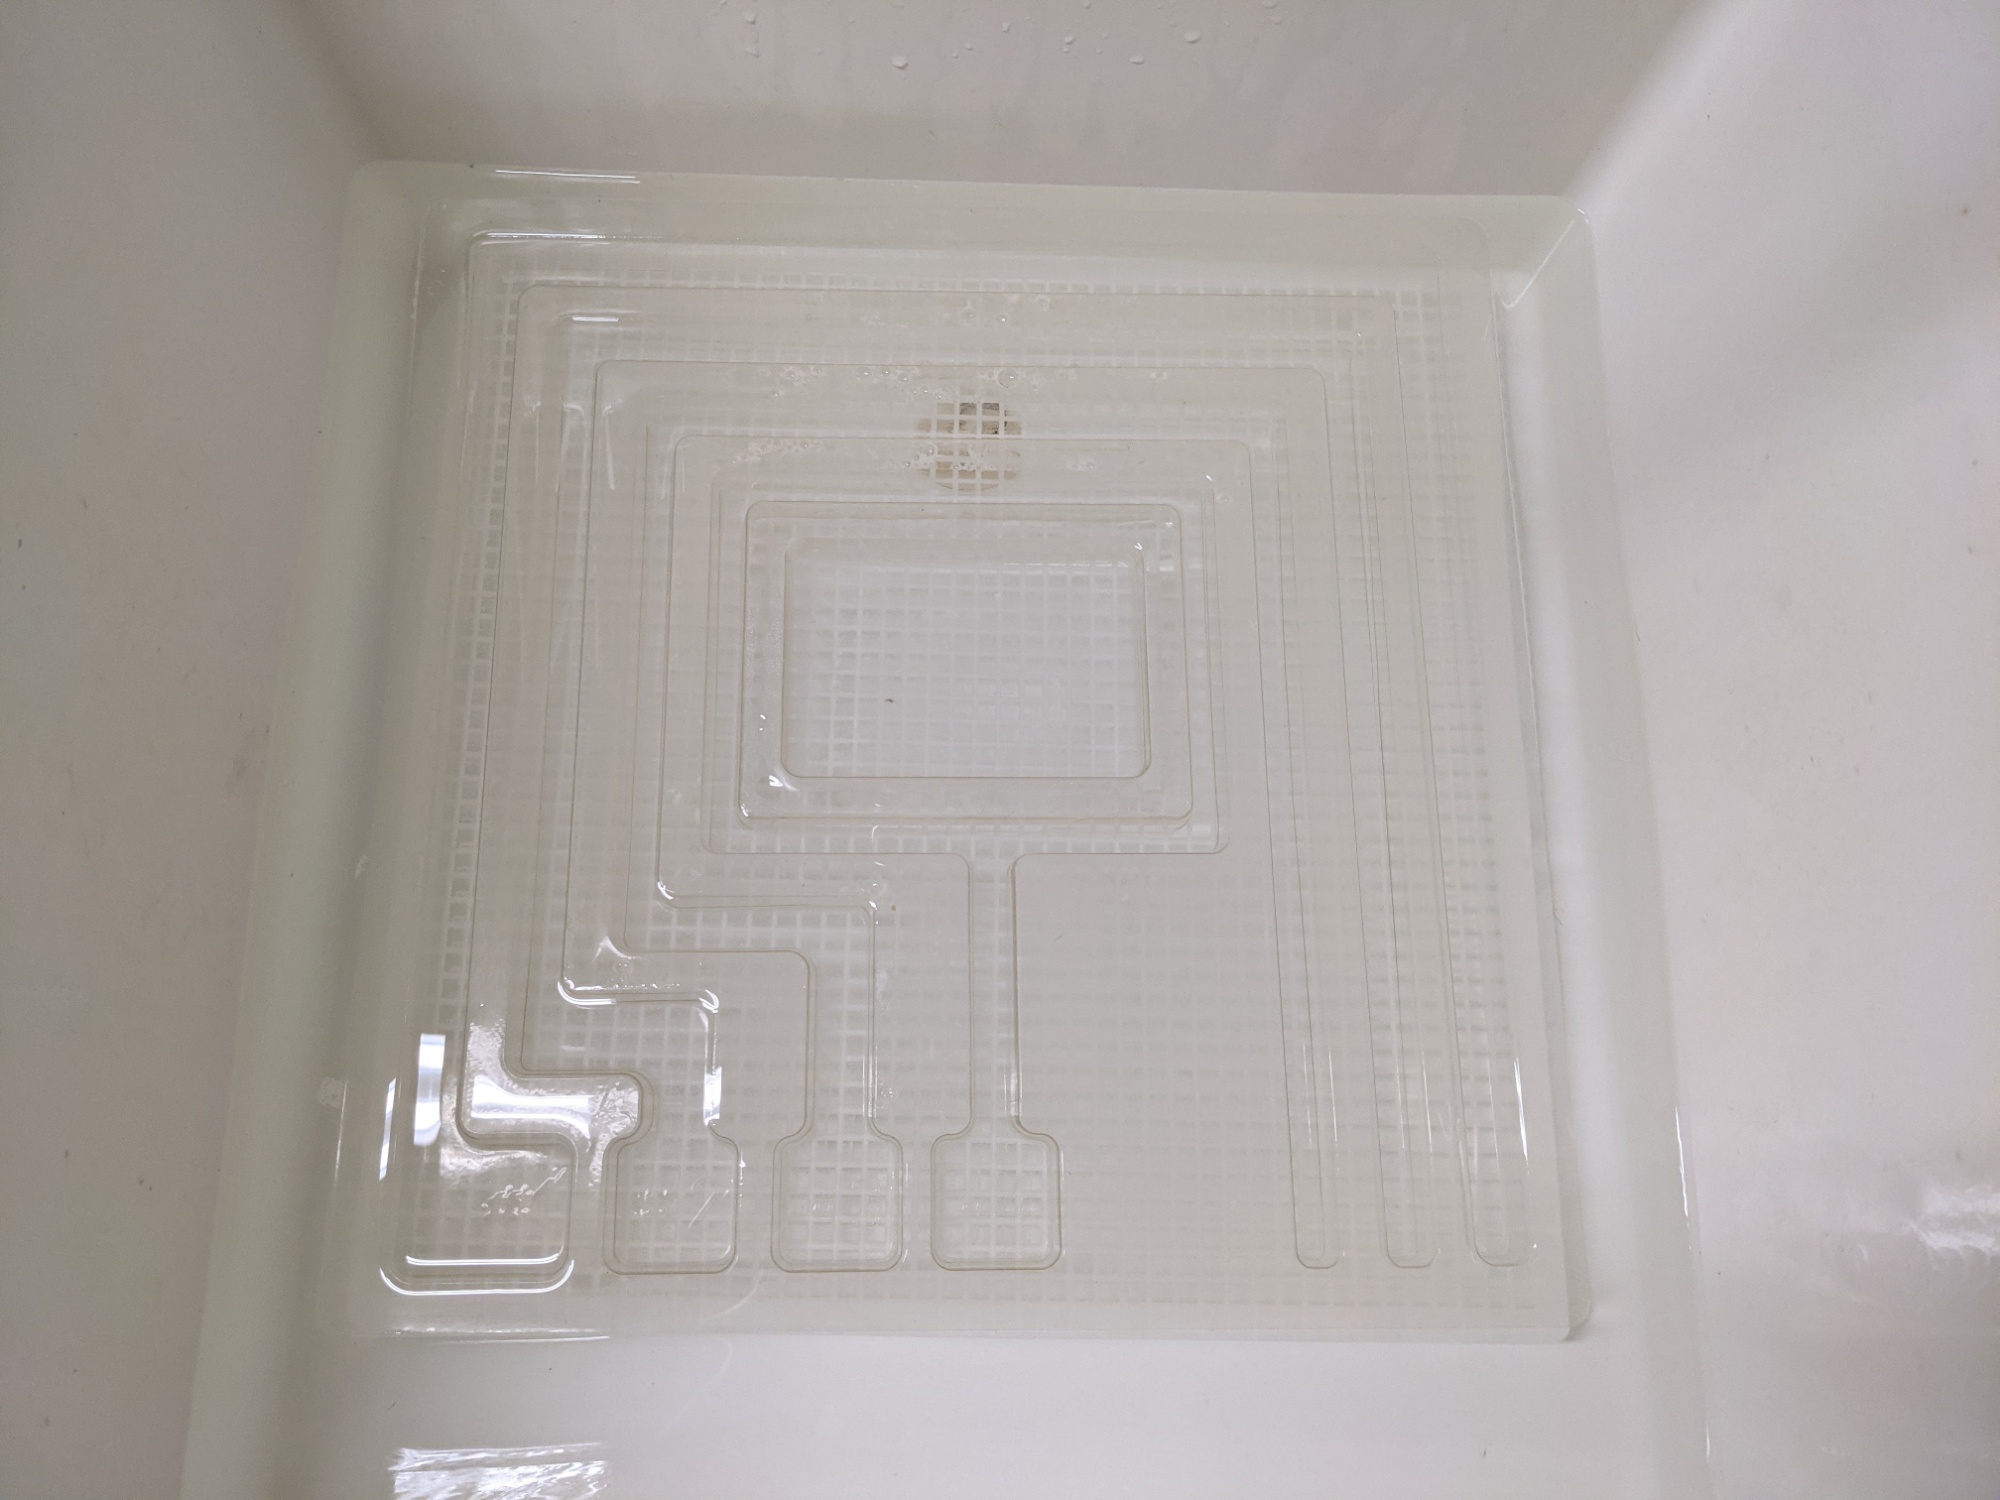
Bleach disinfection
It’s truly important to begin cleaning the hatcher as soon as possible after the hatch wraps up – dander and down get caught in the fan, and the warm, wet conditions inside the hatcher are very hospitable to bacterial growth. With styrofoam, I have to scrub carefully to ensure that I don’t damage the material (it happens more easily than I’d like), so soaking it in warm water for a while helps loosen the gunk and facilitate cleaning without risking damage to the unit. Should the bottom piece of the hatcher become damaged or otherwise unsalvageable, GQF offers a replacement.
Each time I don my rubber cleaning gloves and start filling my utility sink with warm water and soap, I remind myself that keeping the hatcher clean means creating a healthy environment for hatchlings to begin their lives…and after the herculean task of getting out of that egg, they can use all the advantages they can get!
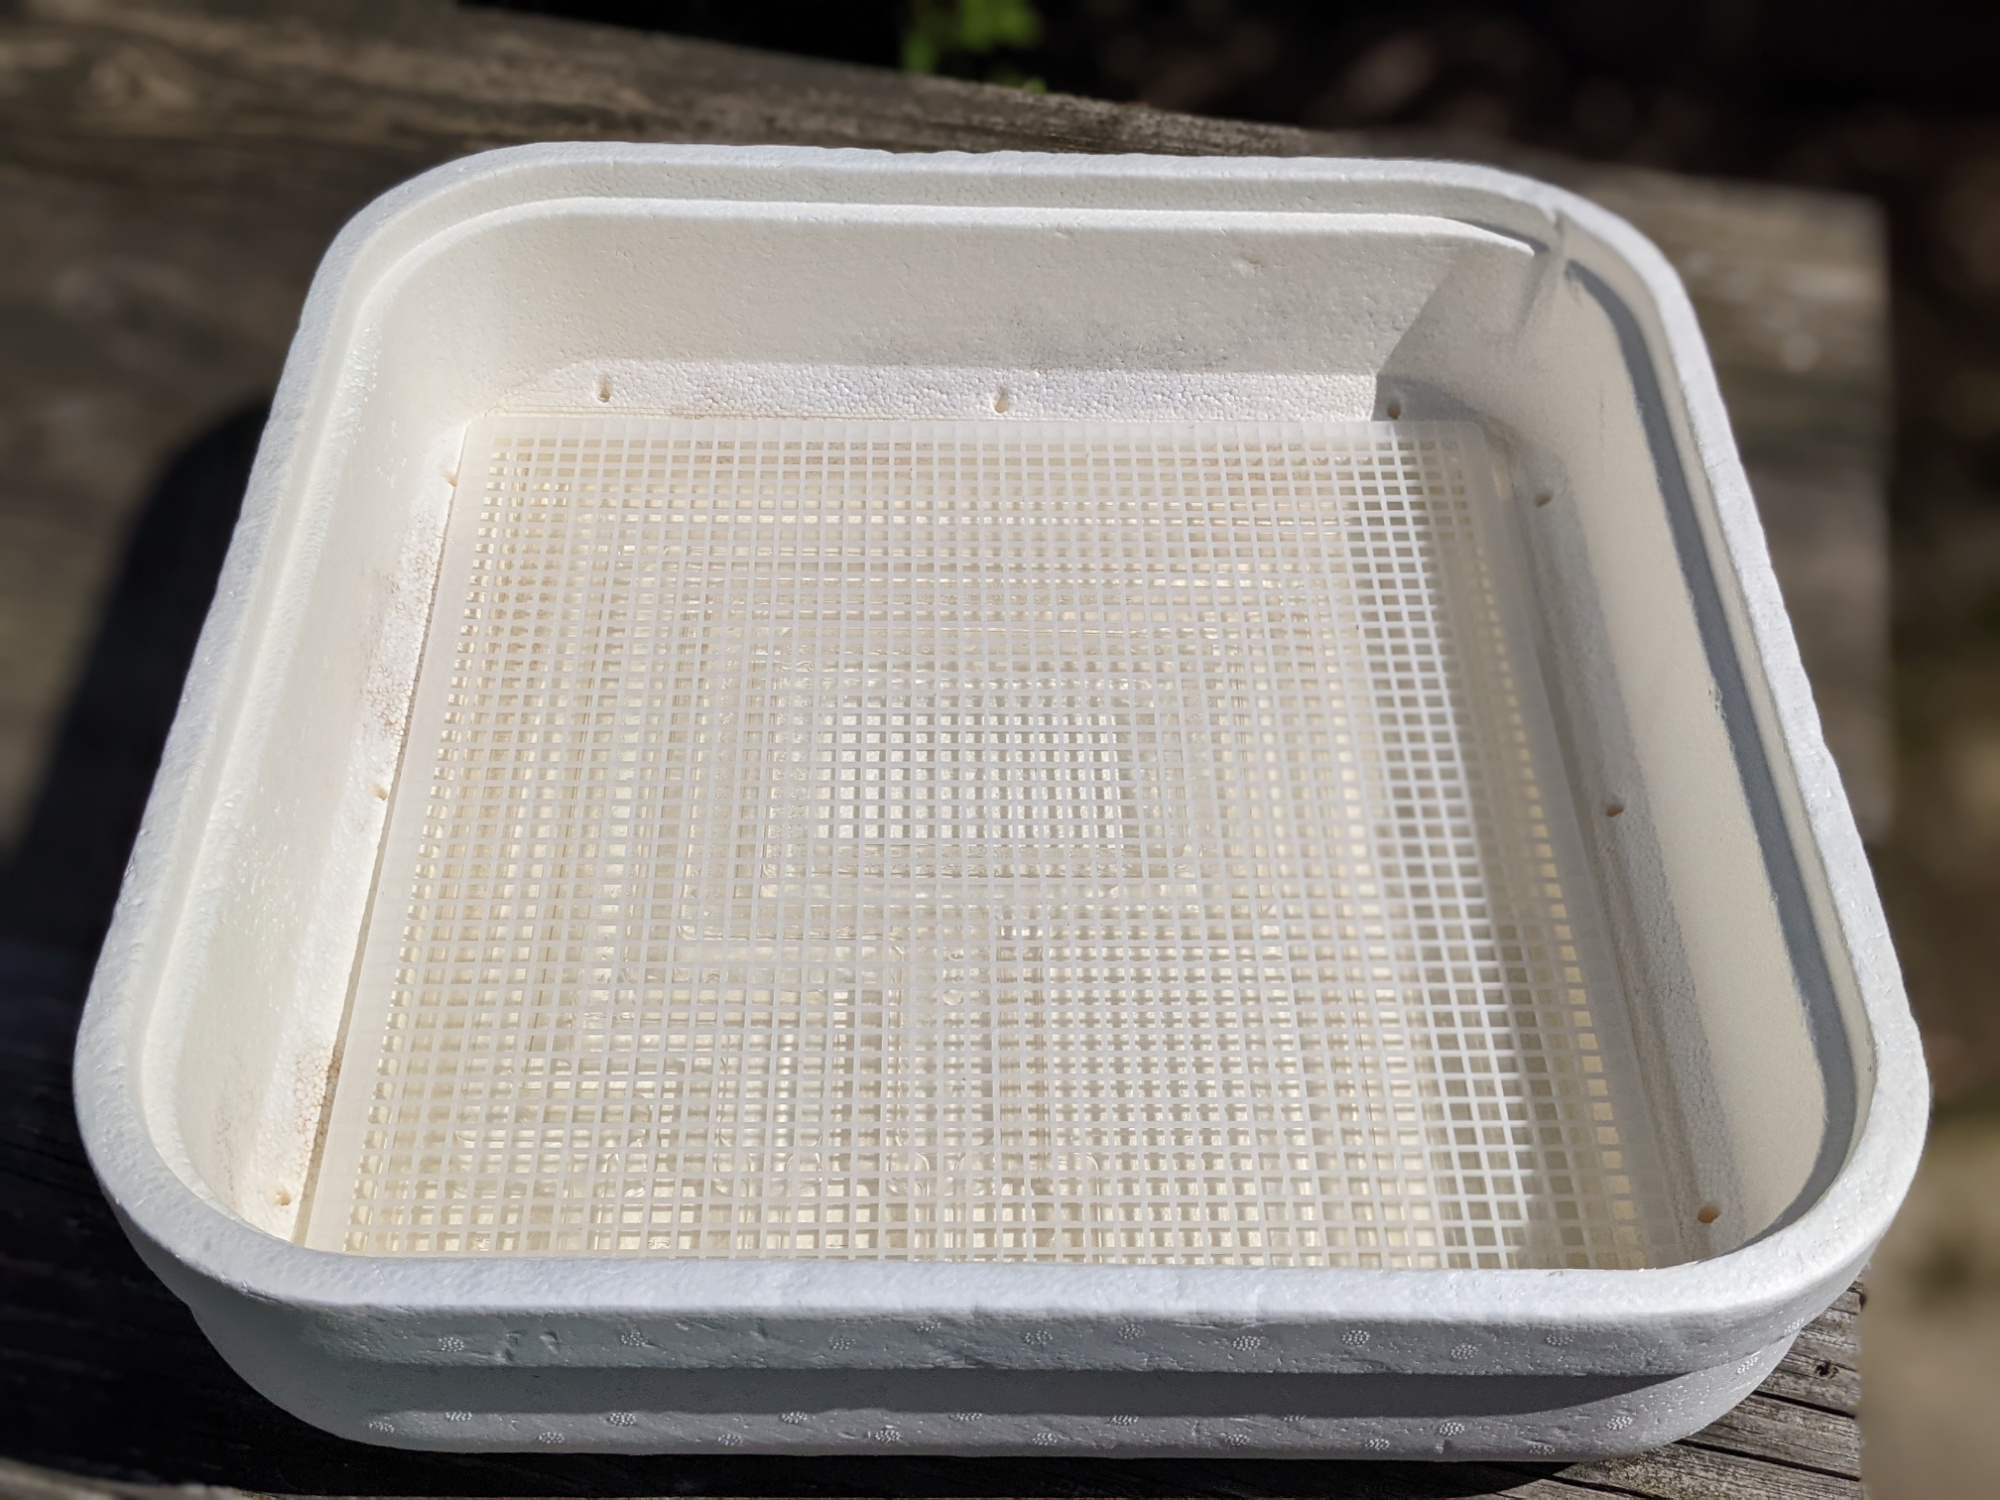
If you’re artificially incubating eggs this season, don’t forget the importance of post-hatch cleanliness and clean that hatcher like you mean it – your future hatchlings’ lives may depend on it.
