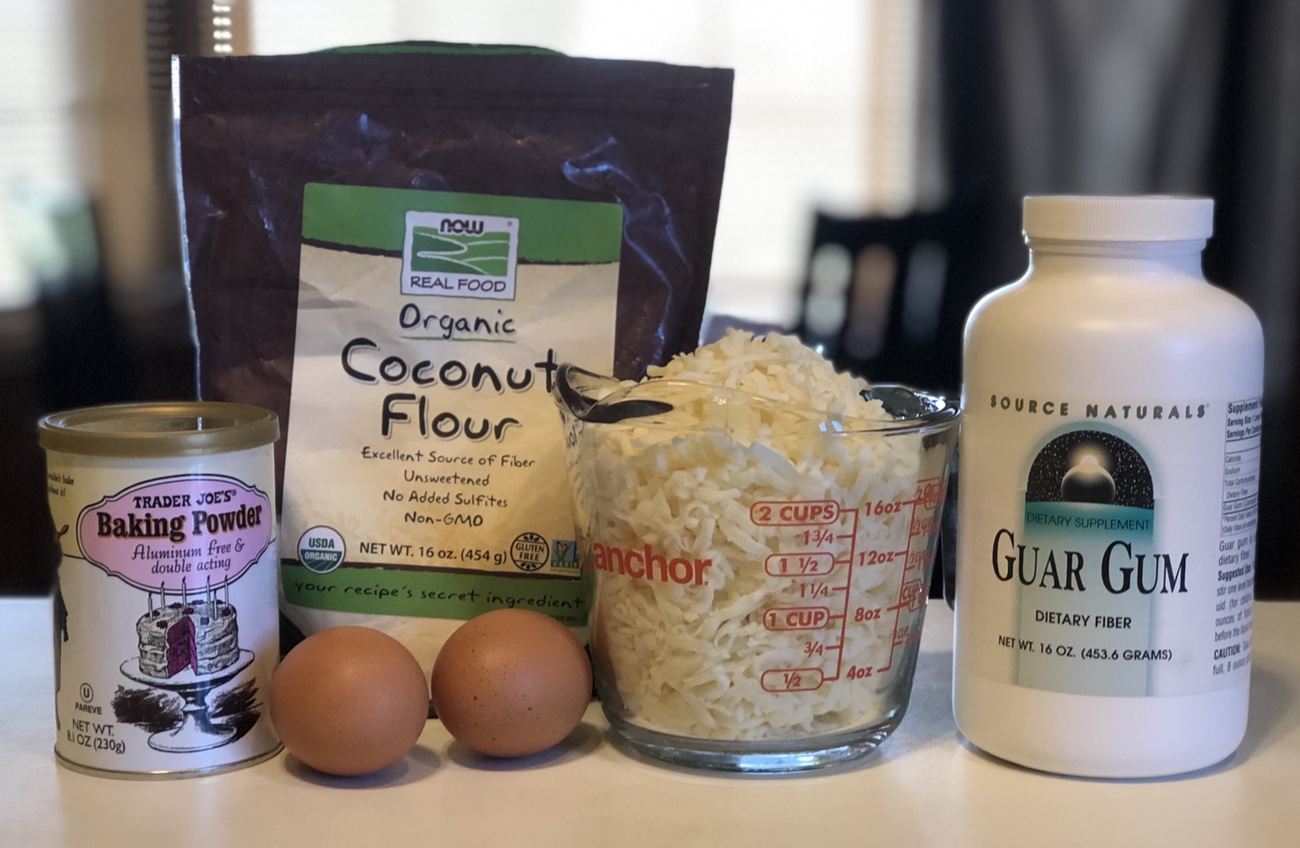
Diets come and go, and if you’ve ever been on one and followed it strictly, you understand why. I’ve dabbled in several and still enjoy making dishes that are low carb, gluten free, paleo, or vegetarian, for example. One of the more popular diets now is the Ketogenic diet, which is generally low carb and high fat. I wanted to try out the Chewy Keto bagel recipe I found (because who doesn’t love bagels?), and when I realized that I had all the ingredients needed already on hand, I had to try it!
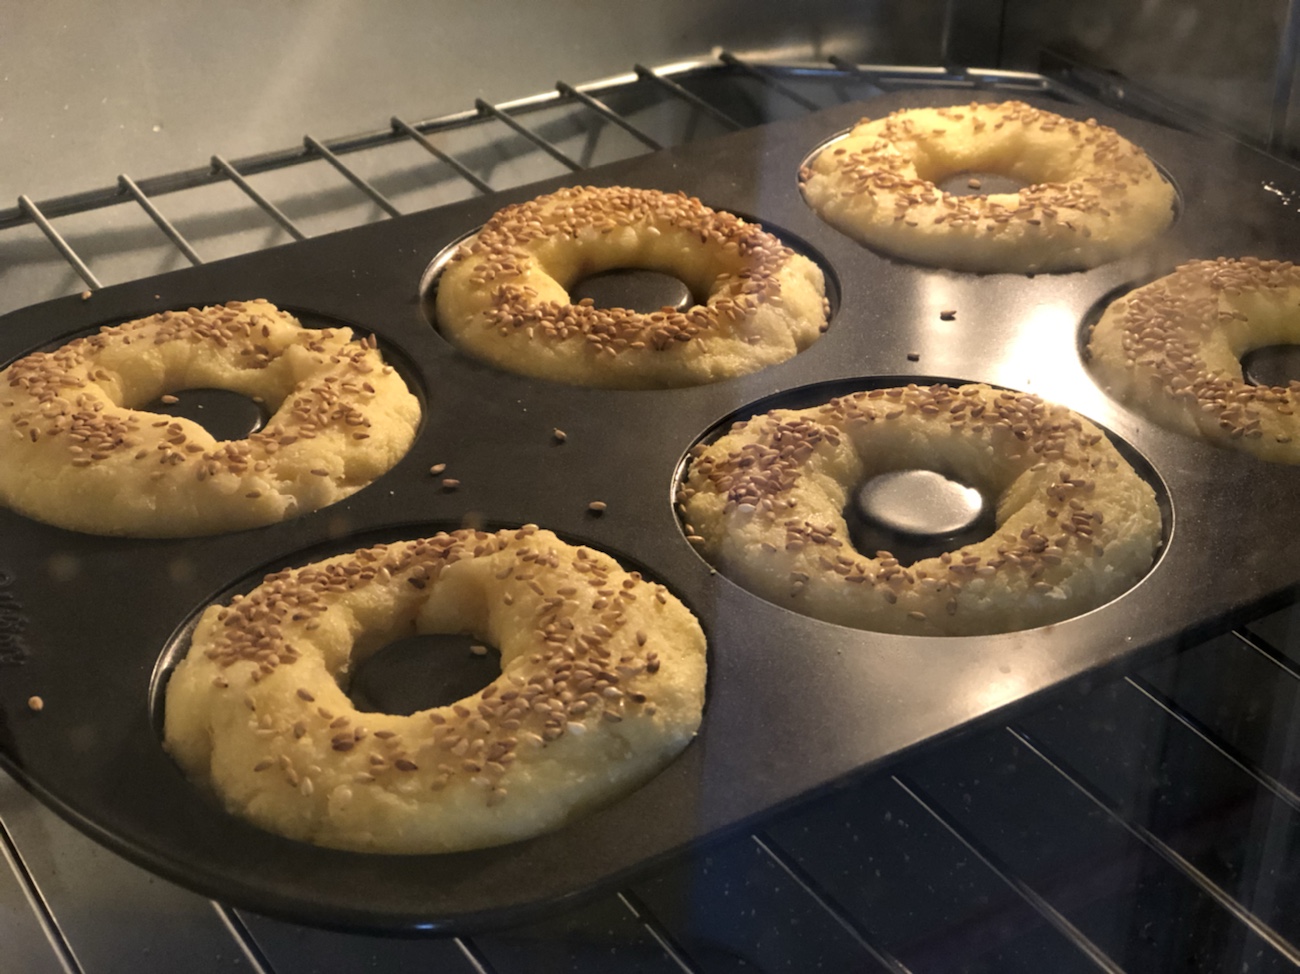
Besides liking the idea of a low carb, gluten free bagel, I do have those neat little doughnut baking pans that have patiently been waiting to be put to work again. The recipe calls for baking the bagels on a silicone mat atop a baking sheet, not in doughnut pans, but (what can I say?) I’m a maverick. The recipe did caution that the silicone mat would help avoid the bottoms becoming too brown. Hey, as long as they’re not burned, I can live with an extra-brown bagel bottom.
This was the first time I’d worked with fathead dough (this recipe uses almond flour, rather than coconut flour) and it’s interesting stuff, unlike any other dough I’ve made in the past. The recipe is very straightforward: essentially, mix melted cheese into the dry ingredients, roll the dough into logs, pinch the ends together, and add toppings (if desired). Bake. Eat. Easy, right?

The bagels rose nicely and did become very brown on the bottom. I took them out a few minutes early because of the browning, and while they were fully cooked through, I’d like to try using the silicone mat and baking sheet method next time to see if the bagels expand outward more; in the doughnut pans, they could really only rise upward. I did make one substitution, too – I subbed guar gum for xanthan gum, in equal quantity.

And there were several other “lessons learned” during the process – allow me to share:
- Don’t melt the mozzarella cheese in a measuring cup because it will be more difficult to melt evenly in the microwave and it will be a pain to try to clean the solidified cheese remnants out of that container – use a shallow bowl, instead
- Be sure the cheese is thoroughly melted because once you take it out of the microwave and add it to the dry ingredients, it will immediately start to cool and become less malleable
- When mixing the melted cheese into the dry ingredients, remember to go slowly because the cheese is thick and heavy and the other ingredients are light and powdery – so if you start mixing too enthusiastically, it will fly out of your bowl
- Plan on really working that cheese into the dry ingredients – it will incorporate nicely, eventually, but it takes some work and hand kneading seemed to be most effective (and see previous bullet)
- Pinch the ends of the bagel-shaped rolls together and try to smooth out any seams or they’ll become more obvious when baked
- Ensure that the rolls are of uniform thickness when placed into the pan or the finished bagel will be uneven (duh)
- Don’t forget to brush the tops with melted butter or the toppings (like the sesame seeds I used) won’t stick well
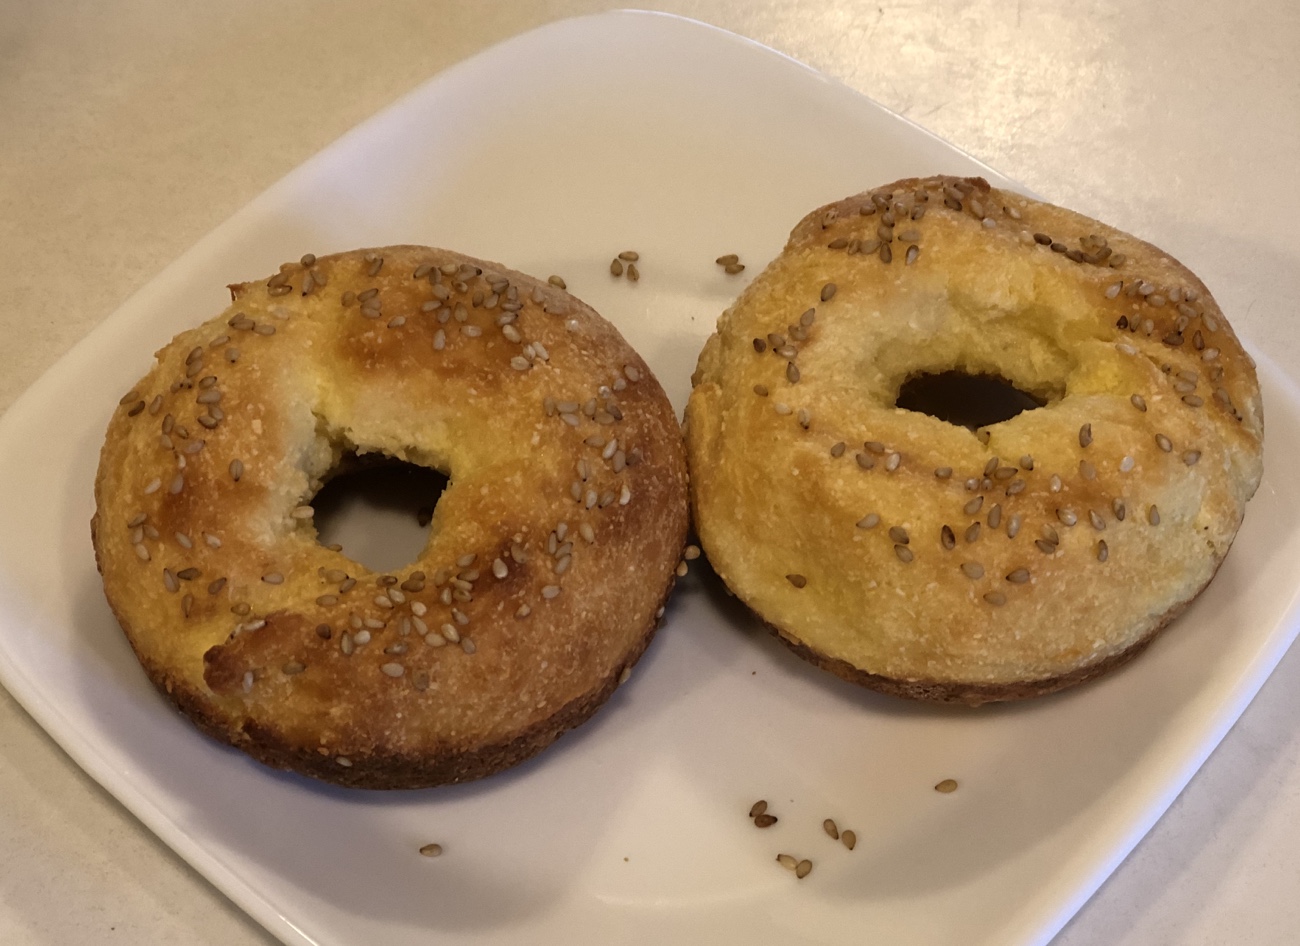
Verdict: winner. These bagels look and taste good. They’re a bit more dense than bagels made with wheat flour, but I like it. The coconut flour imparted a subtle coconut flavor (which I consider to be a bonus) – if you don’t like the taste of coconut, you might want to stick with the almond flour-based fathead dough. Learn more about coconut flour (and almond flour) here.
We enjoyed these bagels with a slice of Tillamook cheddar and a generous amount of lentil sprouts for lunch – and it was definitely the most filling bagel sandwich I’ve eaten to date!


Comments are closed.