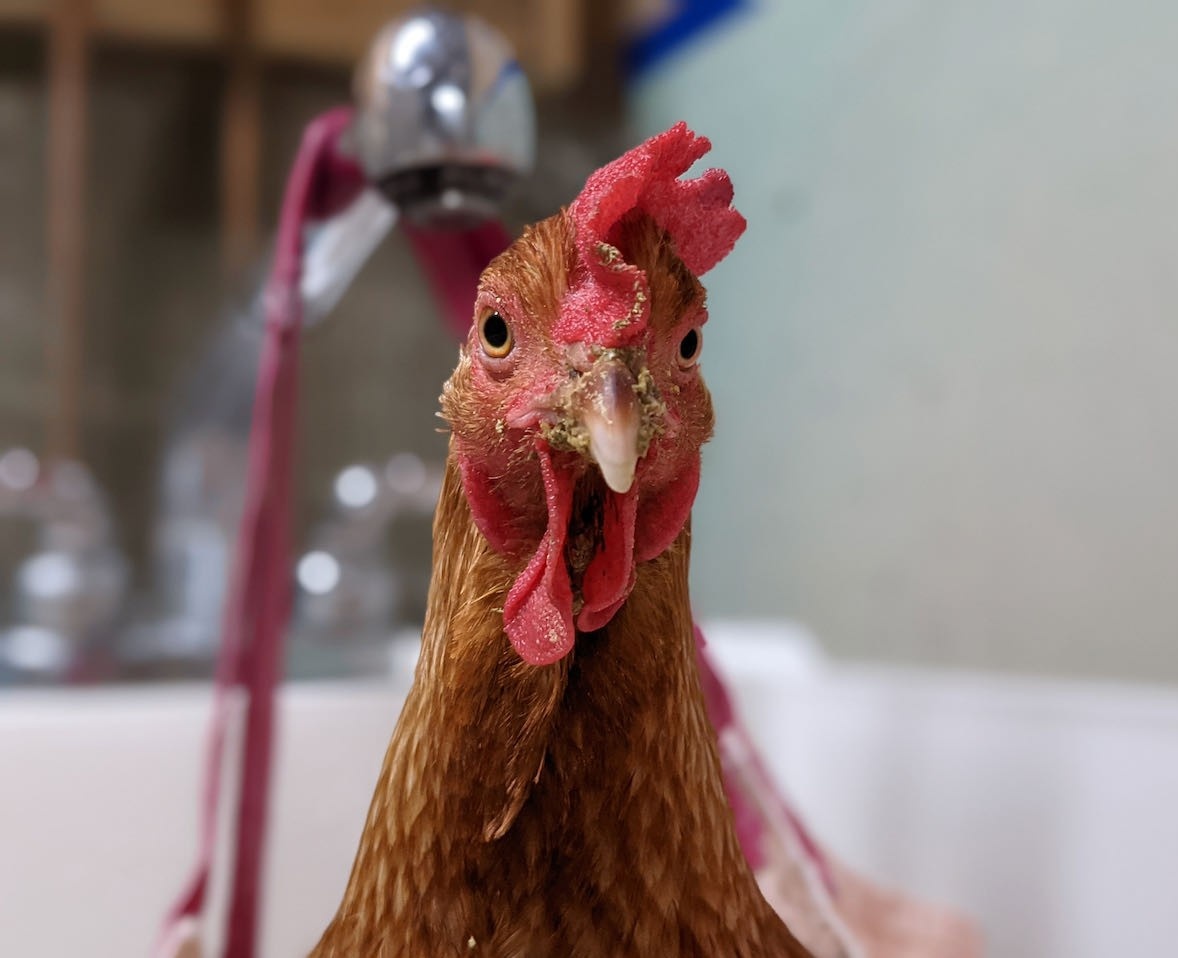
This sassy red hen is Beatrix. While she’s generally a healthy girl, she developed an infection called bumblefoot. I’ve seen it just a couple of times in the many birds we’ve raised and it can range from minor to serious (as in Beatrix’s case). If you raise chickens, it’s important to know what to do when you see the signs of bumblefoot so that you can take action to keep your birds healthy.
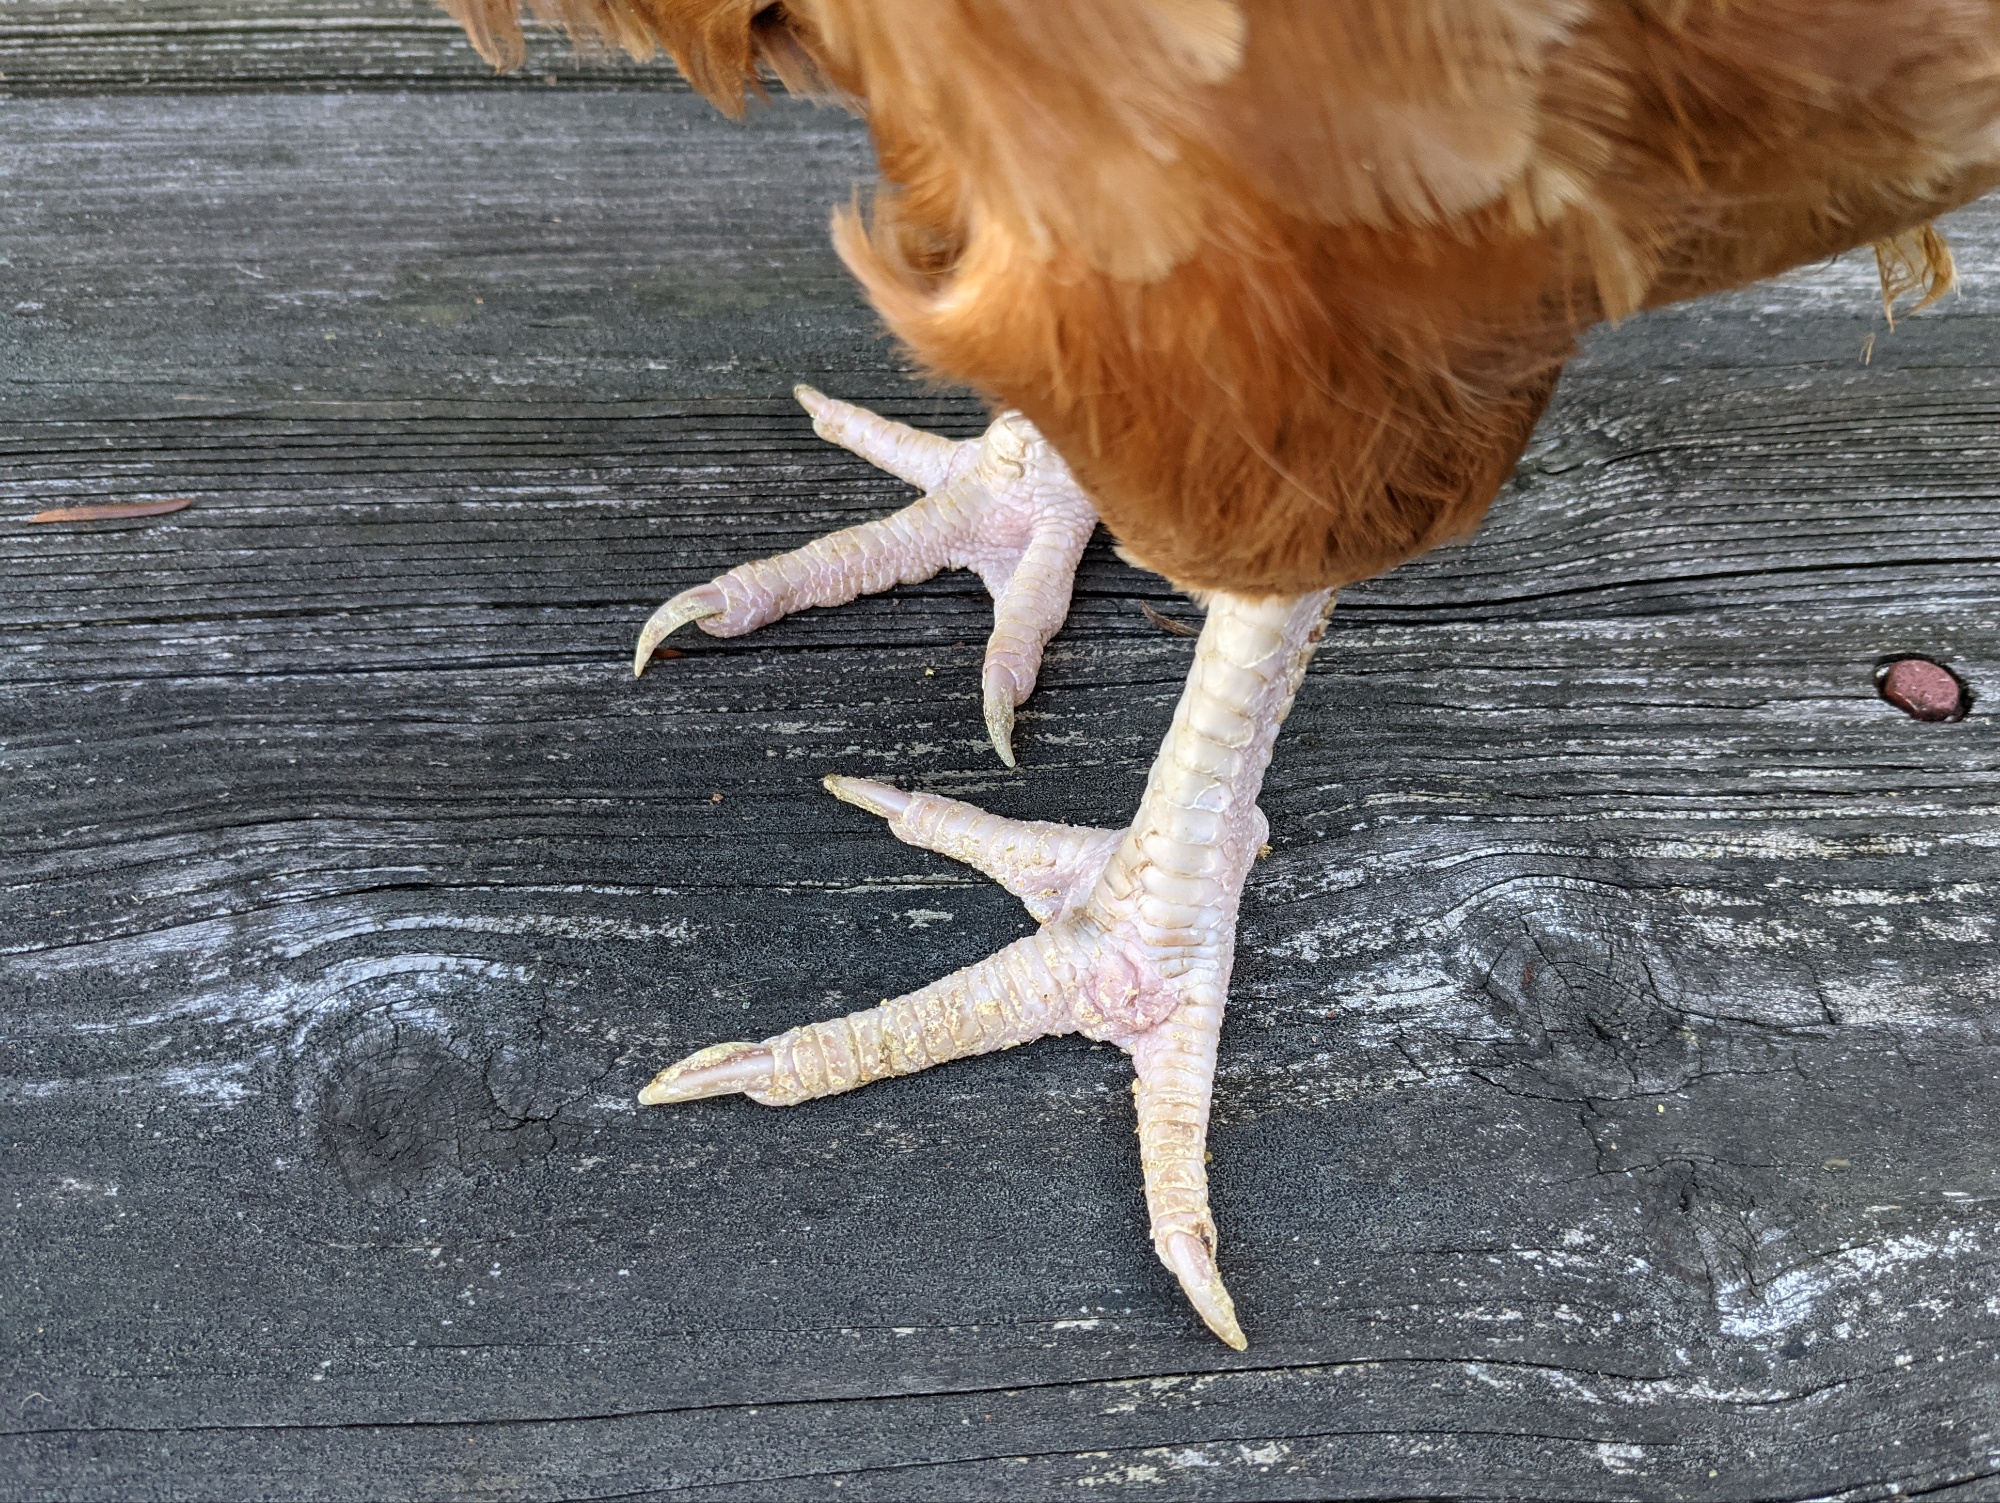
First, to even notice potential bumblefoot, you need to be looking at your flock’s feet. While symptoms may include limping – which should draw your attention – not every bird with bumblefoot limps. Beatrix, for example, did not have a limp. What I saw was a pinkish, swollen spot between her toes, which signalled that it was time for a closer look.
Examining her foot, I saw a very small black dot on the bottom of her foot (probably where the bacteria entered through a cut), but the foot pad wasn’t swollen. While the bottom of the foot may often be swollen in bumblefoot cases, sometimes the infection works its way upward, as it did with Beatrix. Trying to remove the tiny scab on the bottom of her foot proved ineffective, as the “kernel” of the infection was not there.
Treating her foot began with warm Epsom salt soaks. I filled a small tub in the laundry room utility sink and she, very cooperatively, stood in it. At first, I tried holding her out of the water (she would gradually sink downward as she became comfortable), but it was an awkward position being hunched over the sink, and it was tough on my back.
I had a small “sling” that I had cobbled together from the handles of a blown-out reusable grocery bag and a scrap of old towel, so I put her in it and placed the handles over the faucet fixture. It worked perfectly! She could relax into the sling, which took the weight off her feet and held her out of the water. I could stand normally and merely watch her. Win-win!
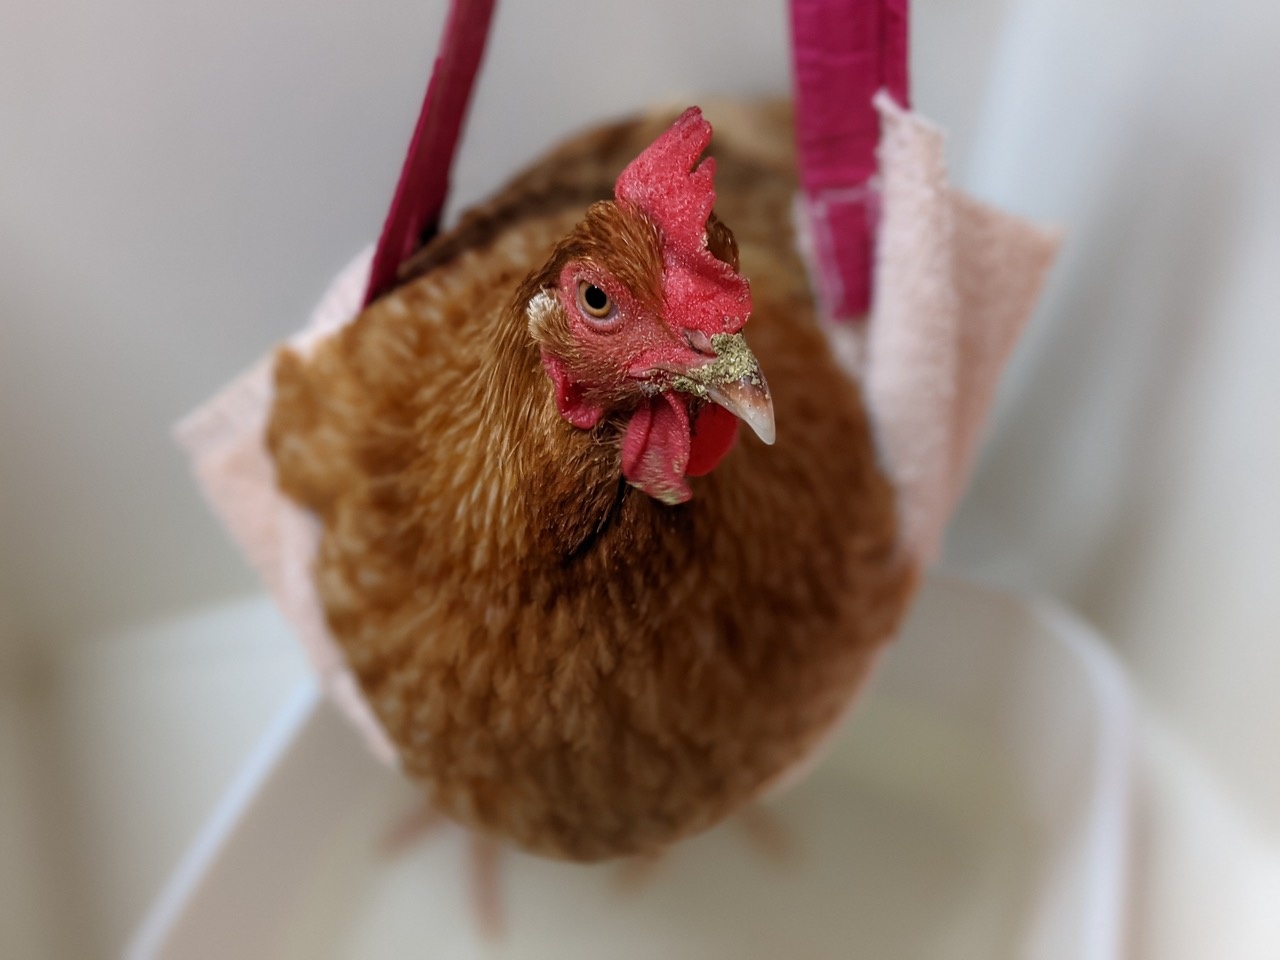
Beatrix clearly enjoyed her “spa time”, clucking at me, listening to classical music selections (she’s partial to Vivaldi)…so much so that, more than once, I caught her closing her eyes for a little nap.
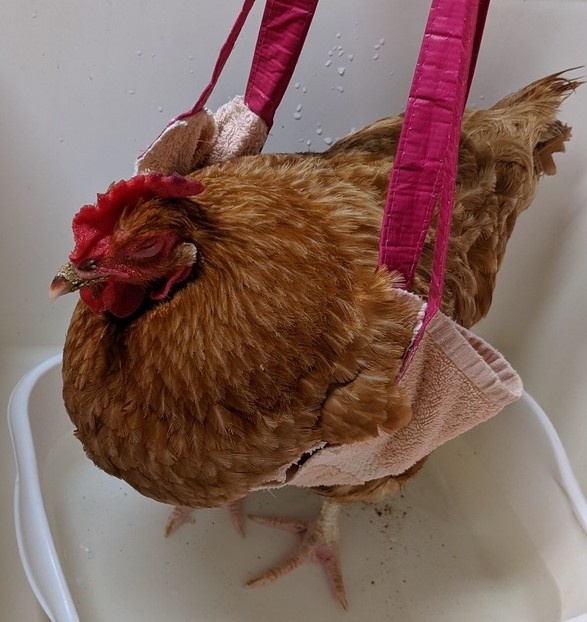
After about a week of soaks twice a day, her feet were very clean, but the bumble was no smaller. In fact, it was even more swollen. Clearly, it was time to try something different. Out came the first aid bag and the dental toolkit.
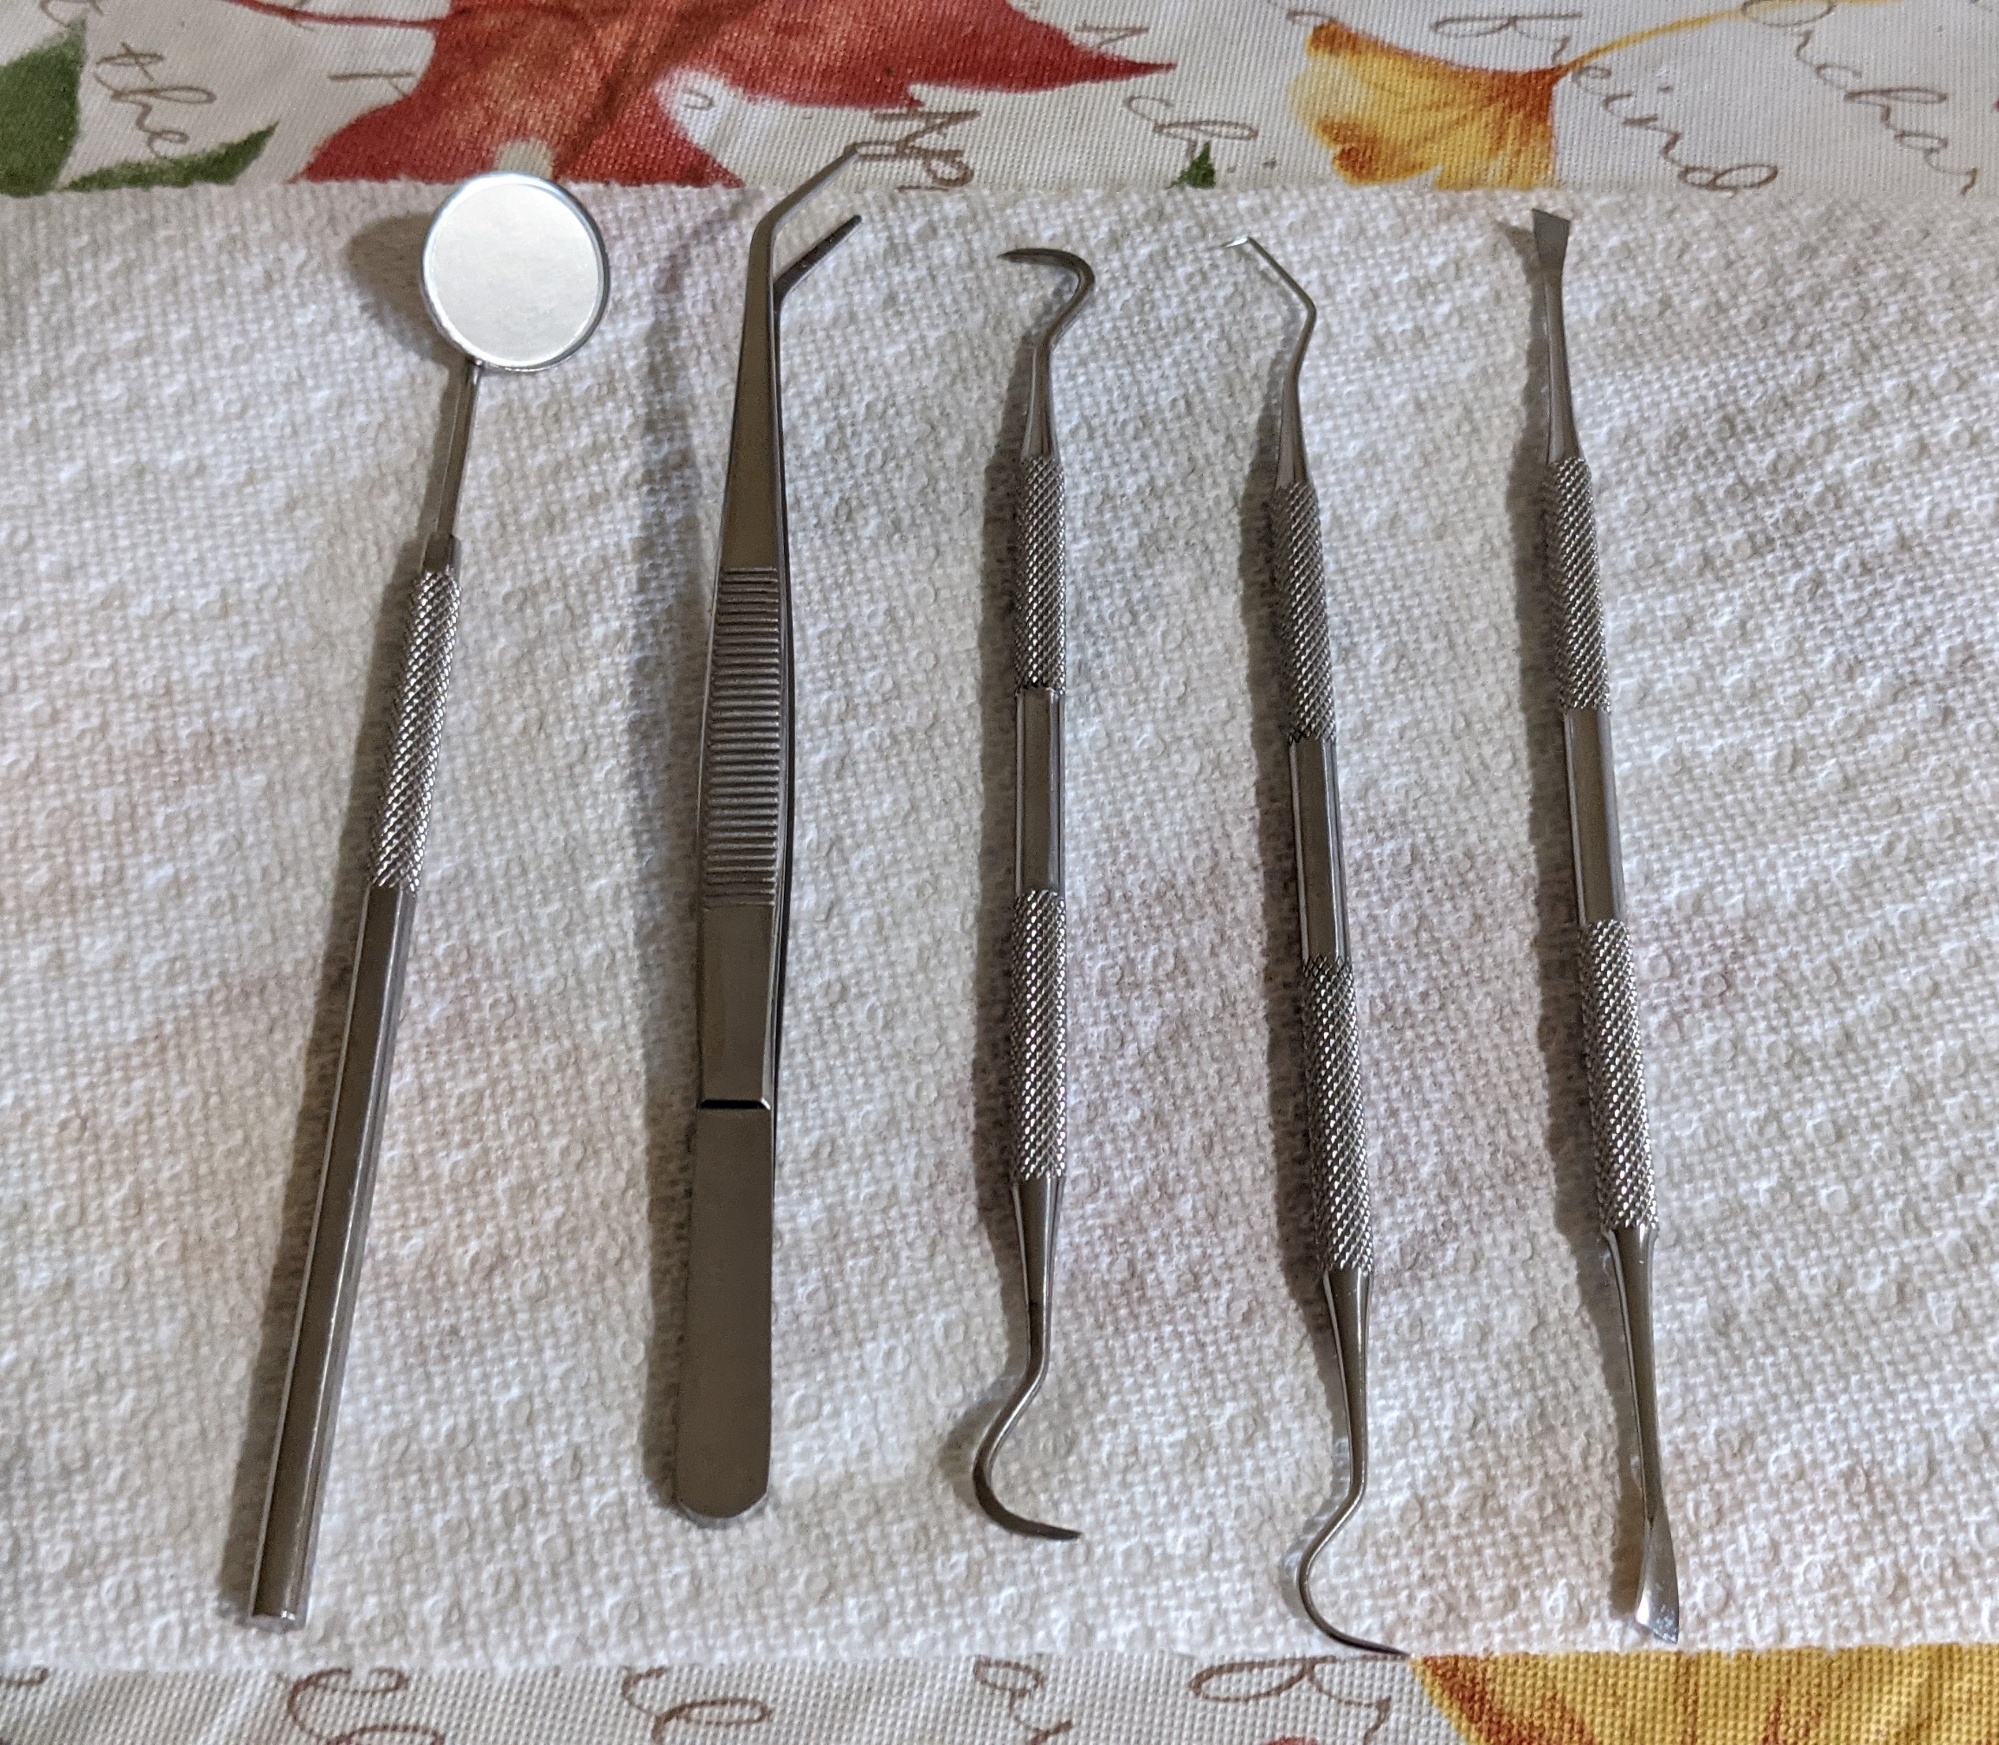
Why the dental toolkit, you ask? Because it contains tools that I’ve found to be particularly well-suited to dealing with bumblefoot, including sickle probes and a set of long-handled tweezers. In the past, I’ve followed advice to tease the black scab on a bumble off with regular tweezers, but found that, sometimes, only part of the scab came off or the tweezers wouldn’t grasp the scab securely. Using a sickle probe (yes, one of the wickedly pointed tools a dentist uses to scrape/pick at your teeth), I could hook the edge of the scab to lift it up and out. The long-handed tweezers helped with picking out any remaining pieces of scab or solid pus left in the cavity.
Before the surgery started, however, I disinfected the tools, as well as the chicken’s foot, with alcohol. I also wore nitrile gloves to avoid getting bacteria (the most common kind of bacteria involved with bumblefoot is Staphylococcus aureus, but other bacteria may be present) on me.
Since the spot on Beatrix’s foot looked like it was ready to pop at any moment, I proceeded with lancing it. I carefully made a small, shallow incision with a small scalpel in the skin between her toes. Immediately, the pressure was released and blood and pus rushed out. My “assistant” (and I strongly recommend having two people involved – one needs to hold the chicken immobile) remarked on the unpleasant odor that emanated as I explored the incision site for a solid “core” of infection. There was too much blood to get a good look, and I couldn’t feel a kernel, so I swabbed the wound out with clear iodine and packed it with antibiotic ointment. We wrapped her foot with a non-stick gauze pad held in place with elastic wrap (like Vetrap) and put her back in her infirmary cage.
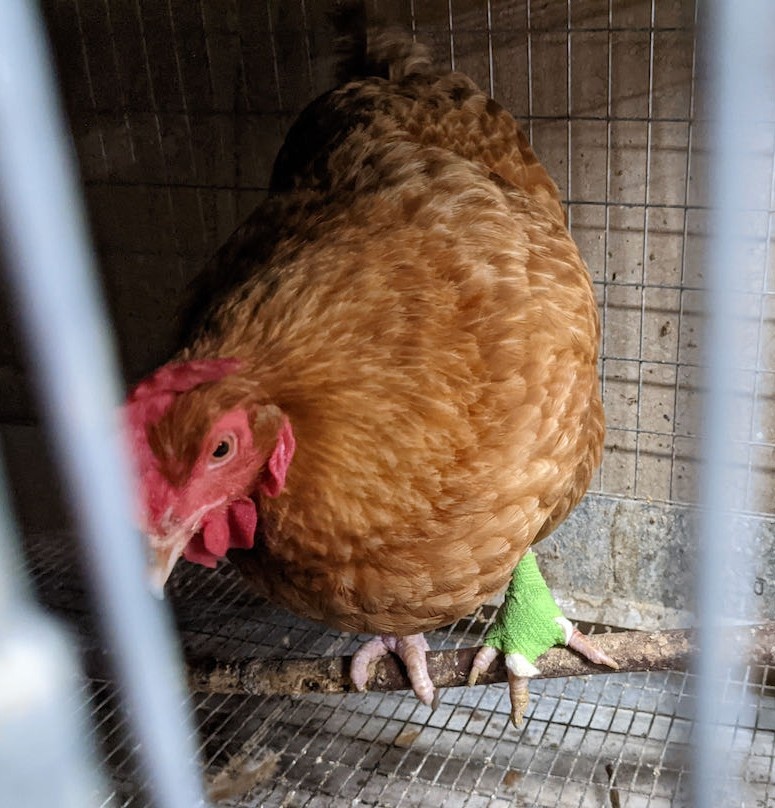
Several days went by and the foot was looking good. At about a week post-op, it was clear that the swelling had returned, so the infection was still hanging on. Once the bandage on her foot came off, I could see a big scab on her foot where the incision had been made, and the area was, once again, swollen. I’d have to go back in and try to get the “kernel” of infection out.
The swelling was in a spot to the right of the incision, so I made a shallow incision at the most swollen point. Unlike last time, nothing happened except for some minor bleeding. Moving back to the scab, I noted its unusual color (black) – the telltale bumblefoot scab typically found on the bottom of a bird’s foot is also black. I used my dental tools to lift the scab to see what was underneath and it looked very strange: some kind of tissue attached to the edges of the scab, and, for lack of a better description, it looked unhealthy. While I was also concerned that I might inadvertently damage healthy tissue, I began to pull on it…and, with some effort, it came out.
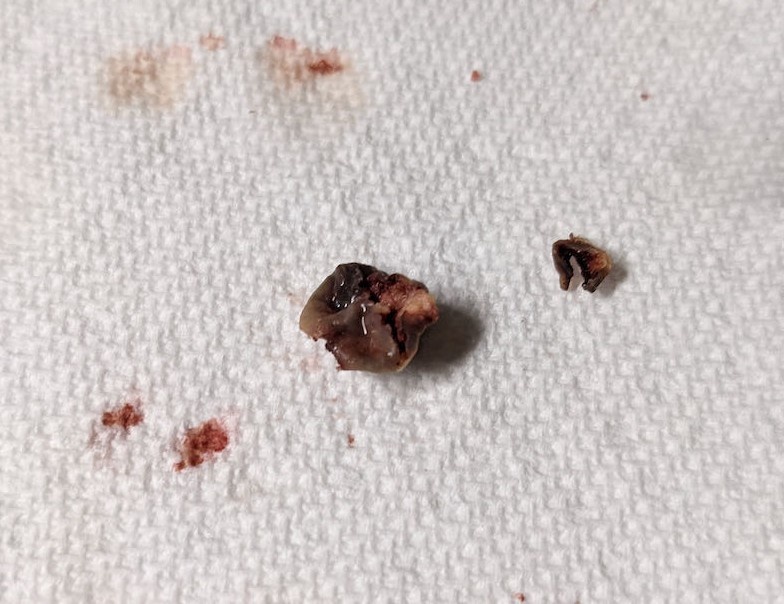
What was this weird thing? It didn’t look like the infection’s kernel, which I’ve seen appear as a thick, solid, almost waxy-looking plug. This looked like some type of encapsulation, as though her body had attempted to contain the infection by creating a physical barrier around it. It was freaky and fascinating, but I needed to clean her wound out and wrap it again.
After about a week, we removed the bandages and saw that the incision site seemed to be healing as expected. A few days after that, though, a small amount of swelling recurred, and the “scab” was clearly another eschar. By now, we all knew the routine: soak the foot, gently tease off the eschar and remove any visible infected material, swab well with iodine, pack with antibiotic ointment, and re-wrap. So we did.
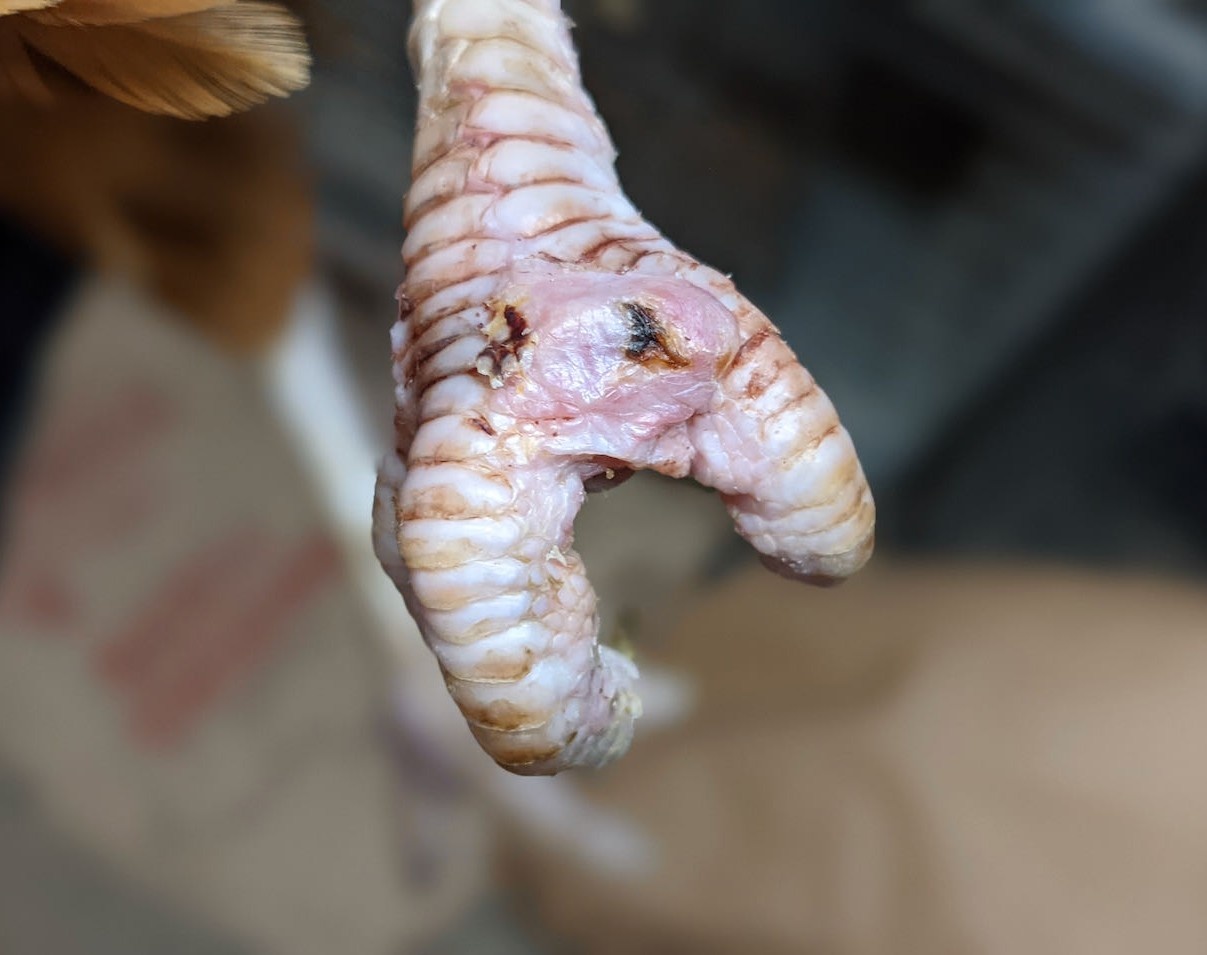
Compared to last time, there was very little material to remove from inside the hole left by the eschar, and I felt like I was able to remove most – if not all – of it. Keeping my fingers crossed that this will be the last time we’ll need to put Beatrix through this procedure…she’s been a trooper, and I do think she enjoys her spa time, but she belongs out with the main flock, doing chicken things. This experience has been a reminder that bumblefoot can be a stubborn condition that may take far longer to properly resolve than anticipated, so patience is necessary.
Update: after we removed the bandages, Beatrix helpfully pecked the scab off…revealing healthy tissue! She’s since rejoined the flock and our spa days are just a fond memory.
Thinking about getting chickens? Having a poultry First Aid Kit can help you be prepared to address health issues in your flock, like bumblefoot.
Note: I am not a veterinarian and am not giving veterinary advice – I’m merely sharing how we approached treating bumblefoot in one of our hens. If it’s an option, you may wish to seek assistance from a licensed veterinarian with expertise in avian species.
