
We’re at the halfway point with the first shipped Lavender Ameraucana eggs of the year, and there’s good news…and bad news. The good news is that there are, after 2 candlings (earlier than normal), still eggs in the incubator. The bad news is that there are now just 7 left.
Maybe that doesn’t sound too bad, but there were 14 originally. 1 was badly cracked. All had some degree of air cell damage. I knew they had been flown, so subject to the handling, pressure, and possible temperature changes inherent in being flown as cargo.
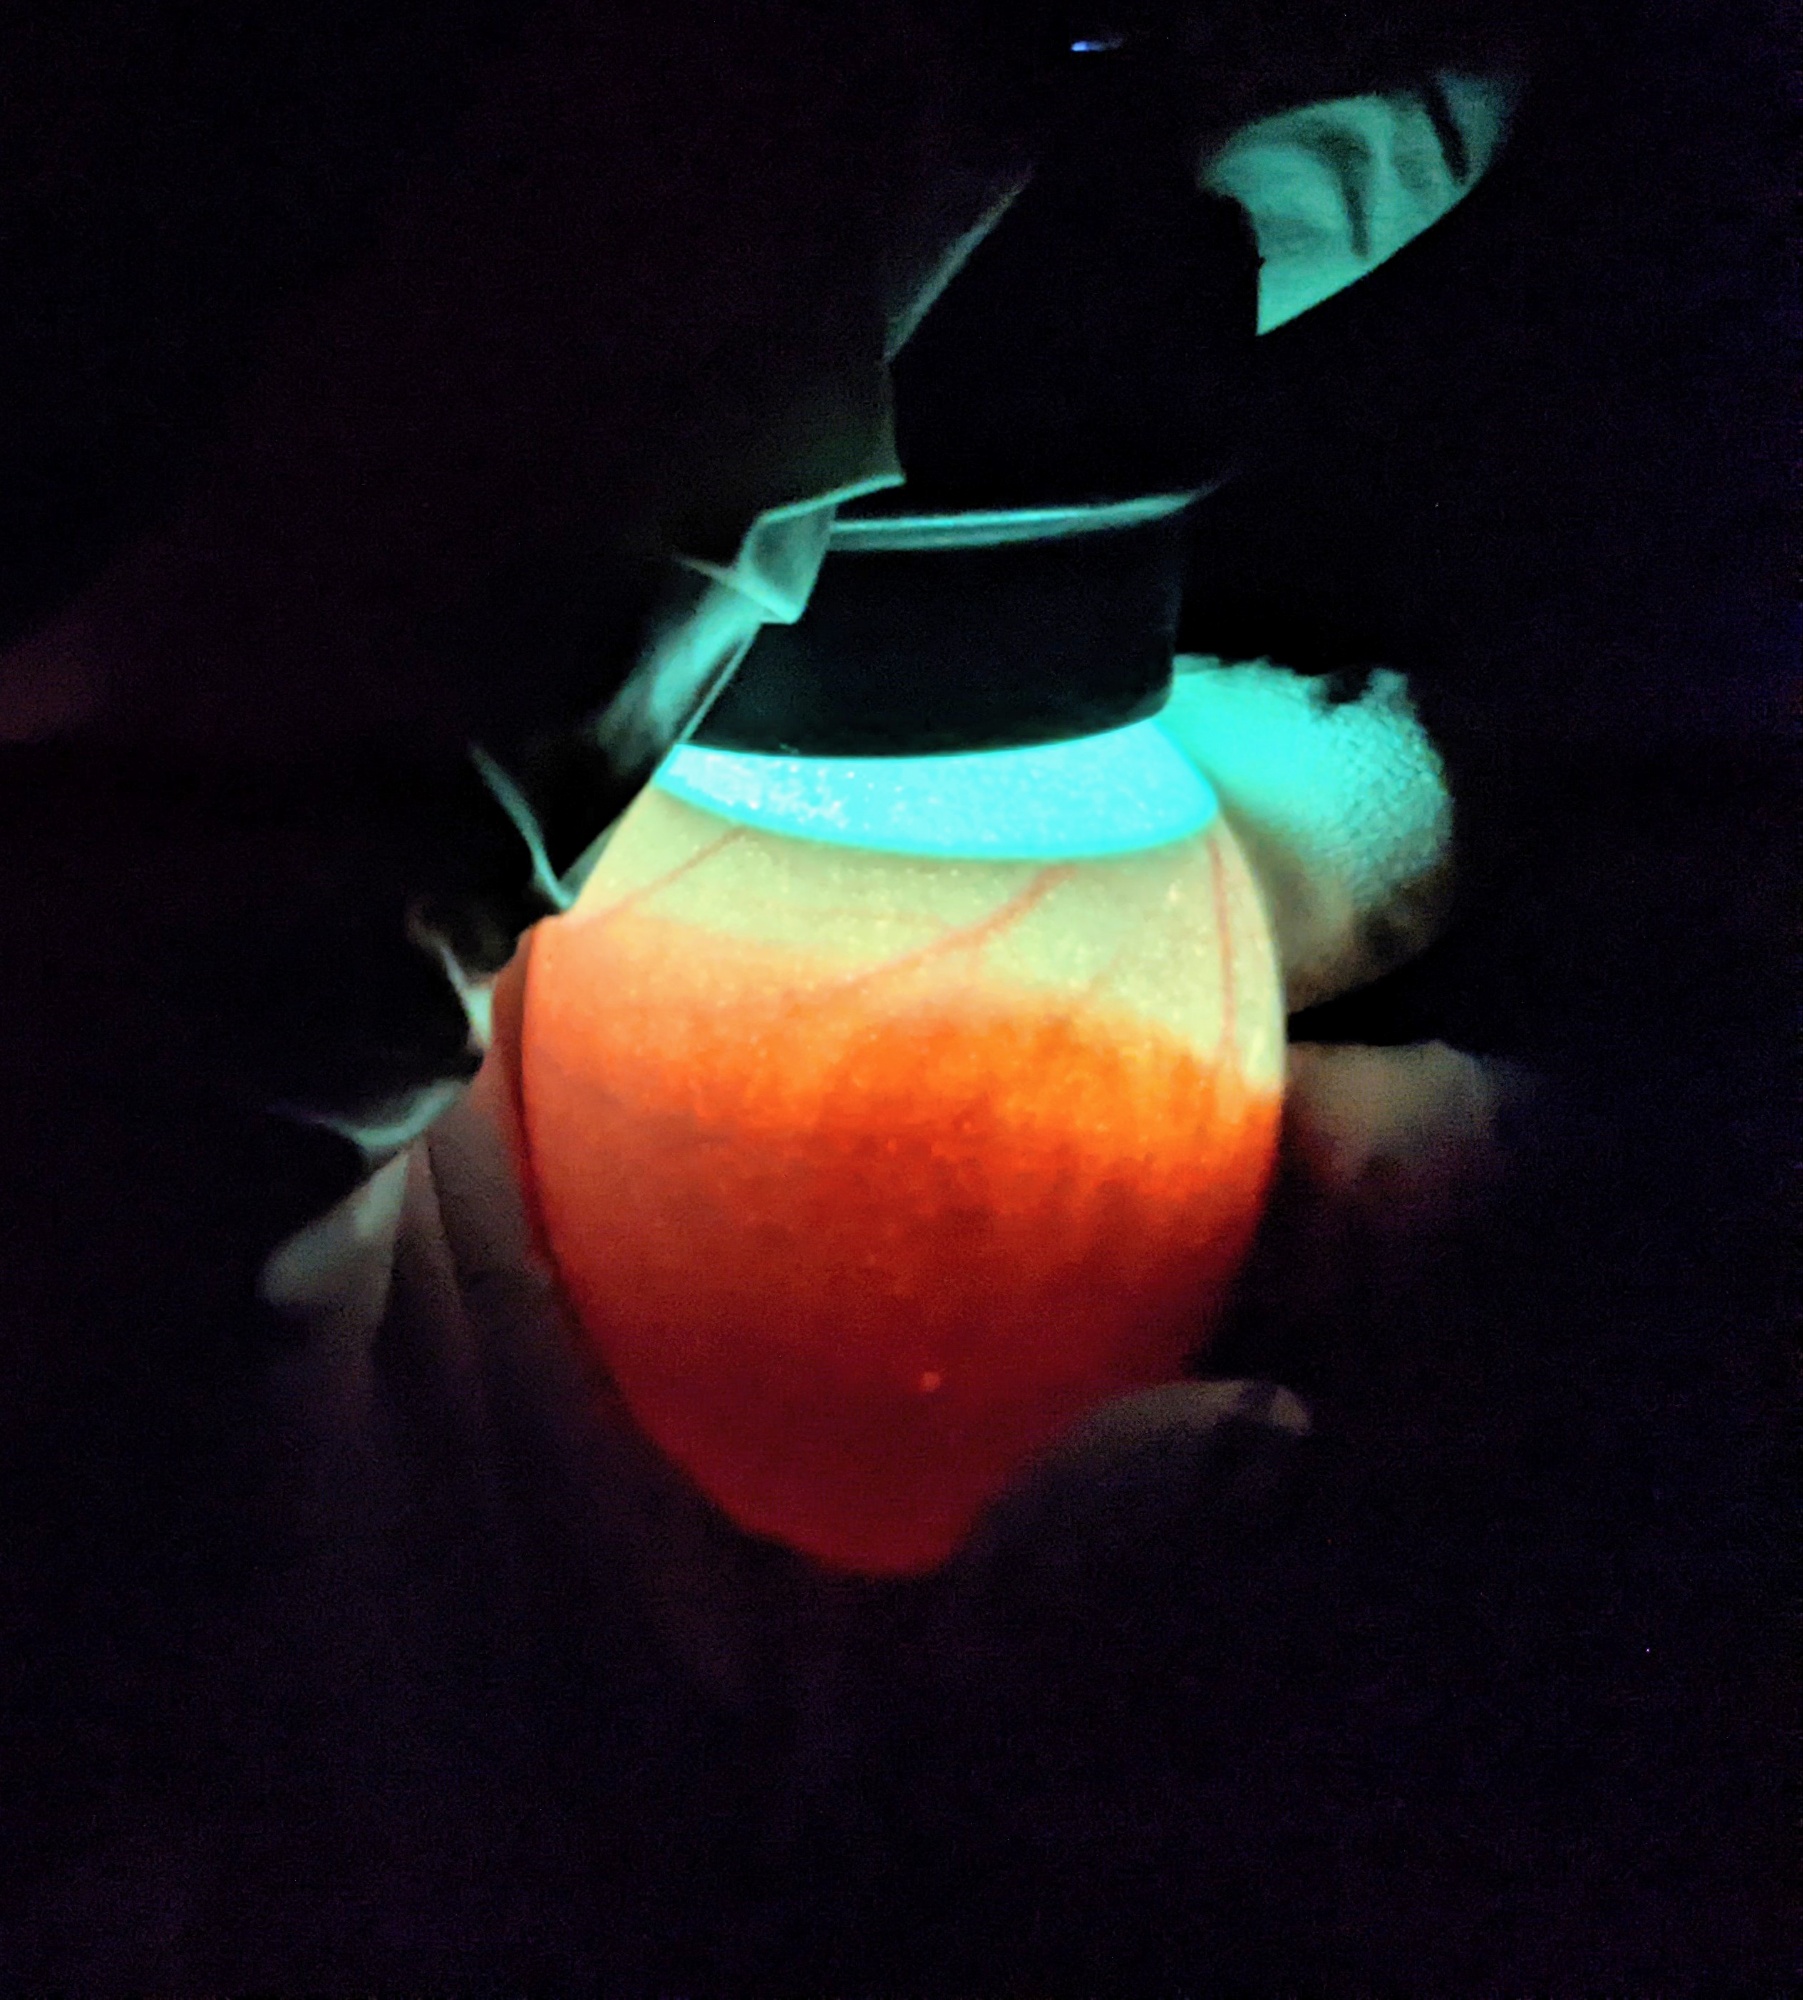
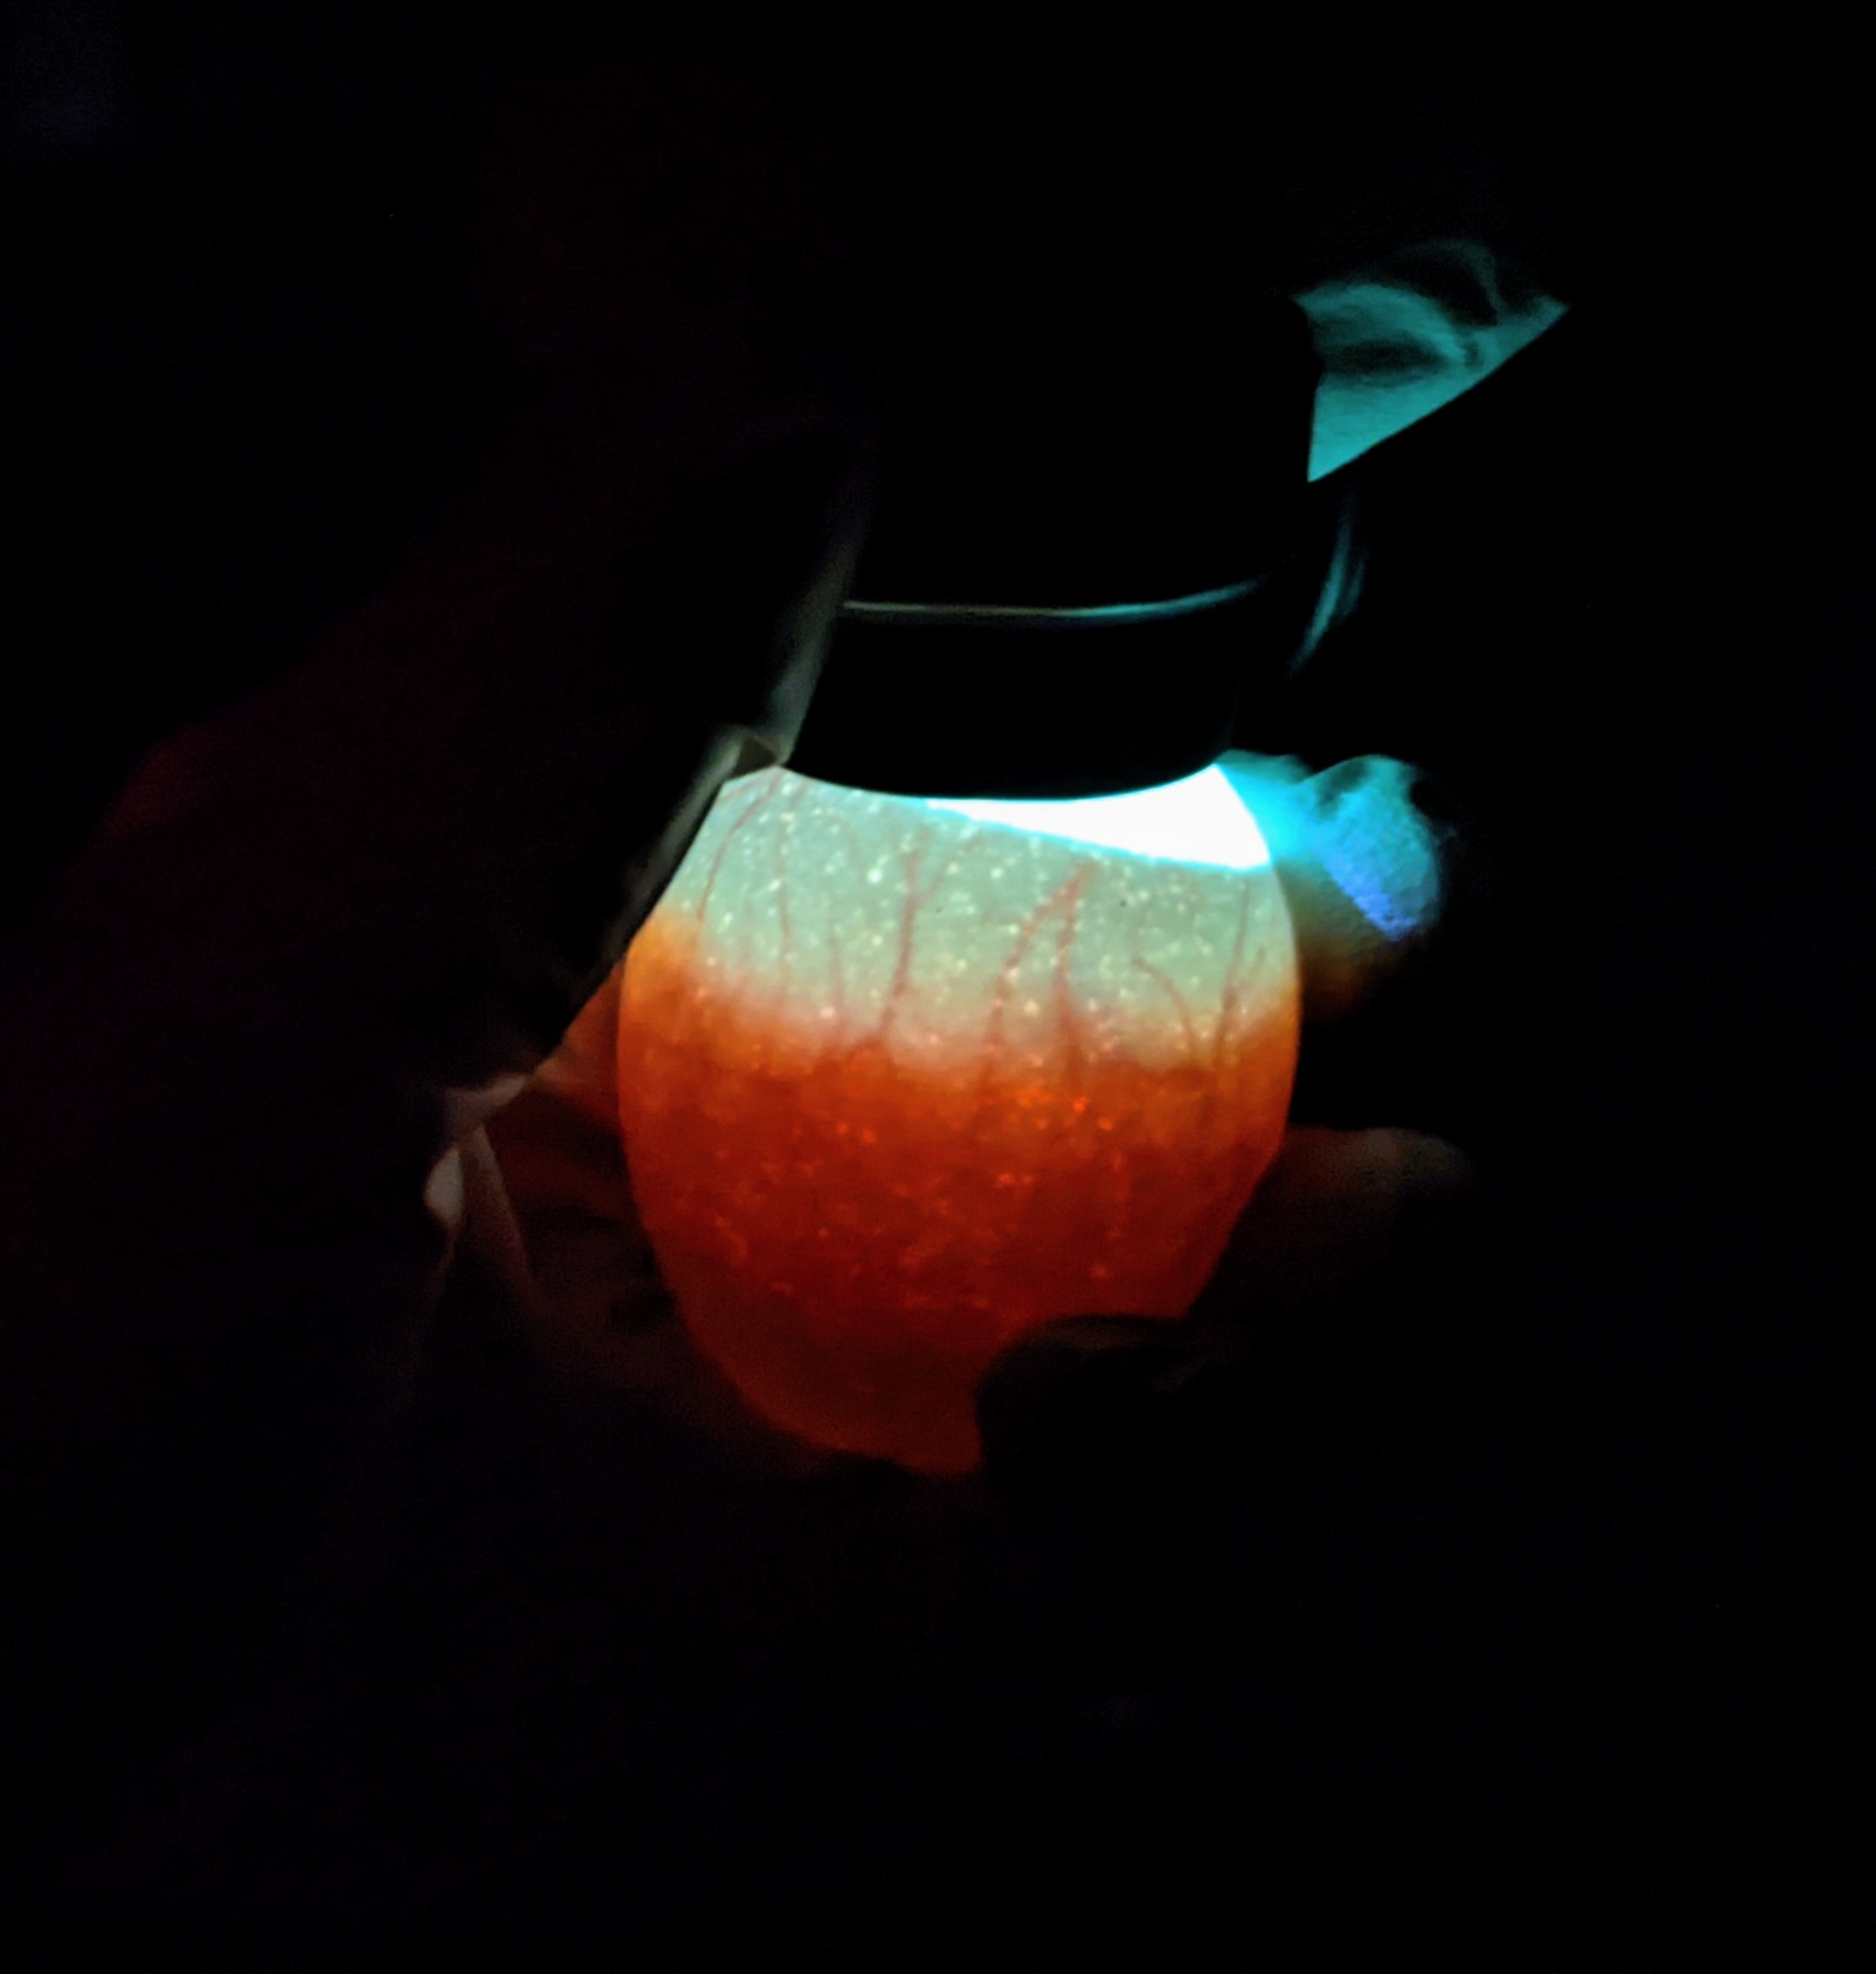
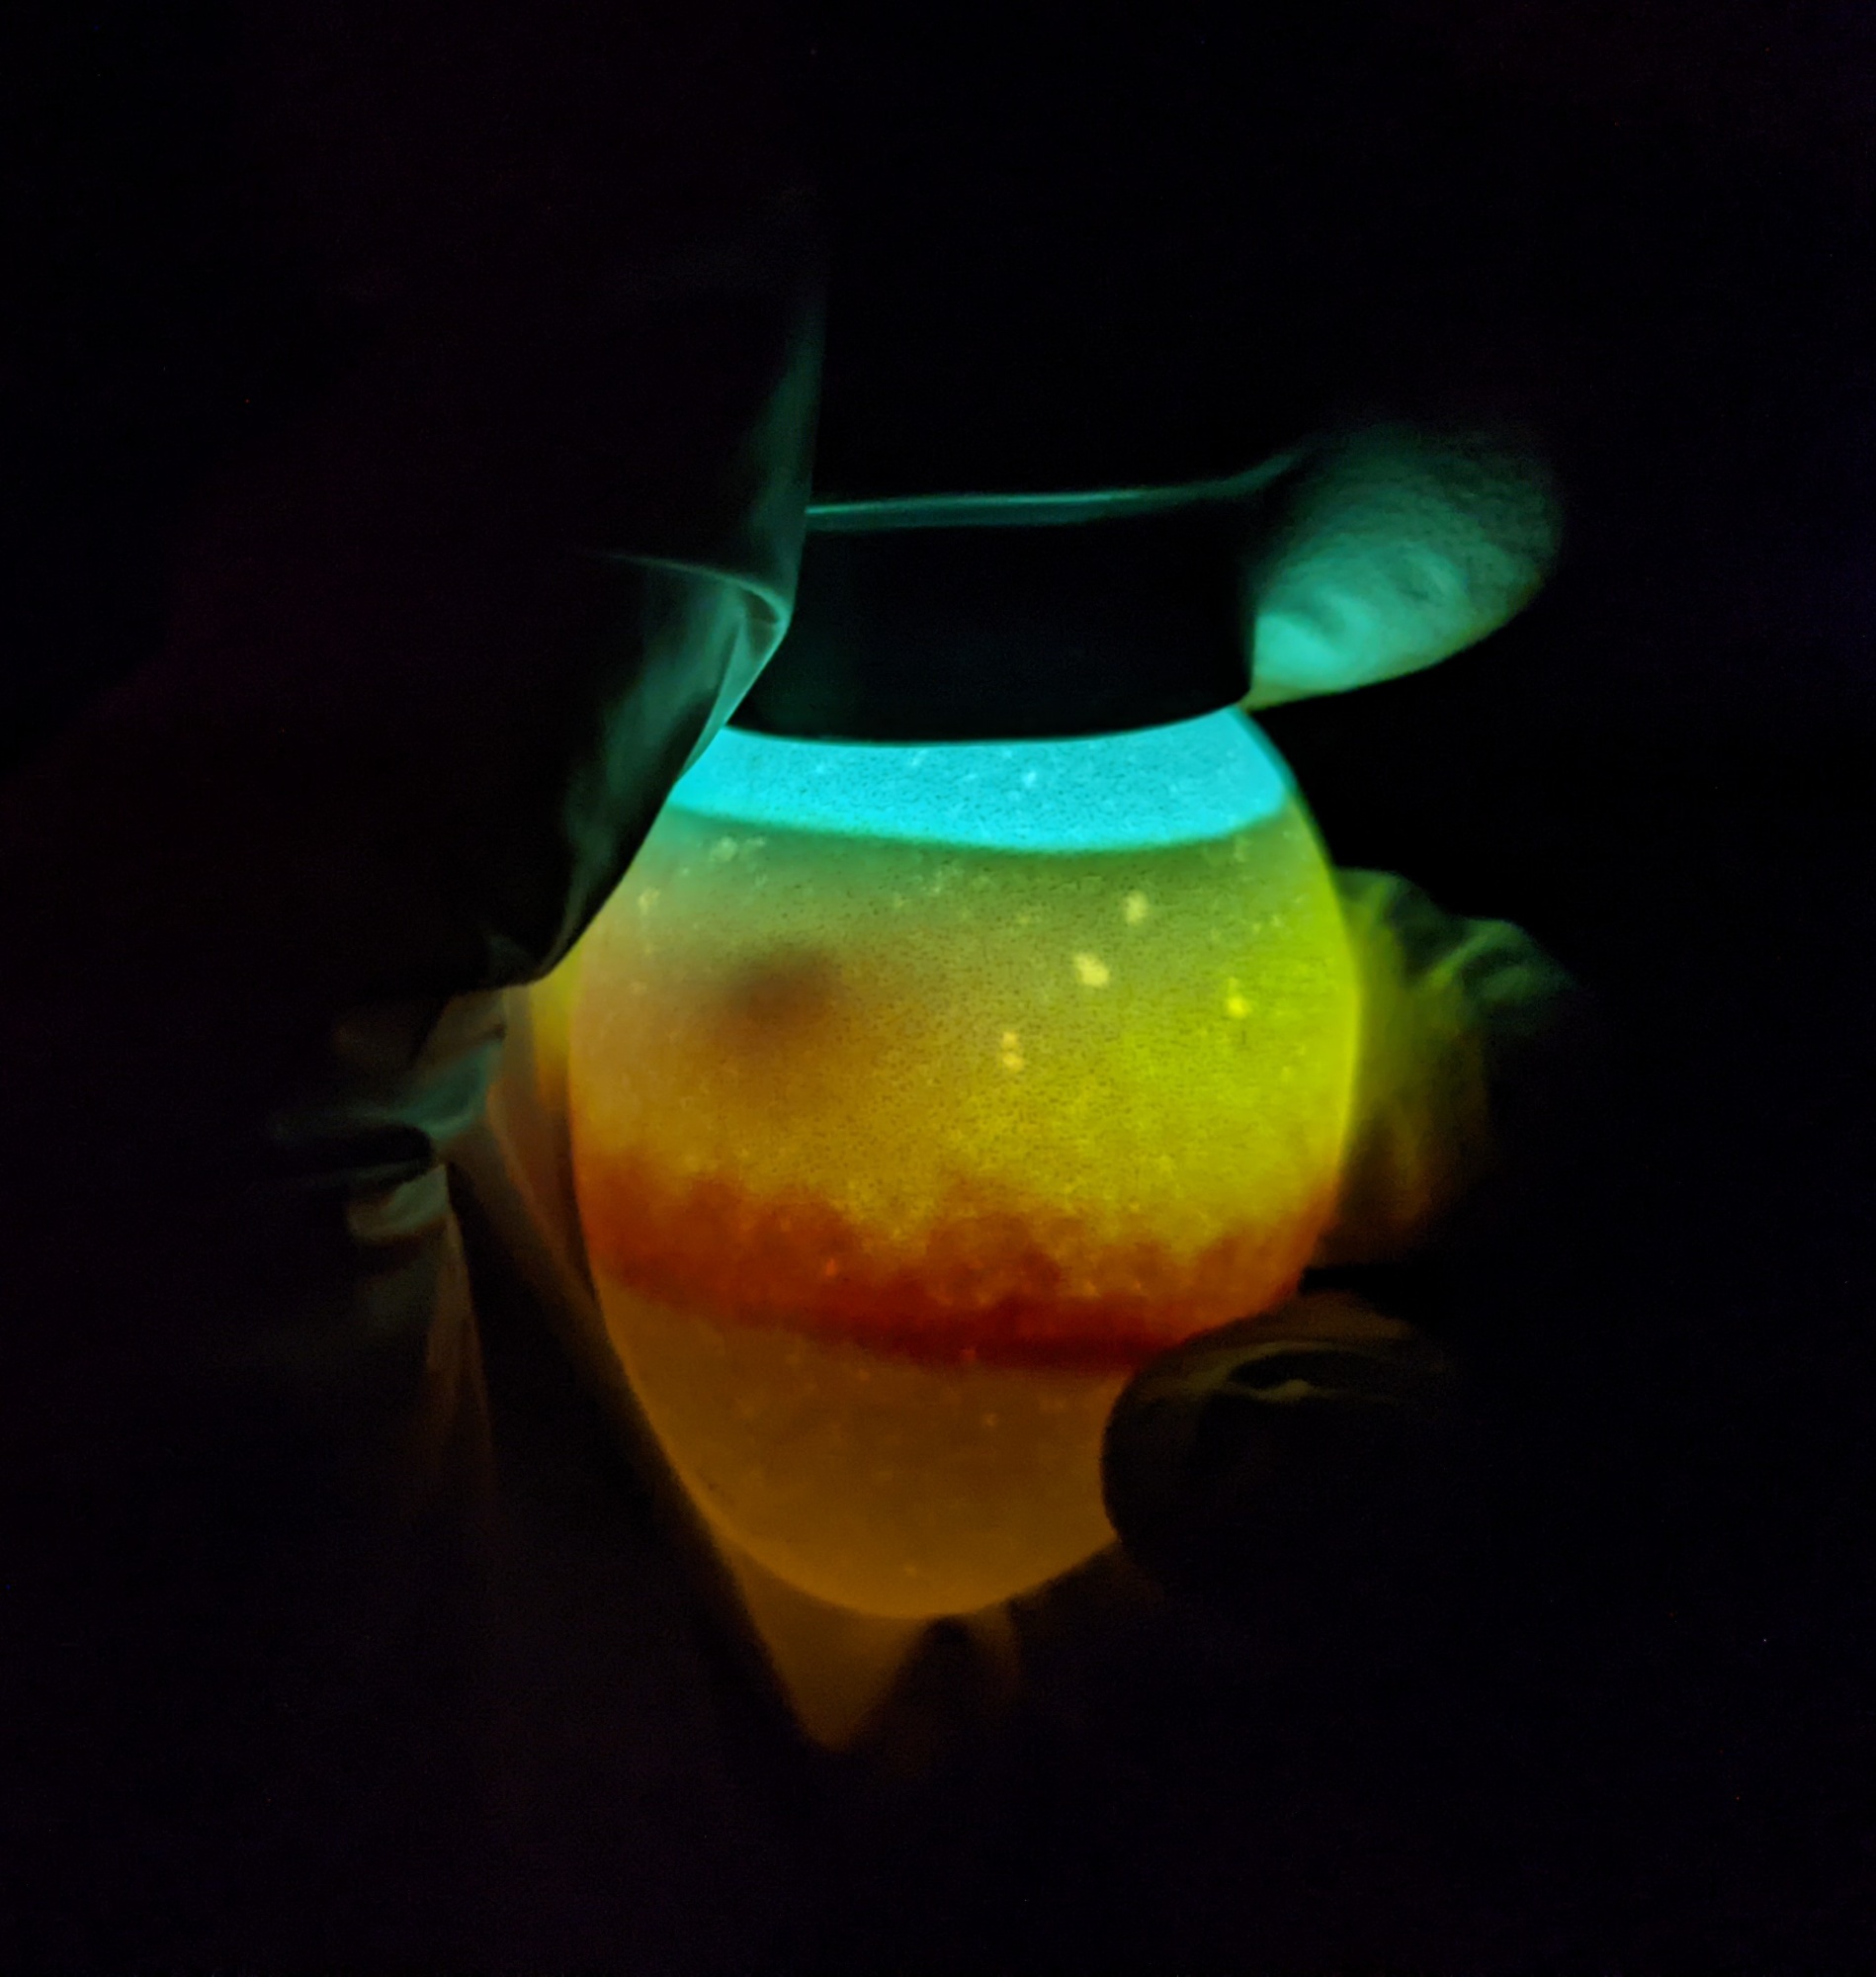
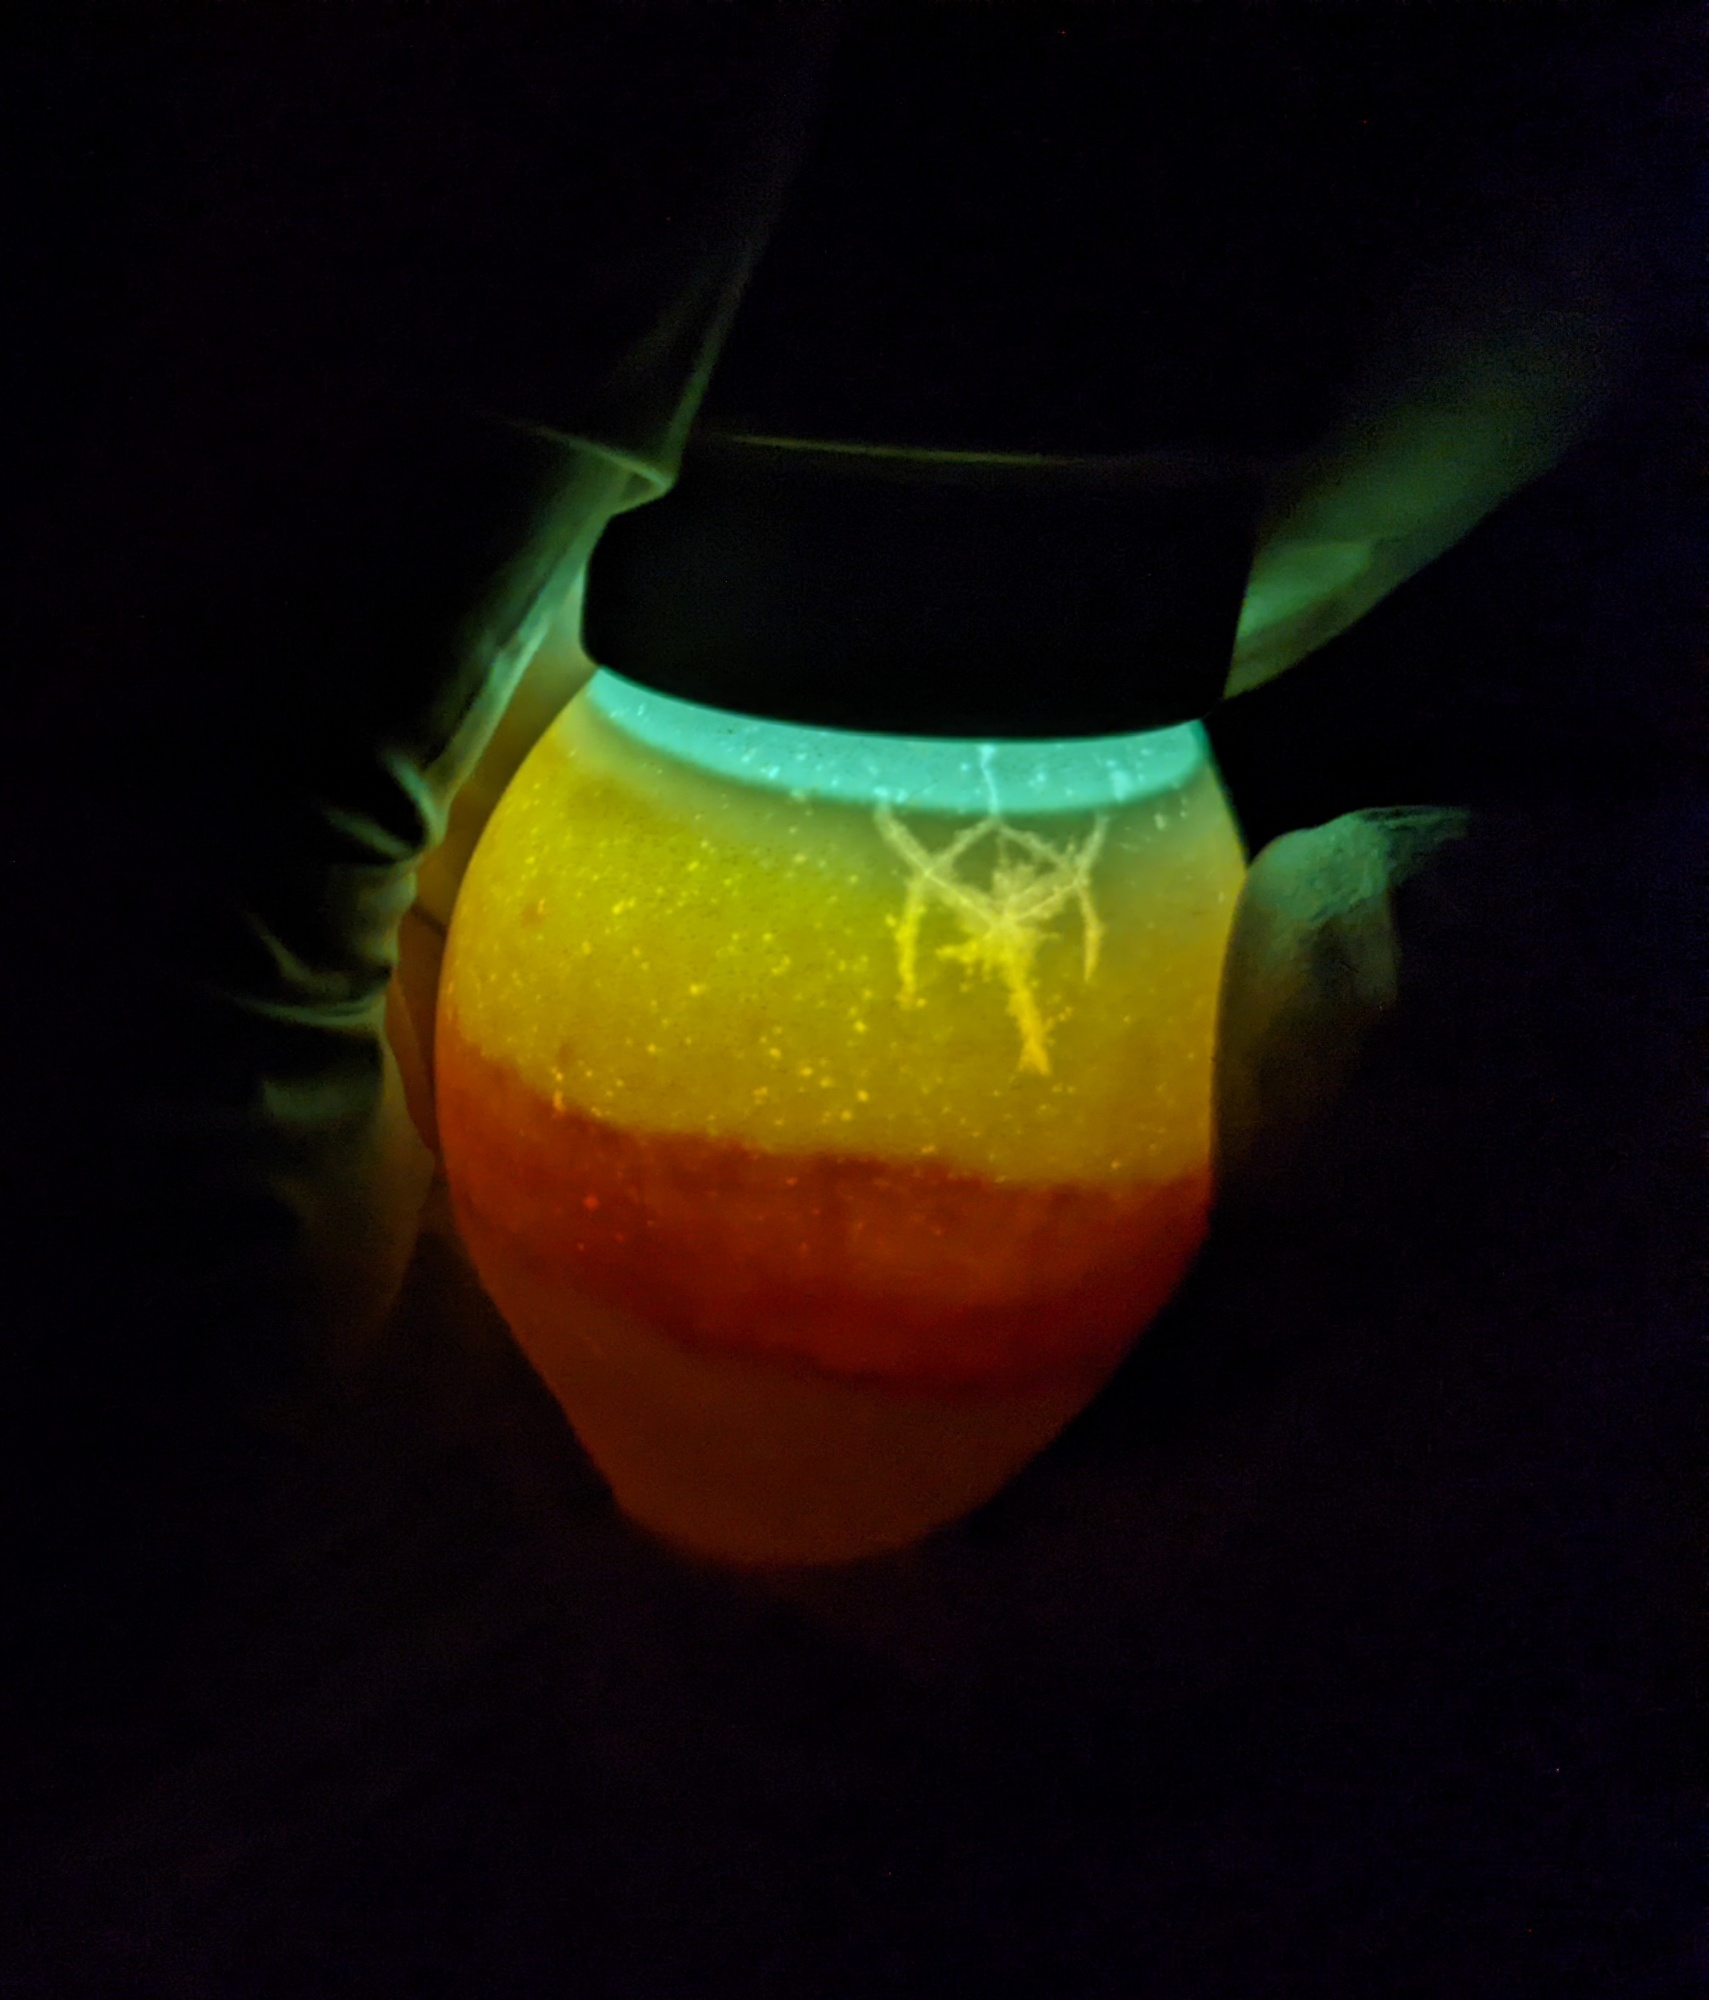
At the first candling (day 6), there was only 1 egg that didn’t appear fertile. Fertility was great. Unfortunately, several of the eggs that were trying to develop had abnormal veining, thready and fragile-looking. Others had the thick, spidery veins that indicate healthy development. I hoped for the best, but braced for the worst; the eggs had clearly suffered significant shipping stress.
As I’ve detailed in several earlier posts, I’ve utilized incubation techniques recommended specifically for shipping-damaged eggs (with rolling, detached, or deformed air cells), including not turning them initially for a from a few days to a week, setting them upright in cartons and hand-turning them slightly, and hatching them upright in cartons at lockdown. Despite my efforts, I had not seen damaged air cells resume a more natural shape (sometimes referred to as “healing”), and the majority of very damaged eggs didn’t hatch. Some made it to lockdown but failed to pip internally; some pipped internally but failed to externally pip; and the vast majority simply quit in the first couple of weeks.
Based on past experience and how these eggs looked, I decided to put them in my Brinsea Octagon Advance, which holds them upright by default. I also elected not to turn the eggs at all for the first 48 hours; this was after allowing them to settle at room temperature for 24 hours before setting them in the incubator. Time is of the essence with optimizing hatches: the age begins aging as soon as it’s laid, so assuming the eggs are a few days old at the time they’re shipped, plus the several days for shipping, plus the time settling after unboxing and we’re quickly approaching the threshold for greatest viability, so it’s important to get them into the incubator as quickly as is prudent.
The Brinsea – and this is an older model that I bought new some years ago – has a specially-shaped bottom that allows you to “hand turn” the entire incubator by simply moving it to the forward, middle, or rear position. After 48 hours of sitting in the middle position, I gently tipped the entire unit forward, where it rested there until the next turning, where it returned to the middle position, then to the rear position. I did this three times in a 24 hour period.

So why did I choose to hand turn these eggs, rather than use the automatic turning cradle? Because of their unusually fragile state, I wanted the turning process, which is most important during early embryonic development, to be very gentle. The incubator sits in the automatic turning cradle, which “rocks” the entire unit; I know from watching and listening to it that it’s slightly jarring to the eggs – the last thing I wanted to subject these eggs to was more shaking.
When I candled yesterday, I knew to expect blood rings from the shipping damage. I also knew that some of the eggs appeared to have survived shipping with minimal damage except slightly deformed air cells. What I didn’t expect was to discover that the air cells in all of the eggs that were still developing actually looked normal now. Was it the turning method, had the eggs sustained less damage during shipping than the others, or was a combination? I can’t be sure, but I think this turning technique warrants further evaluation.
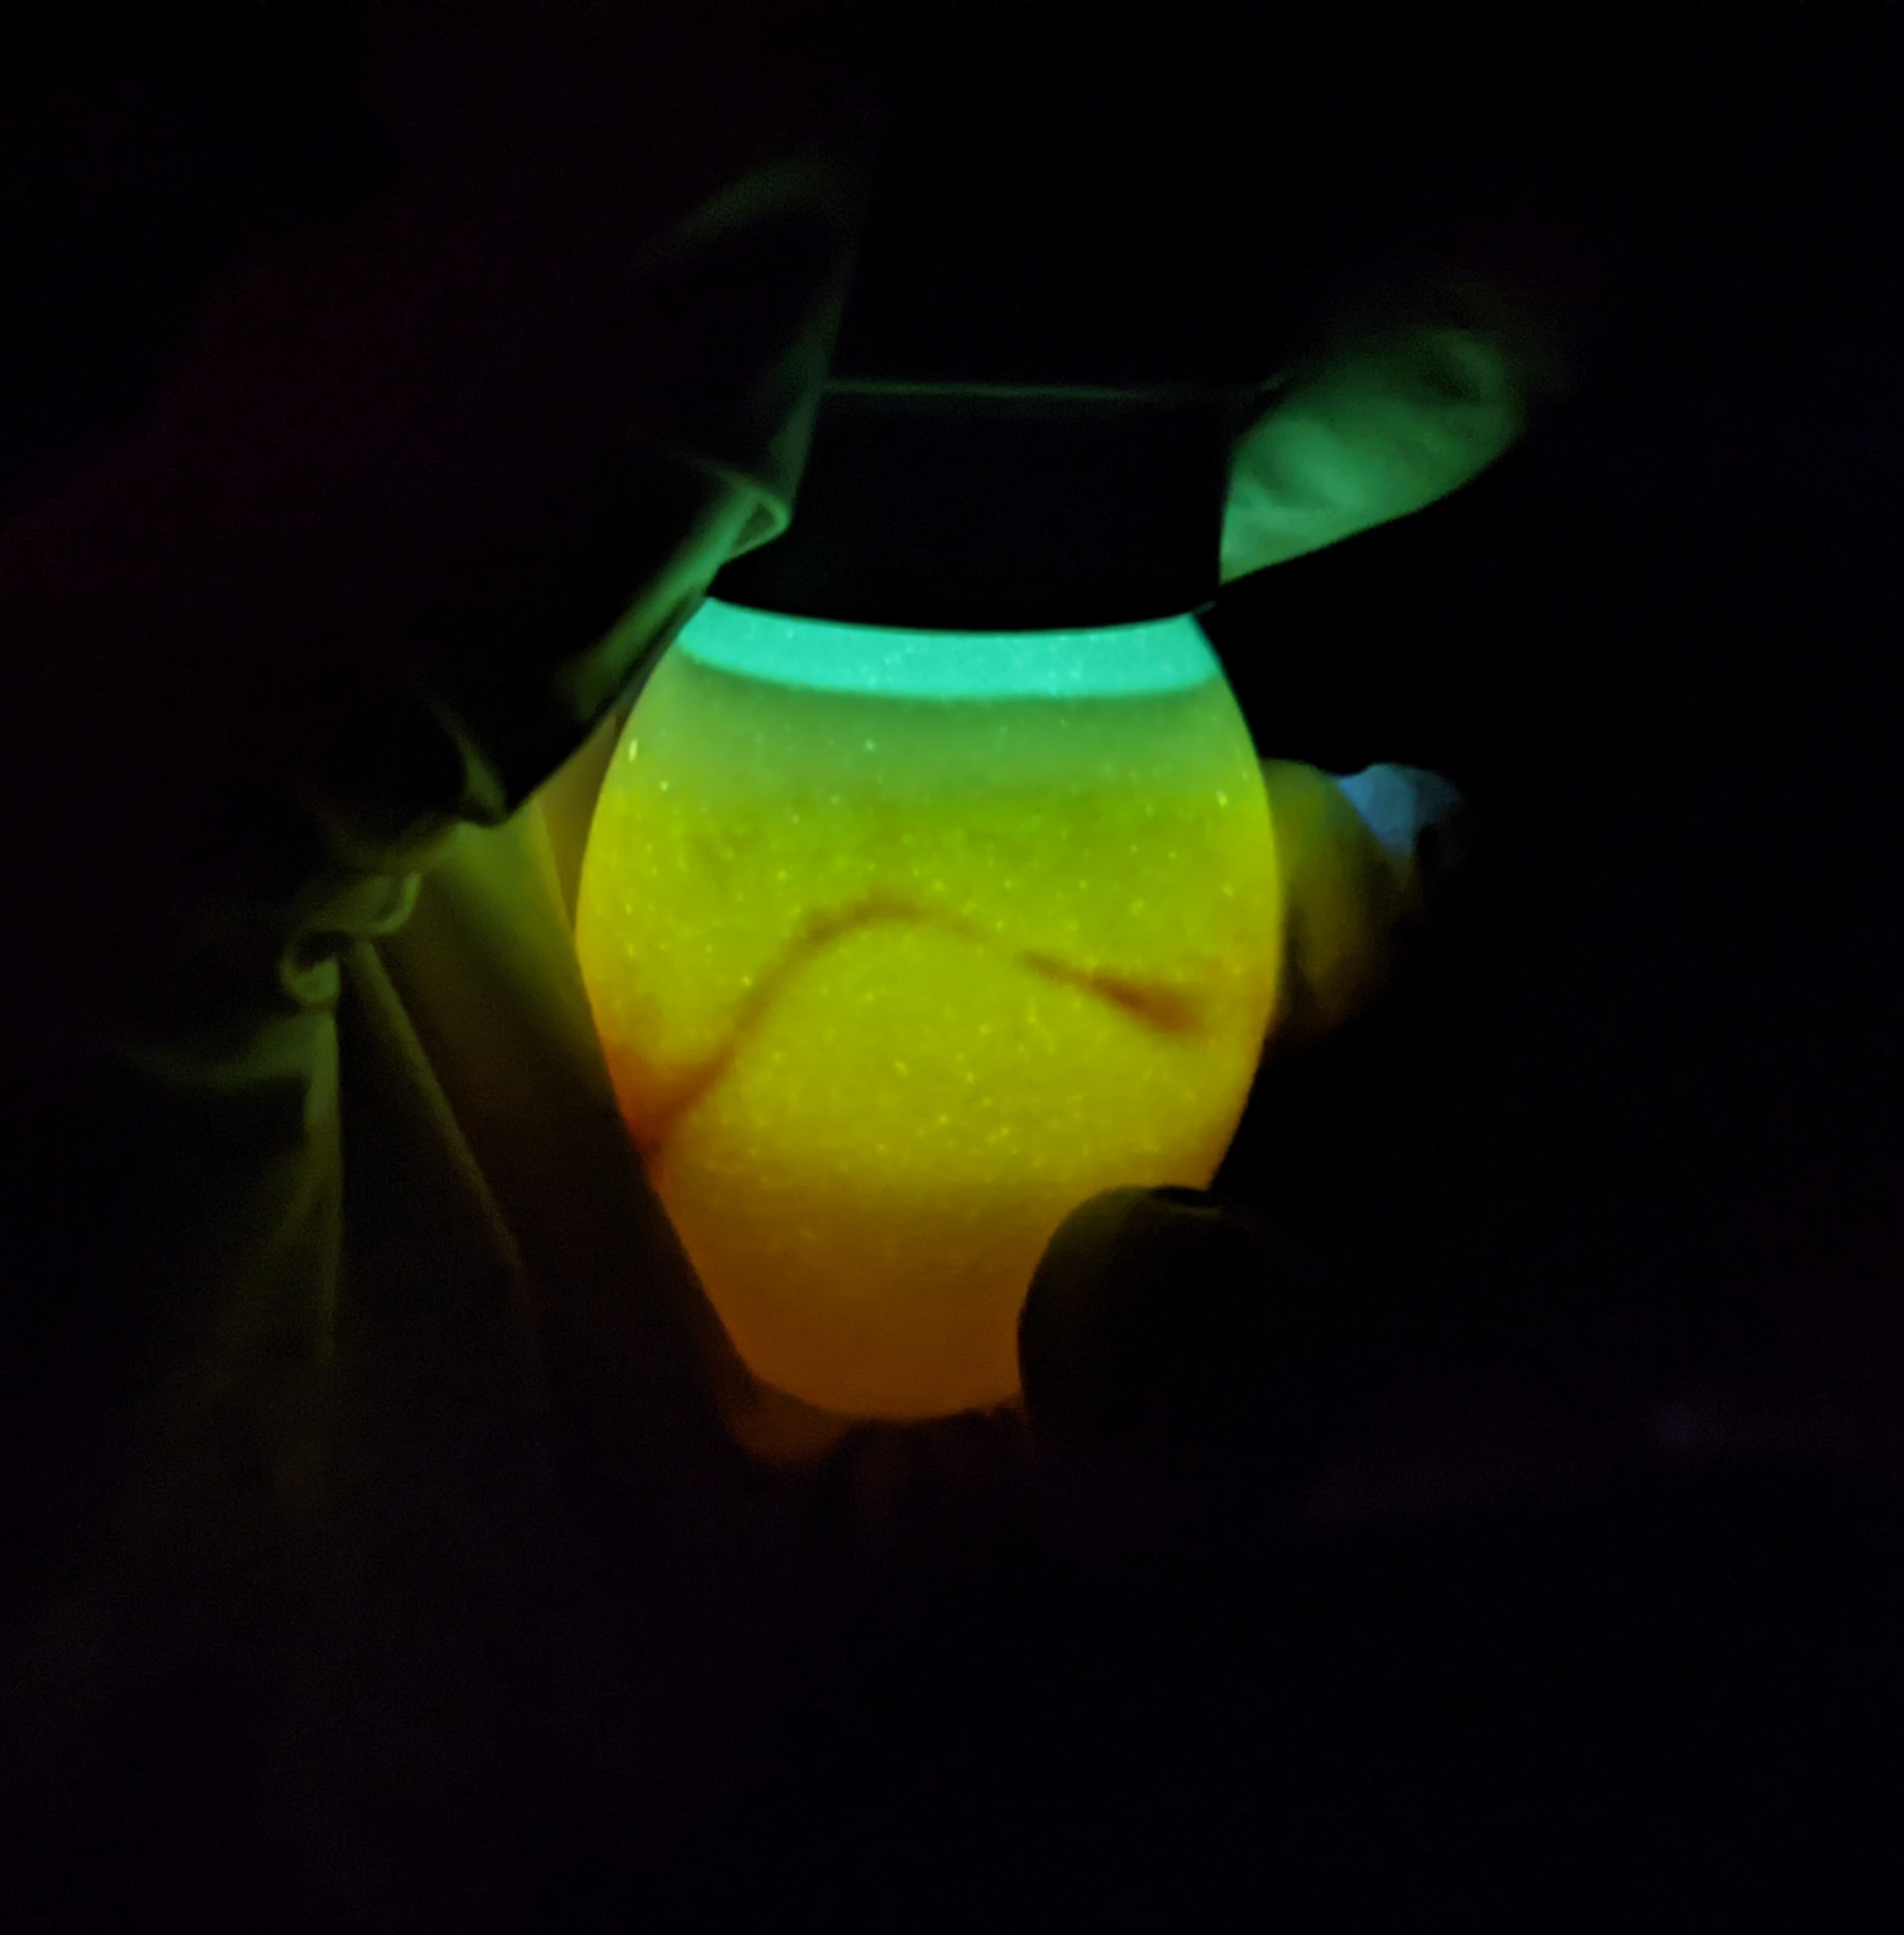
No one, ever, wants to make the mistake of tossing a viable egg out. If I have any doubts about what I’m seeing at candling, I leave the egg in the incubator until the following candling, when it’s easier to compare progress (or lack of it) against other developing eggs. With suspected blood rings, I also candle through the top of the egg to see if there are any active blood vessels. With a true blood ring, there will be none because development has ceased and blood vessels have begun to break down. If you’re new to incubating eggs, a blood island – a sign of a developing egg – can be mistaken for a blood ring (a quitter) early in the incubation process. Again, I err on the side of caution: if I’m not sure, I leave the egg – as long as it’s not smelly or leaking – in the incubator to candle later.
Wondering why I didn’t follow my standard candling schedule for these eggs? I typically candle chicken eggs at 7 and 14 days (and sometimes 18 days, right before lockdown). I candled early because I needed to see how the air cells were responding, and to adjust humidity quickly, if needed. I incubated these eggs very dry, adding almost no water to the incubator, because the air cells were already damaged and unlikely to grow properly. The air cells were on track at the second candling, so I’ll continue to keep the humidity low.
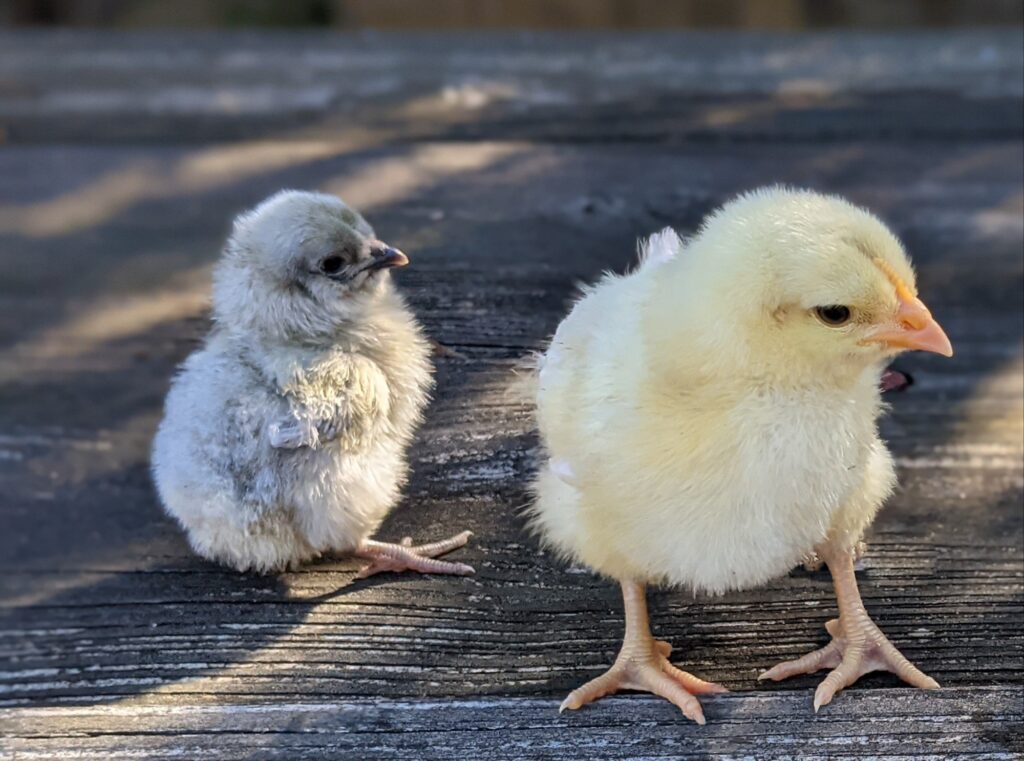
With 7 eggs still plugging along, I’m hoping each one makes it to lockdown and hatches. The blood vessels look strong, so I’d be very disappointed if any quit before the 29th (though it’s still possible). This will be a hatch that I’ll be watching carefully and assisting as needed – and shipped eggs usually seem to need assistance. With luck, however, there will be more adorable Lavender Ameraucana chicks on the farm this spring.
If you enjoy geeking out about egg incubation, this is the place to be. Stay tuned for updates!