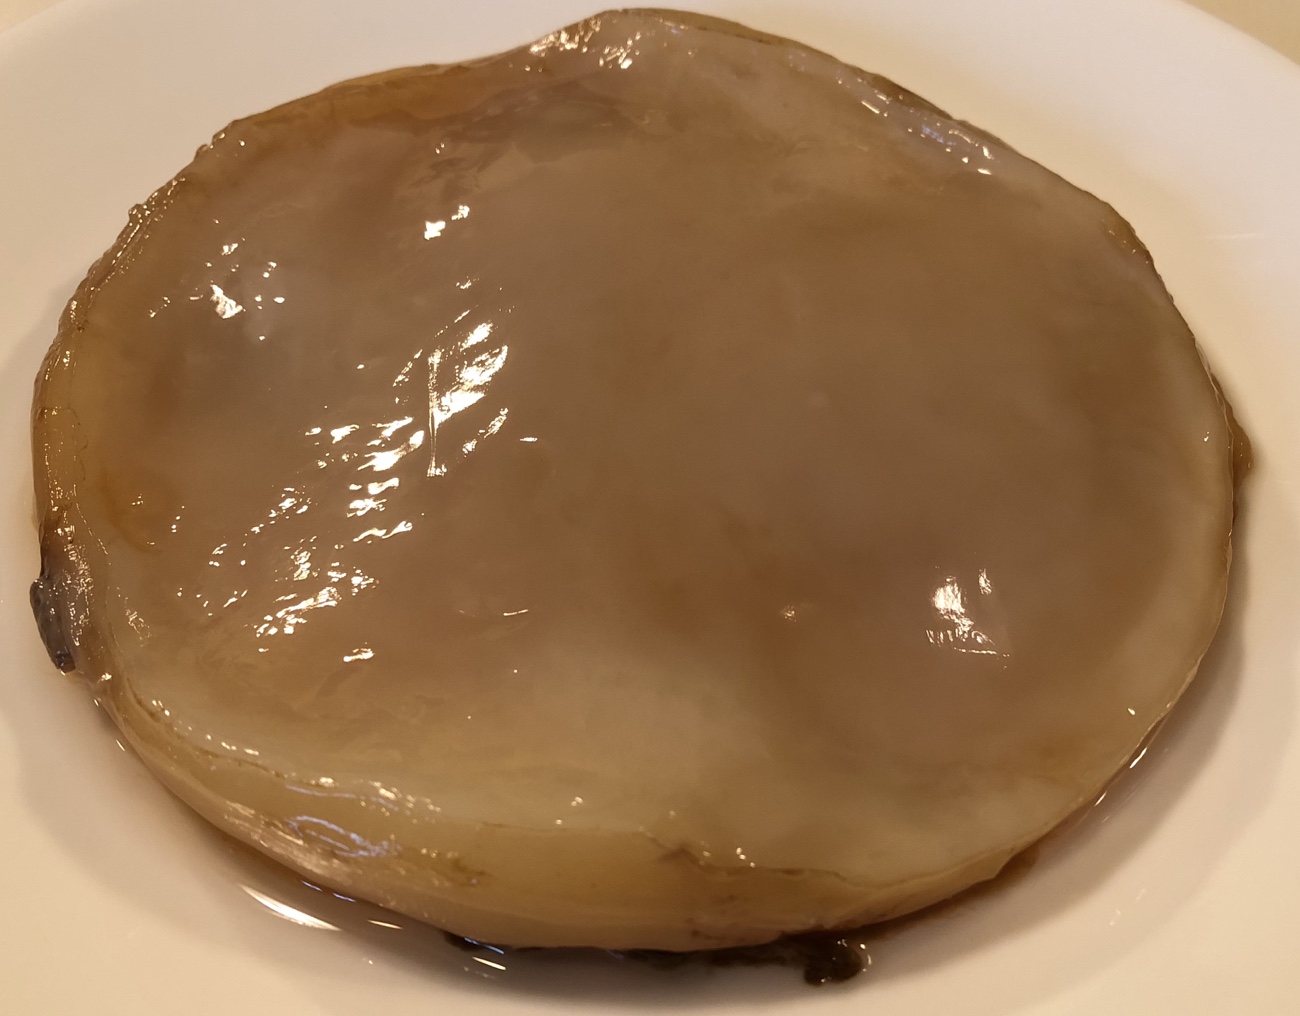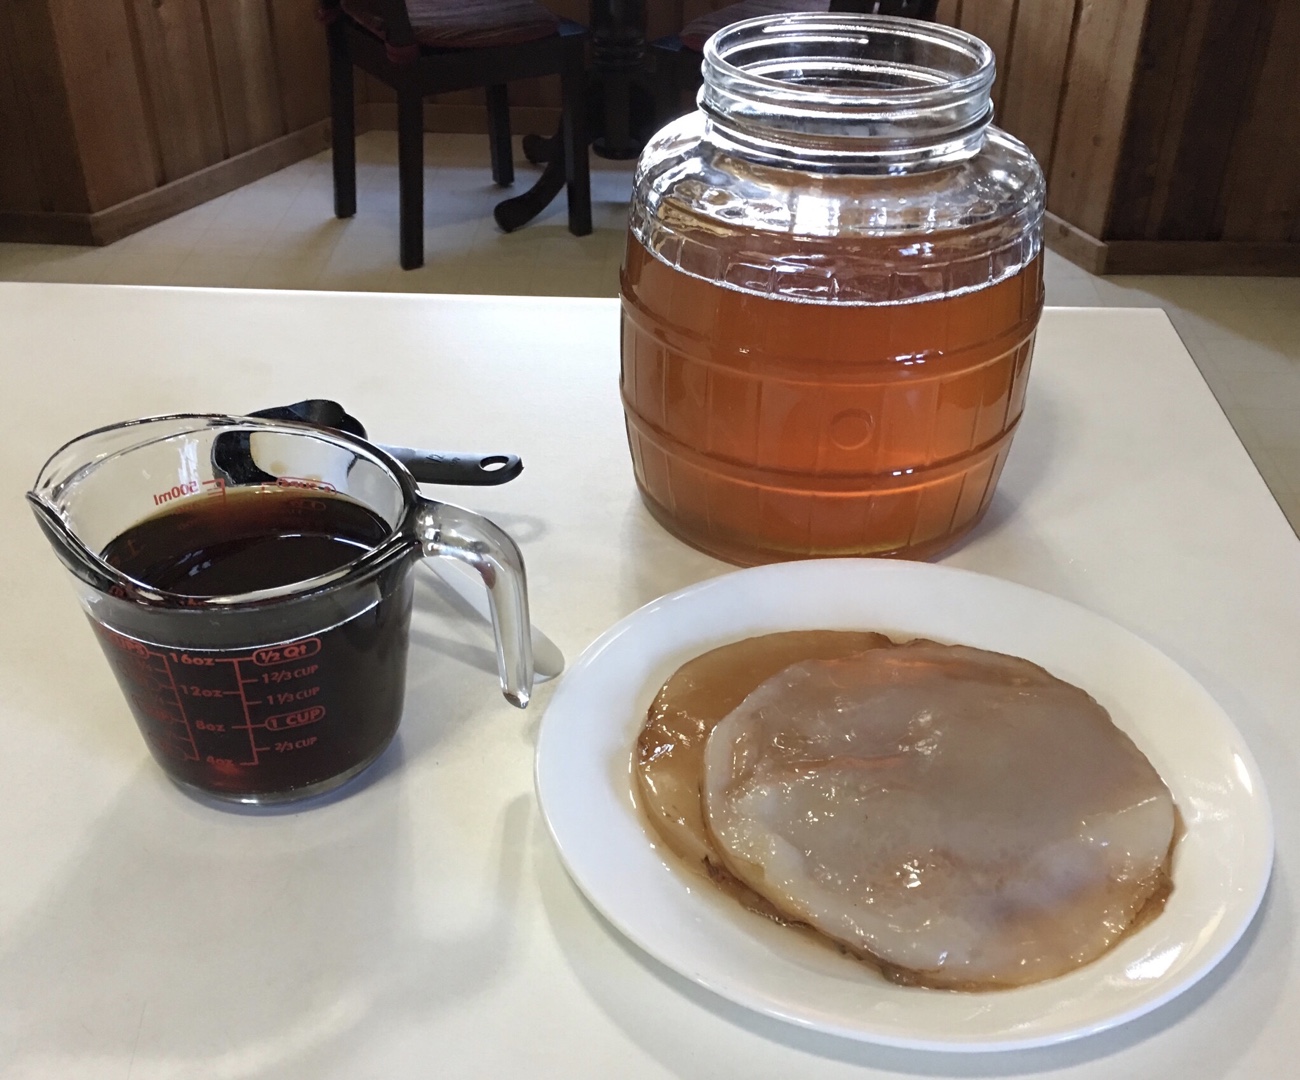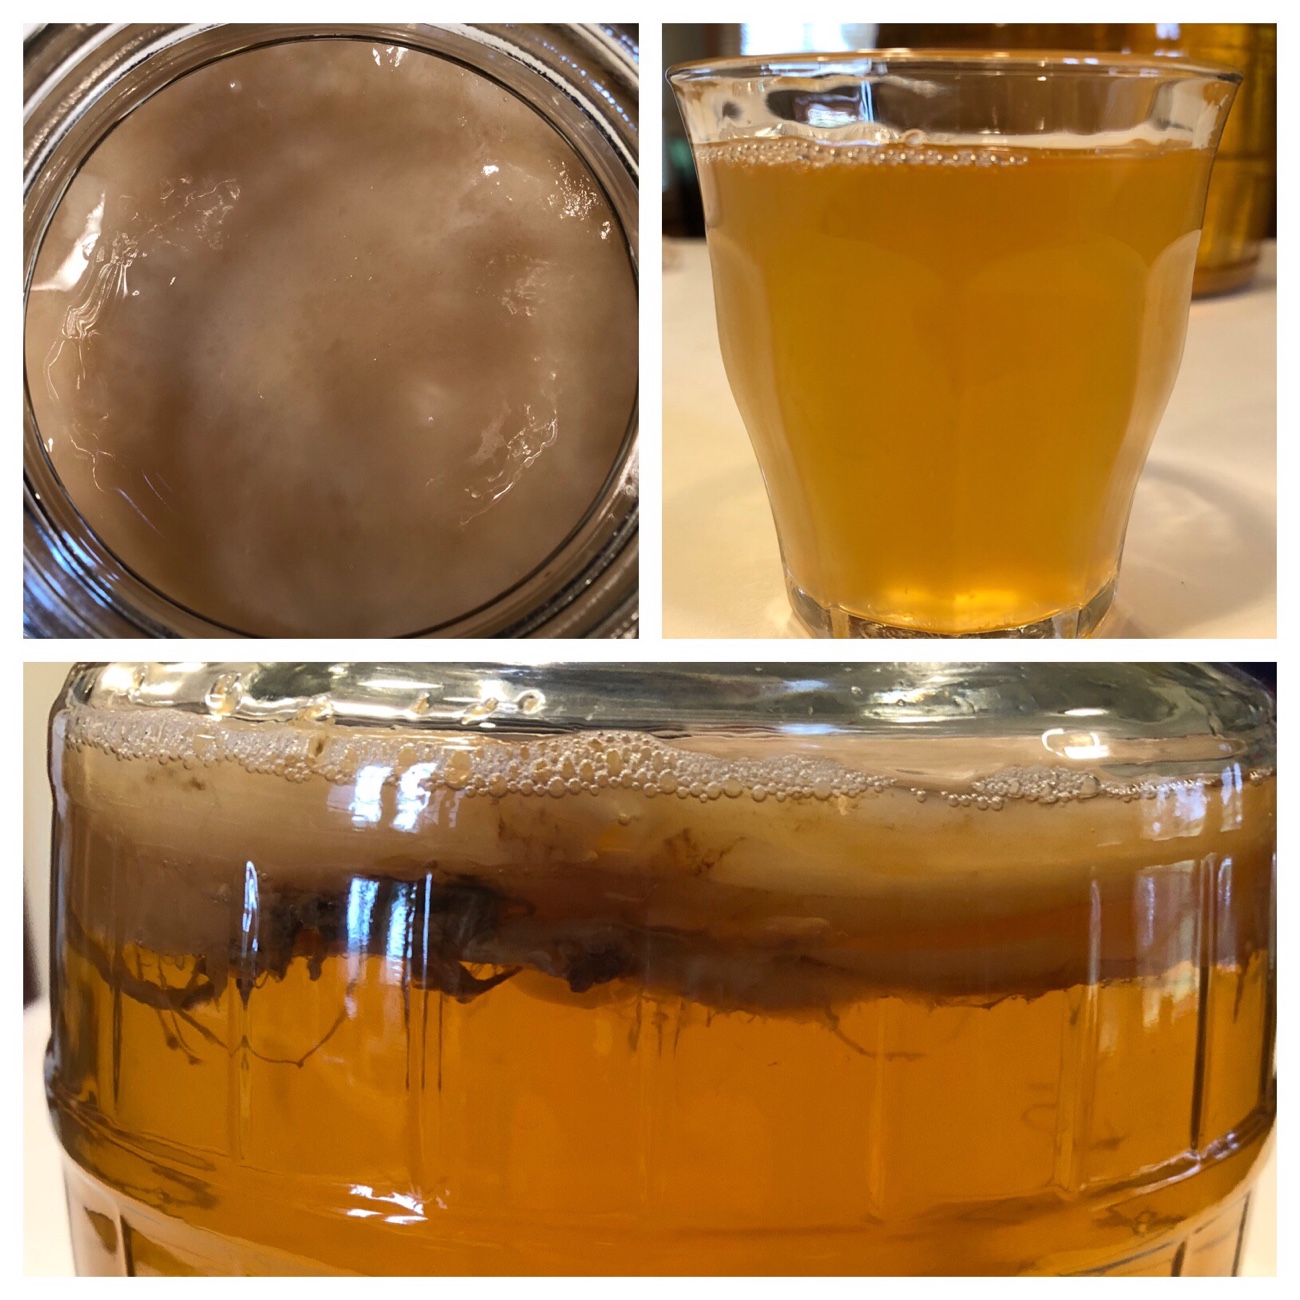
I’ve been brewing the amazing elixir known as Kombucha Tea for years now. With this ferment, an unusual-looking culture transforms sweetened tea into probiotic goodness, thanks to the hard work of the Symbiotic Colony of Bacteria and Yeast (SCOBY): the disc-shaped pellicle formed by the microbes responsible for performing the magic.
My introduction to this beverage was a bottle of commercially-produced, sweetened kombucha that I bought at a grocery store. It was highly carbonated, with a vinegary bite; despite the super fizziness, I liked it immediately. I would buy a bottle whenever I happened to be at this (natural foods) store. At roughly $4 a bottle, this habit was rapidly becoming expensive.
Next step: research kombucha and discover that making it at home was even better than buying it in the store. Why? Because I could not only control the ingredients, but also the flavor…and I could make it as often as I wanted. In addition, homemade kombucha is raw, so none of the probiotics are destroyed through pasteurization, which some commercial kombucha producers do to their drinks to limit the naturally-occurring trace alcohol that is created during the fermentation process.
To start my brew, I use 6 tea bags per gallon of water for the tea base; loose tea will also work – 6 tsp should be roughly equivalent to 6 tea bags. I use any combination of plain white, black, and various green (jasmine, oolong, etc.) teas, preferably organic. While I adore Earl Grey tea, I avoid using it in kombucha because it contains bergamot oil, which could harm the SCOBY. Similarly, I would avoid using chai and other flavored teas for brewing the kombucha base, and just add flavors at the second ferment stage (after the SCOBY has been removed).

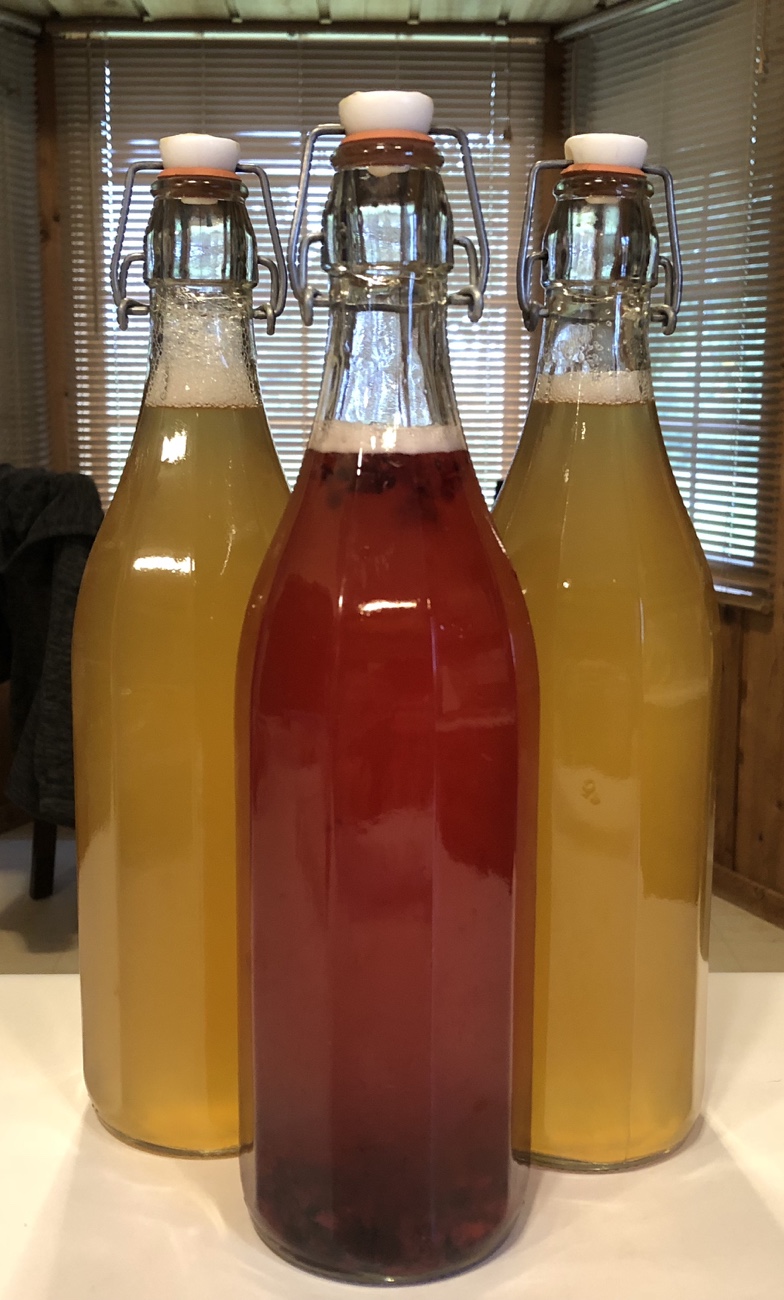
I like to let my kombucha ferment for 14 days, which is when it seems to reach a good balance of mostly tart with a touch of residual sweetness, but doesn’t venture too far into vinegar territory (most of the time – the flavor will vary depending on the combination of teas I use and the temperature in my kitchen, and sometimes it reaches the vinegar stage much more quickly). At the end of the two weeks, I “harvest” my finished first ferment (1F) kombucha – which is totally suitable to drink as is – and do a second ferment (2F). The second ferment stage is where flavoring agents like fruit, dried flowers, spices, etc., can be added to create flavored kombucha. I’ve made many flavors with various types of fruit (fresh and dried), as well as using juice once in a while (Concord grape is delightful in pretty much anything), and I’ve added other flavoring agents like hops and herbs. My favorite though, is still just plain tea-flavored kombucha: clean, crisp, and usually reminiscent of apple cider.

This past Sunday, I harvested my biweekly batch of kombucha 1F. The batch was a combination of black and green, but mostly black. I set aside two plain 1L bottles to do a second ferment for a few days, and added some crushed frozen blackberries (found lying in the bottom of the freezer, possibly from last summer) and 1/2 tsp of sugar (to offset the tartness of the berries and to help create more carbonation). While I enjoy flavoring kombucha, I find that fruit-flavored batches are best drunk young – they don’t seem to age gracefully, even in the refrigerator, and turn sharply vinegary before you know it. If that happens, though, all is not lost: simply turn that tangy brew into a shrub or other palate-pleasing cocktail. It will knock your socks off!

And what about all those SCOBYs that grow in each batch of kombucha? If your hotel (spares) is full and your friends all have their own SCOBYs, you may soon find yourself overrun with mothers – or with 5″ thick SCOBYs! We feed them to our fowl periodically, but there are many other creative ideas for using extra SCOBYs, like making gummy candy, pie crusts, and even clothing (!) from them.
Still skeptical about the power of the SCOBY? Check out this article for more information about the (evidence-based) health benefits of kombucha. Cheers!
