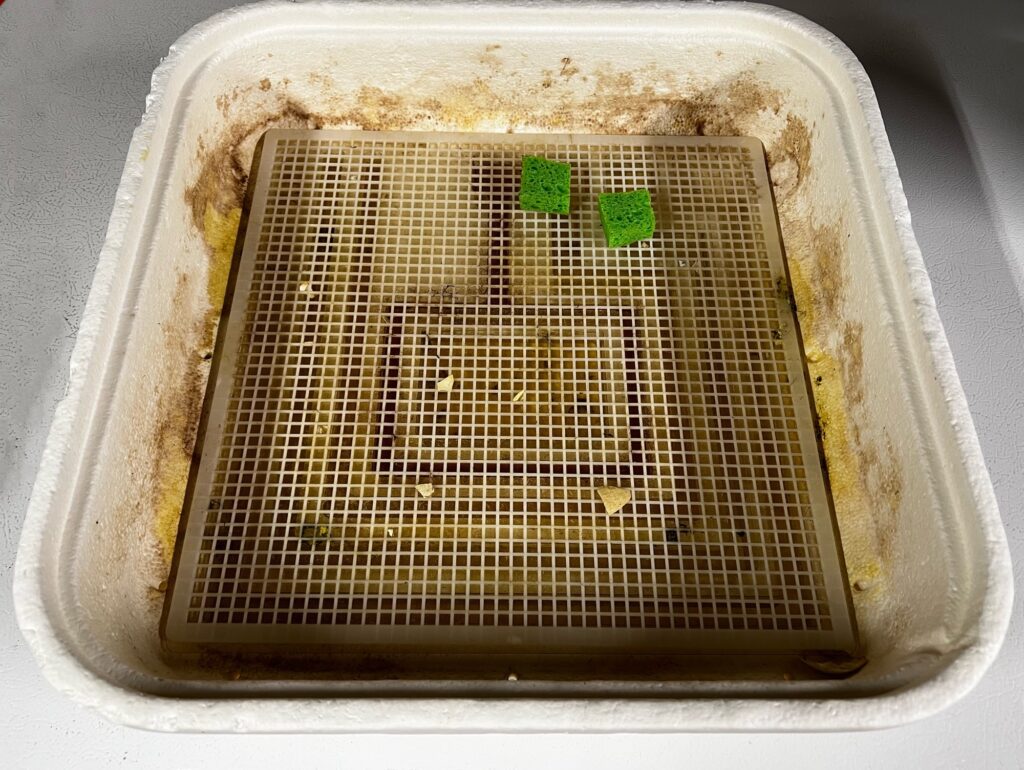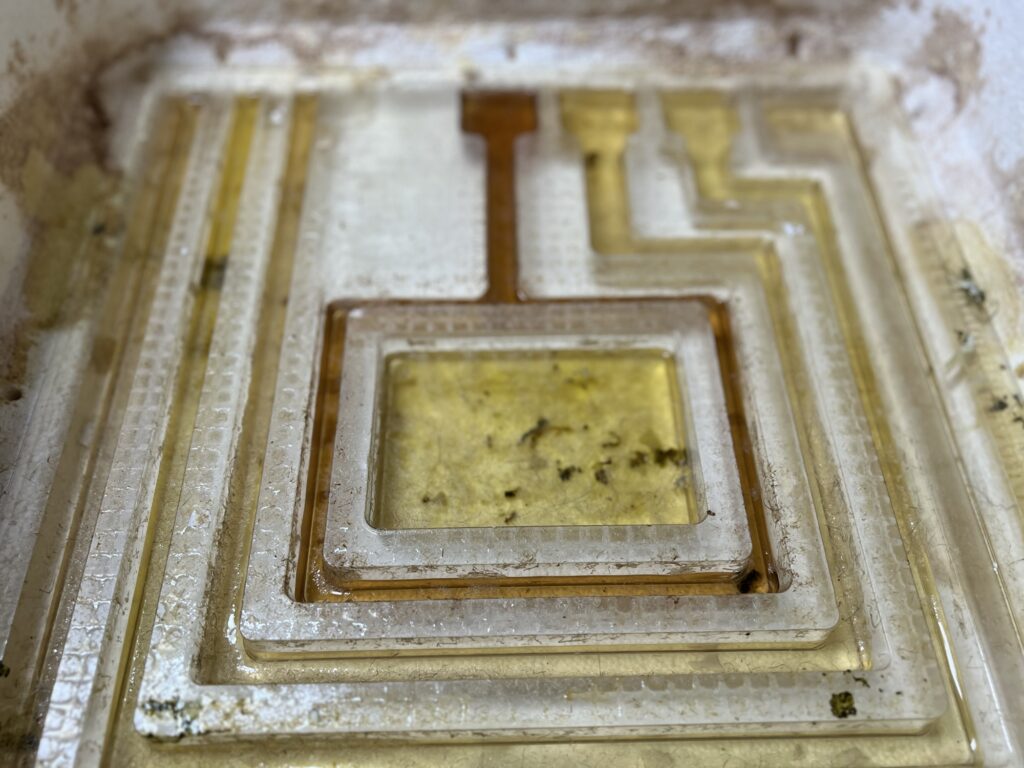
Yes, this is a massively dirty incubator – the aftermath of a gosling hatch. Looking at that mess – and the smell! – was a little depressing…for a brief, irrational moment I thought about simply tossing that filthy incubator into the trash. But that’s not how I roll. So I pushed up my sleeves, put on my rubber gloves and got to work.
I’m not going to go into detail in this post about how I clean my styrofoam hatchers because I’ve covered that on the blog before, but I will say that it takes time, effort, and some patience. With it being a sunny and unseasonably warm (a stretch of temperatures in the mid-70s) here, it’s also perfect to do some UV-sanitizing, too.

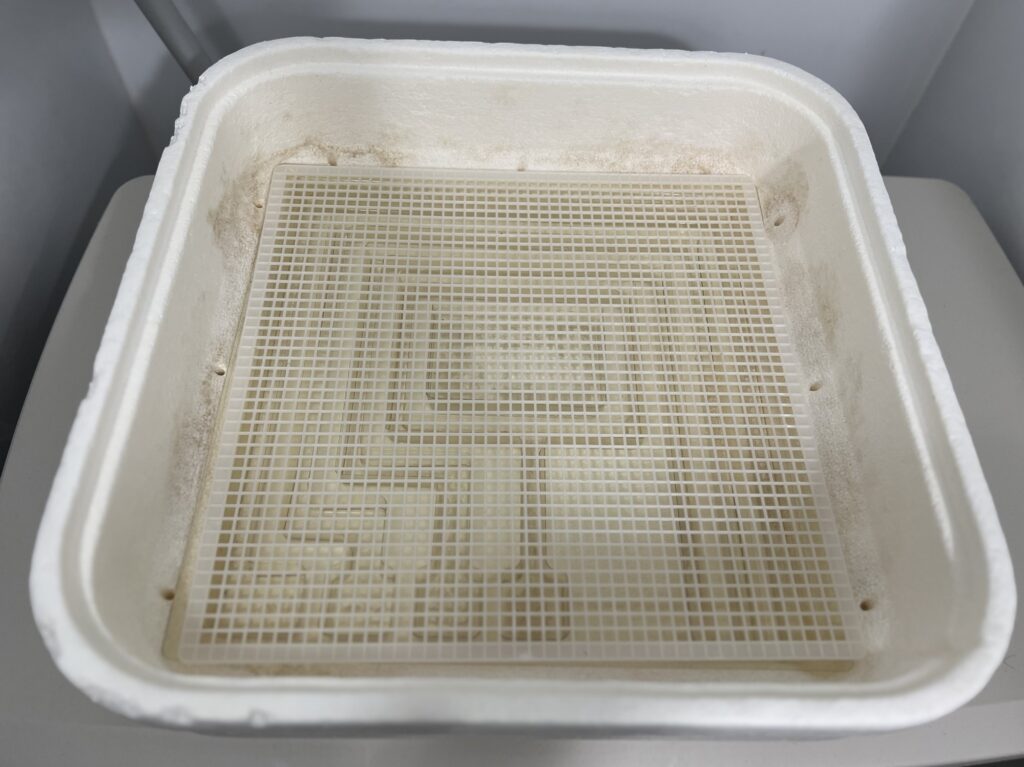
After a soak in hot, soapy water, scrubbing with a brush, and a thorough spraying down with distilled vinegar (it’s 5% acetic acid, after all), I simply propped the pieces up in the sunshine. The heat and the breeze will dry them so I can start the hatcher to prepare for the next hatch. No bleach this time because eggs are going into lockdown in it as soon as it dries.
At times, it takes some perspective to get my attitude in order: in this case, I was preoccupied with other tasks that needed to be done, and that icky, nasty hatcher was just the last thing I wanted to tackle…but once tackled, it was like a weight was lifted. I have goose eggs ready for lockdown and, soon, a clean hatcher ready to receive them. Order has been restored to the universe.

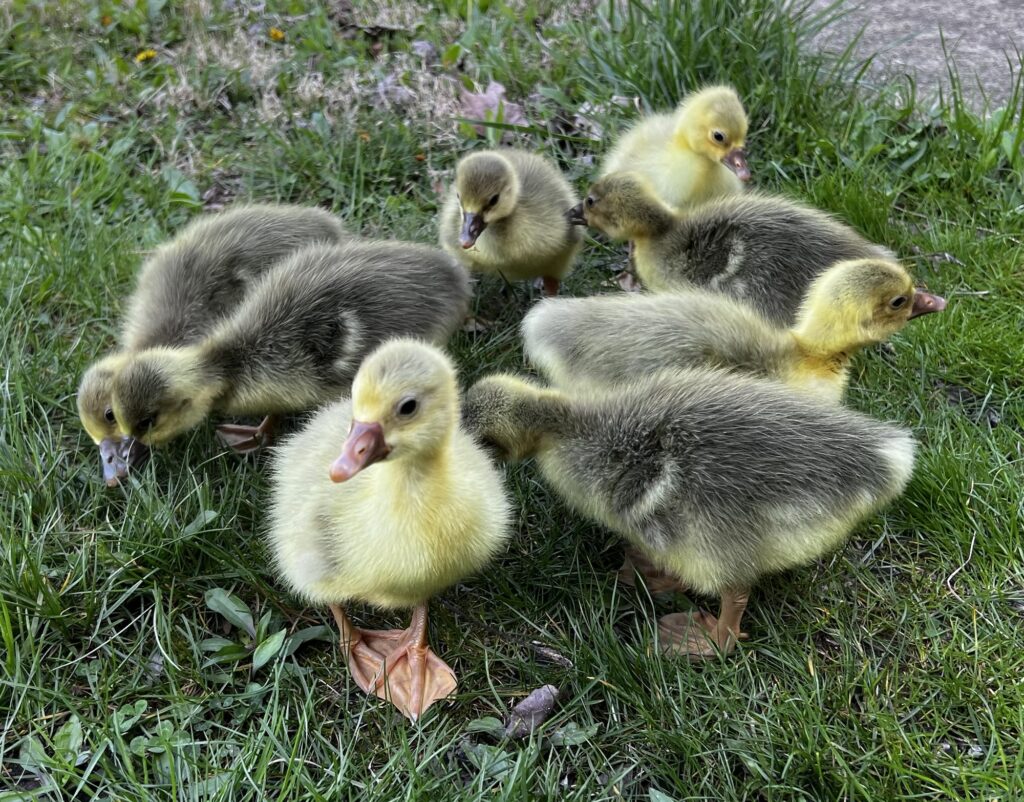
And, when I see the happy, chatty little goslings that created that mess, well, that cuteness makes me forget all about how awful that hatcher looked and smelled (it was extra stinky because a late hatcher spent a couple of extra days in there). Dirty hatcher? No problem.

Getting those unappealing tasks out of the way can really provide a little boost, especially when they must be done. Today, get your figurative gloves on, your brush out, and get to work. And then give yourself a hearty pat on the back (or a round of applause, if you prefer) for getting that job done!
