
It’s the hatching season…well, I hatch year-round, but this is the busiest time of the year for hatching! With multiple incubators and hatchers, eggs with different incubation needs and hatch dates, it can be a challenge keeping on top of everything that needs to be done. In this post, I’ll share some tips for staying abreast of the many tasks associated with setting groups of eggs at different times.
You may already know that different species of poultry have their own incubation period for eggs; for example, chicken eggs typically take around 21 days to hatch, goose eggs around 28-30 days, and duck (Mallard-derived) eggs take around 28 days. Muscovy (which are not a Mallard-derived breed) eggs take around 35 days to hatch. Even if you don’t have eggs from different species of fowl in your incubators, remembering when to candle, when to “lockdown” eggs, and when the next batch is set to hatch can make your head spin when the batches are at different points of incubation.
And if you’re incubating waterfowl eggs, which benefit from regular hand-turning and misting/cooling, the process of managing multiple hatches becomes even more complicated. Since the misting and cooling schedule starts with 10 minutes but graduates to 15 minutes, then 20 minutes, based on the phase of incubation, you can see how things can easily become confusing.
As with many projects, organization is the key to success. I utilize tools like the calendar on my phone, a white board, and tags on incubators that indicate which hatch it contains (along with writing the date the eggs were set on the eggs in pencil). My phone calendar is one of my most-used tools, into which I add the date the eggs were set, as well as reminders for when to candle, mist and cool, start the hatcher, lock down, and when hatching day occurs. I do this as soon I set a batch to avoid forgetting to do it later.
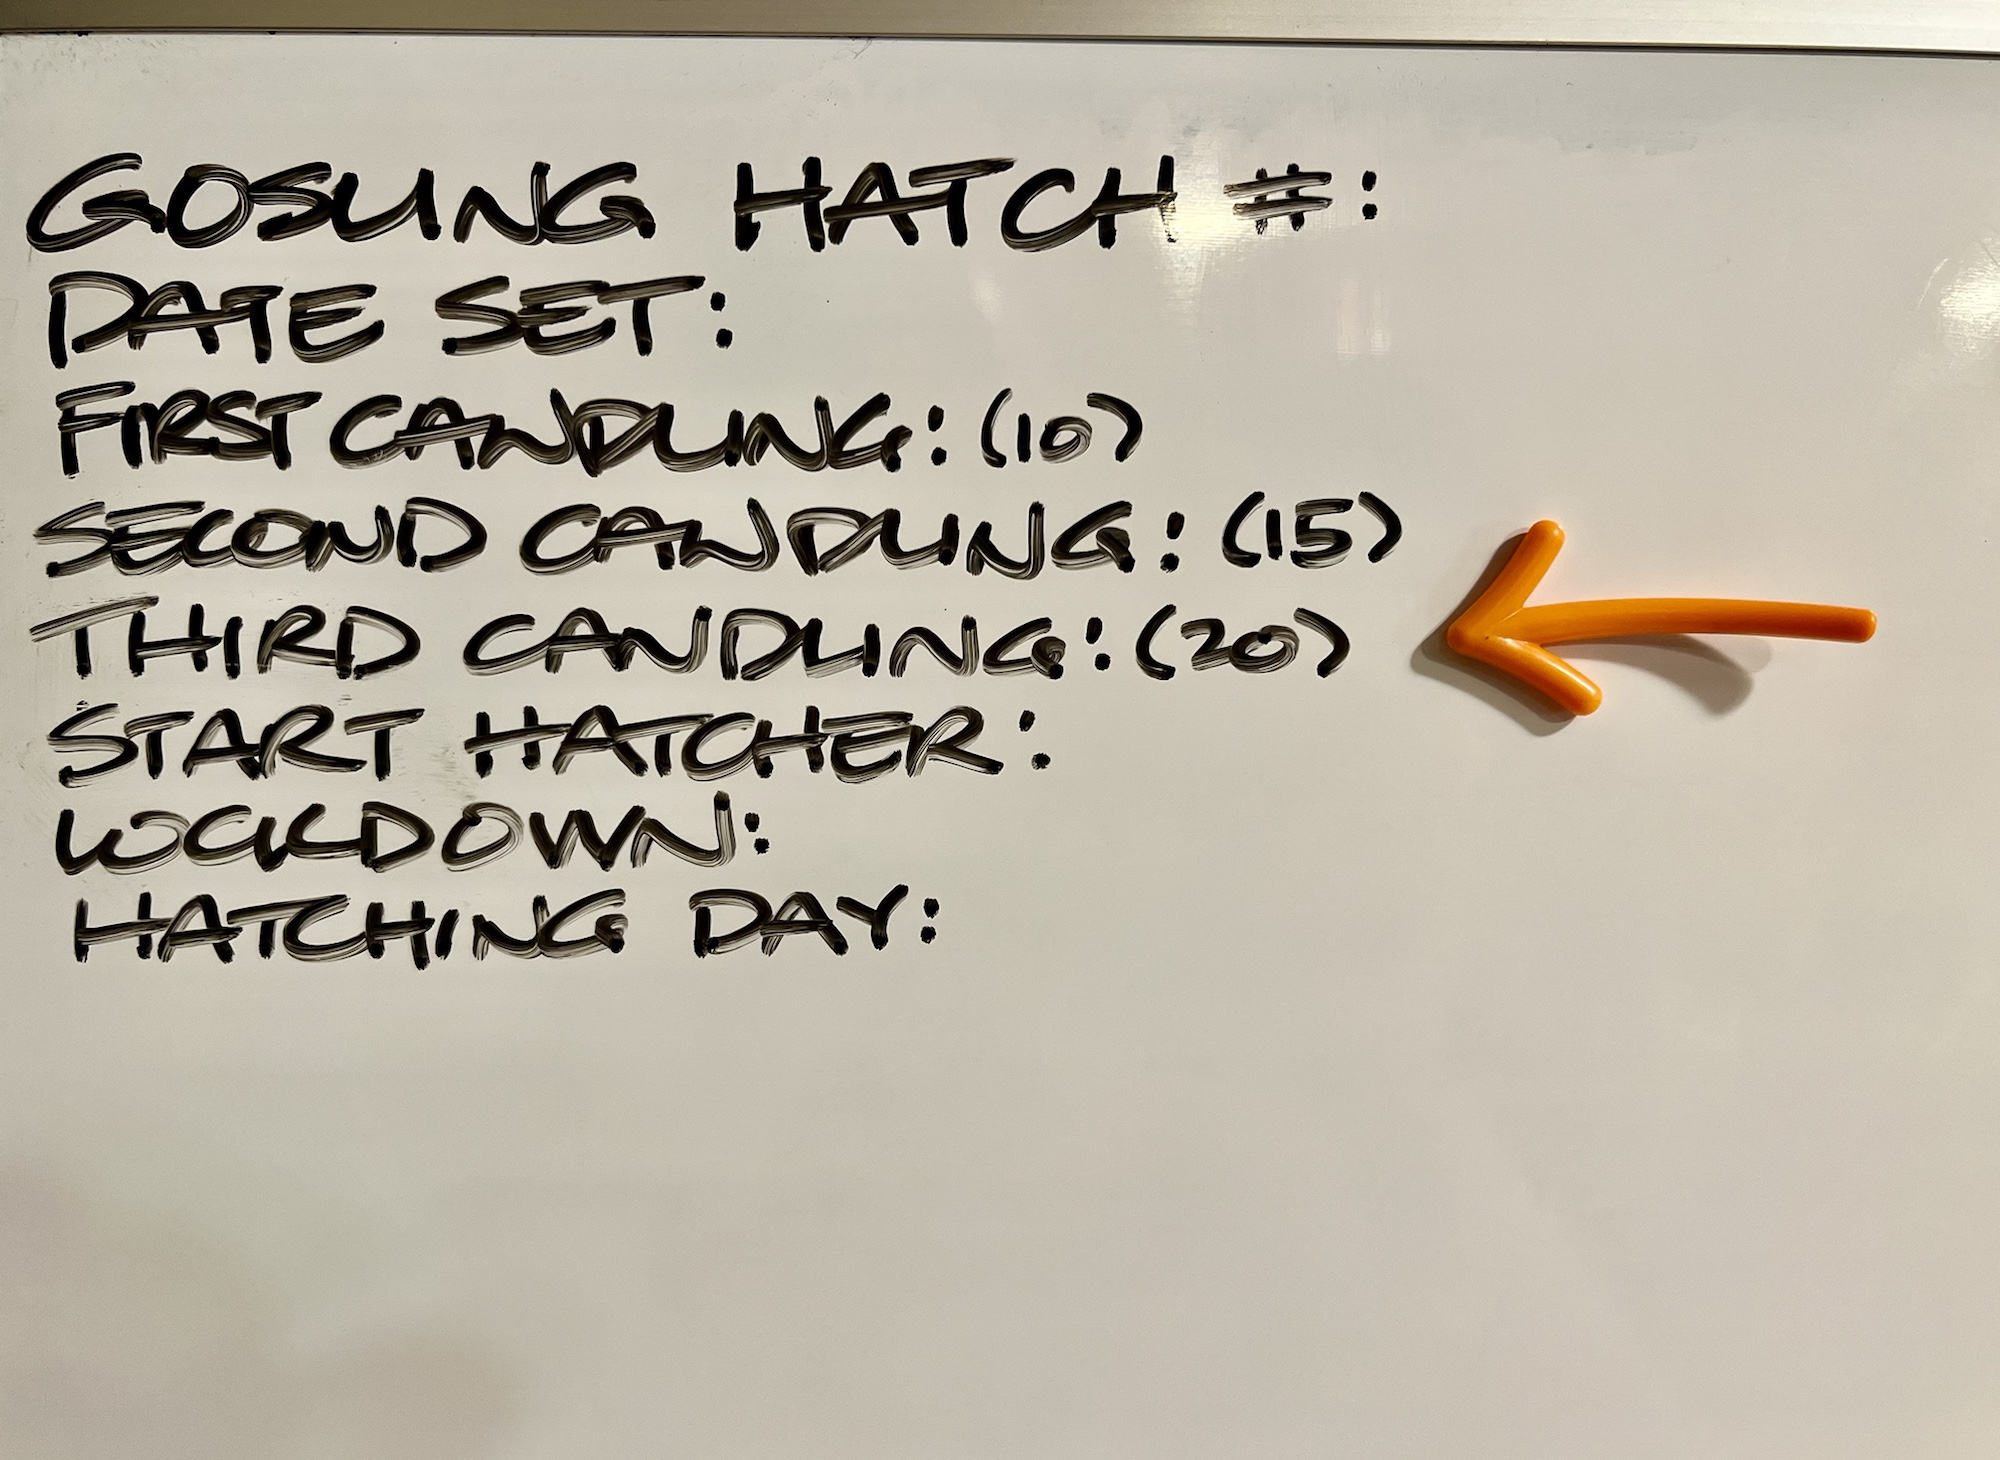
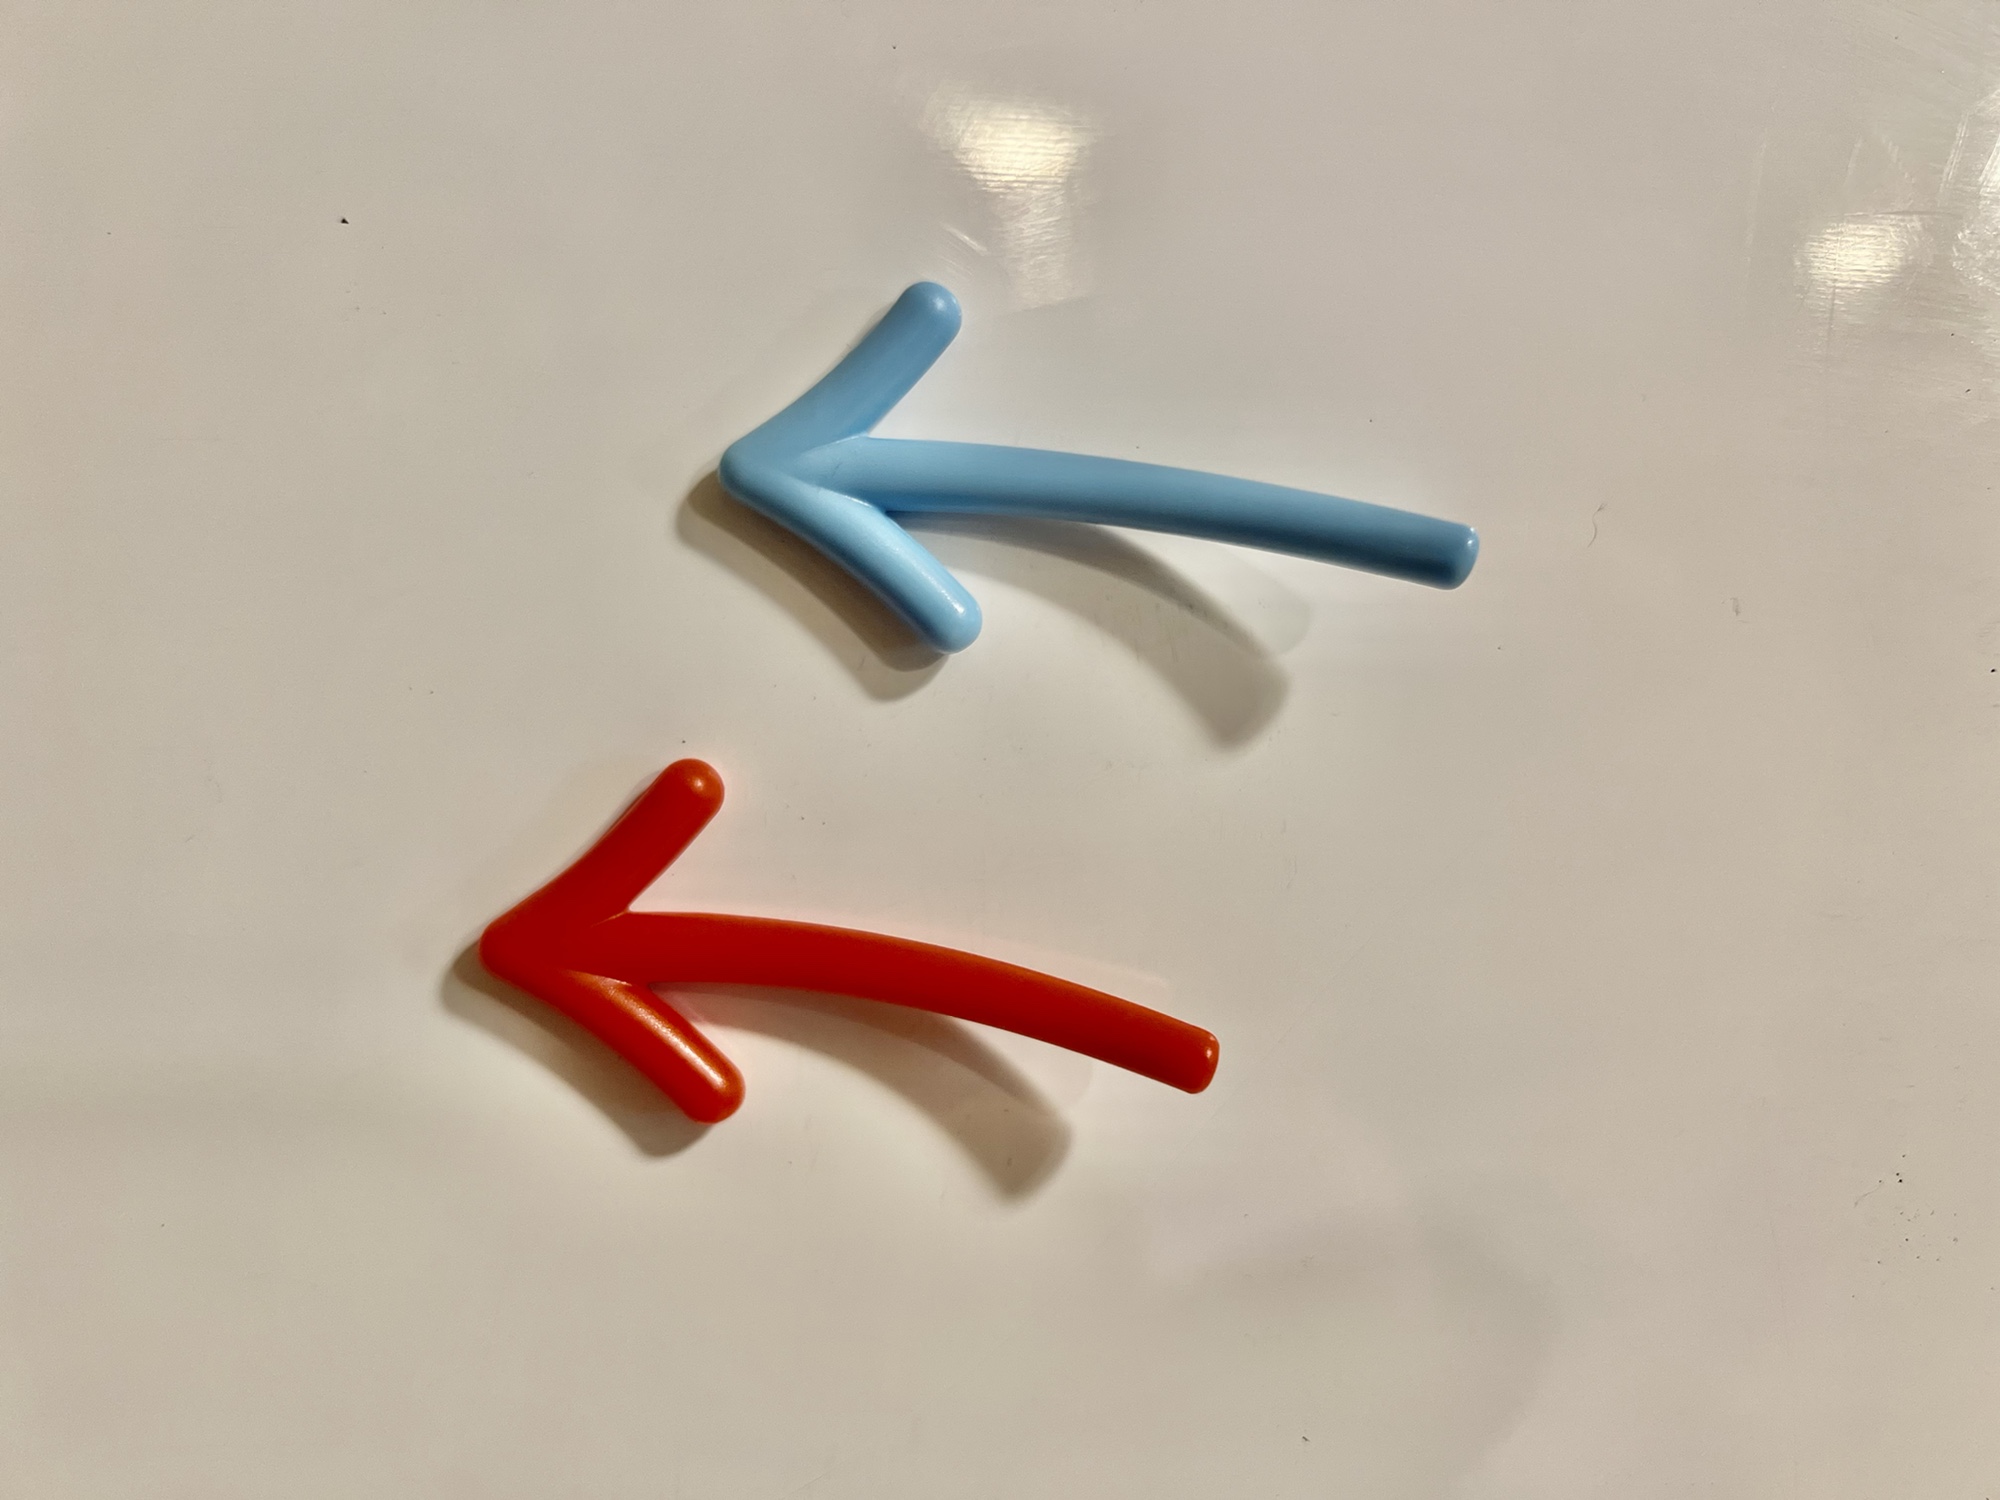
To back this up, I also have a small white board, on which I write the number of each hatch and other significant dates; while this may seem redundant, it serves as a “quick reference” while I’m in the incubator room. I also recently found these slick little magentized arrows that serve to (1) draw my attention to a particular task or date and (2) help me keep track of which direction the goose eggs should be turned each time.
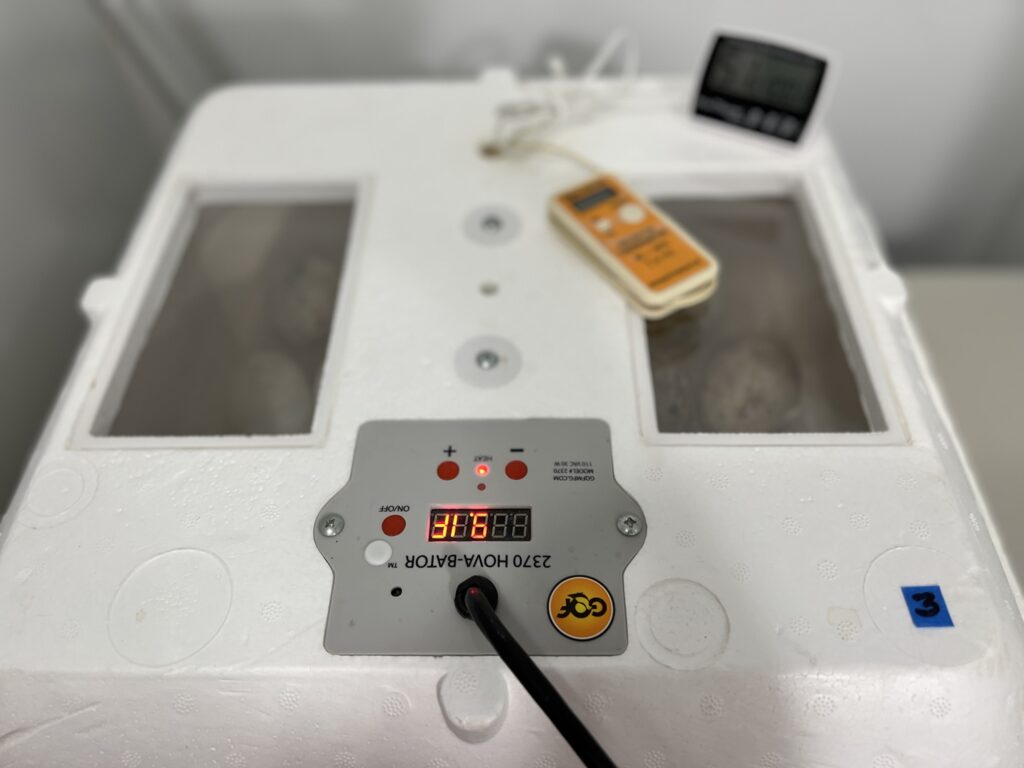
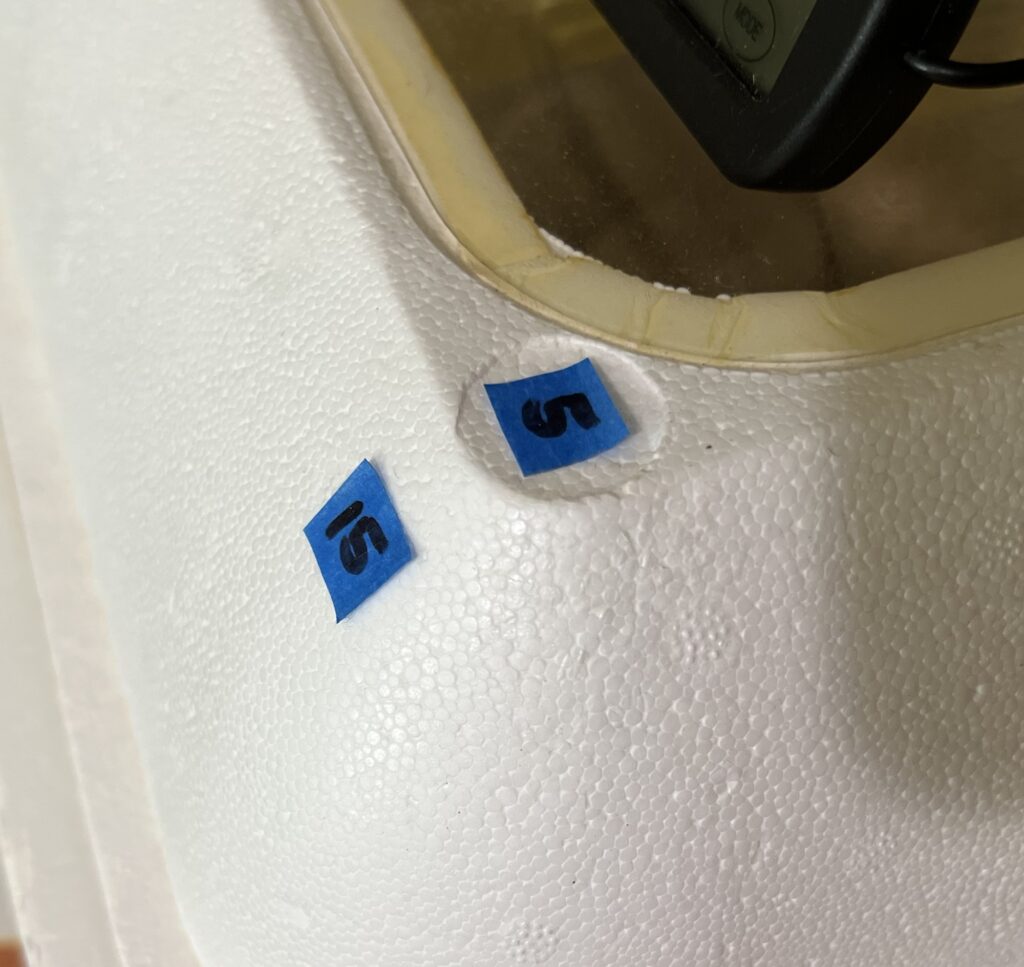
Finally, the incubators are tagged with the hatch numbers so that I can quickly identify where each group of eggs is in the incubation process. Multiple redundancies mean less opportunity for error.
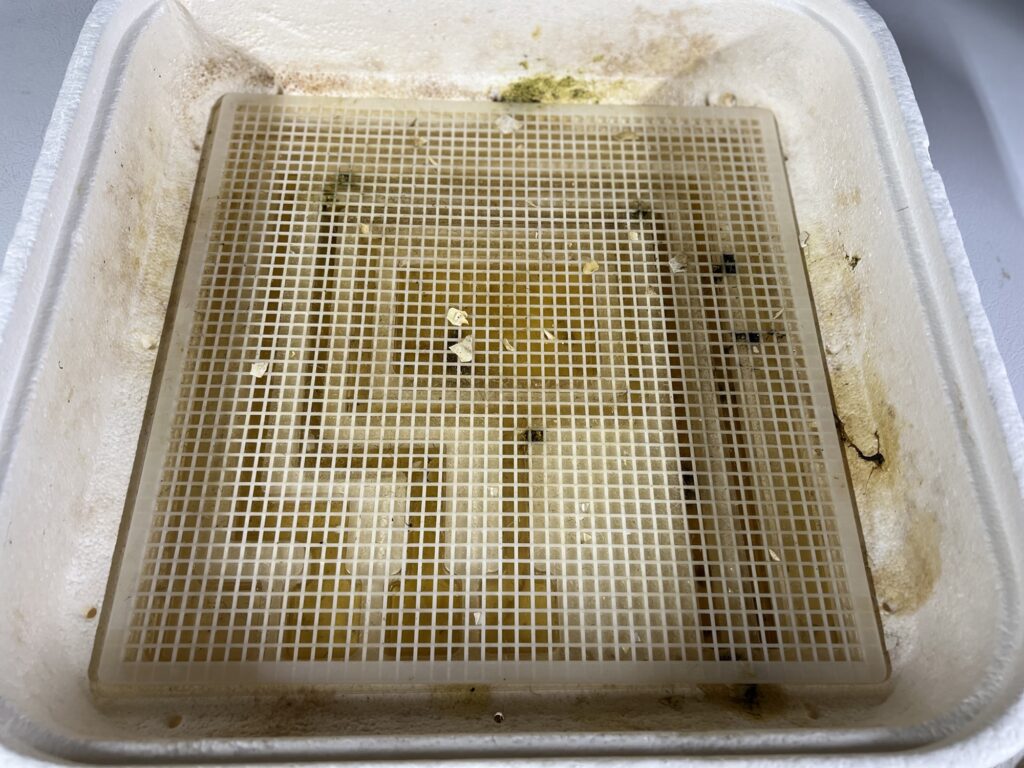
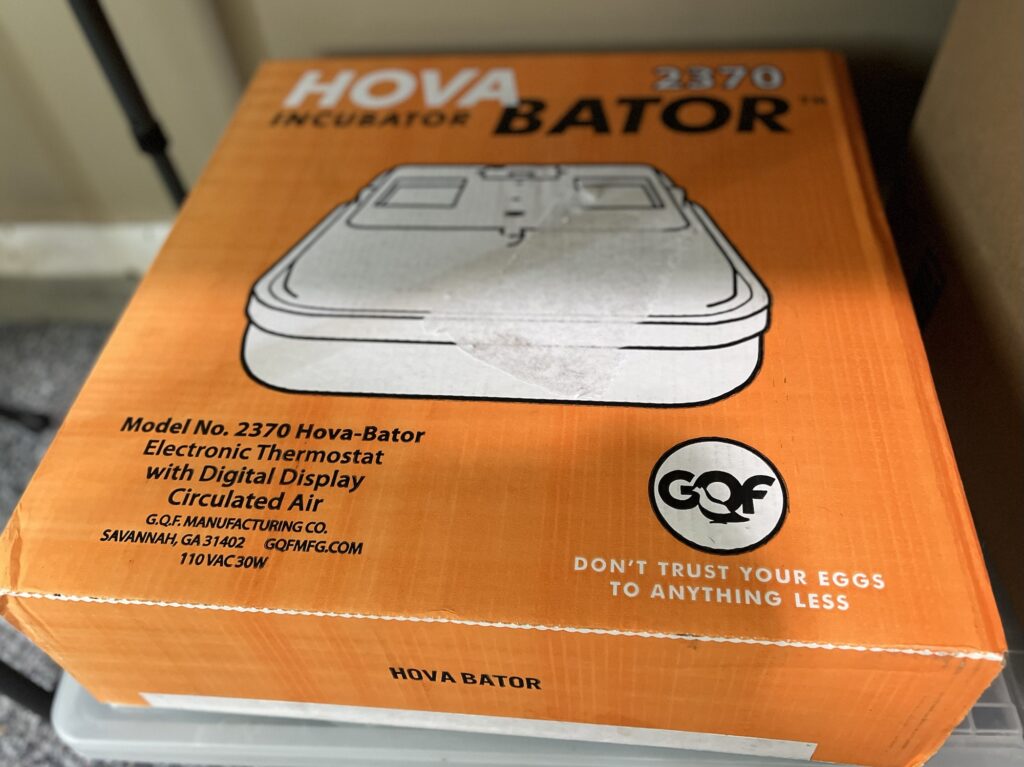
In order to support staggered hatches – eggs added to the same incubator at different times – dedicated hatchers are indispensable. And while I may use one of these incubators occasionally to hold incubating eggs for a short period (until a “regular” incubator becomes available), the idea with a hatcher is that it is going to catch all the hatching gunk and dander generated by the hatchlings, and help extend the life of the incubators. I use Hova-Bator 2370 units as hatchers and Hova-Bator 1588s as incubators, along with a couple of Brinsea Octagon Advances for smaller eggs and batches (the Octagon Advance is an older model that has since been replaced).
With regard to the Hova-Bators, the 2370 is roughly half the cost of the 1588, and it performs very well as a hatcher – it even seems to hold temperatures steady better than the 1588, which I surmise is due to the smaller viewing windows; the 1588 has a huge viewing window on top, which likely doesn’t insulate as well. The fan in the 2370 can even be turned off to allow it to operate as a still air hatcher, if desired. My only real criticisms of the 2370 are (1) the lack of a hygrometer (so an independent one is a must) and (2) the styrofoam construction, which is not environmentally-friendly, more difficult to clean than plastic, and easily damaged. For the price point, though, the Hova-Bator incubators are tough to beat.
Since this is goose laying season – a relatively brief period that ends in June – my focus is on hatching goose eggs, and I have 4 incubators (including one of the hatchers) engaged in incubating eggs from our gaggle. While I try to set them so that hatch dates are at least a week apart, I decided to set two groups just 4 days apart, which will pose a logistical challenge as the hatch dates near: I put goose eggs in lockdown 5 days before their hatch date to allow the goslings more time to get into hatching position, but that also means that the hatcher is occupied sooner than it would be with chicken eggs (which are usually locked down 3 days prior to hatch). And if the hatch runs longer than 30 days, it means that I won’t be able to clean and disinfect the hatcher – and goslings will muck up the hatcher like you wouldn’t believe – before the next group of goose eggs should go in for hatching.
So how do I deal with this timing dilemma? Plan A: I’ll stop turning the second group of eggs at the appropriate point (lockdown), but leave them in their incubator in the hope that the first group hatches timely and vacates the hatcher prior to when I need it. I currently have two hatchers, and because of the number of eggs that have been set and will presumably make it to lockdown, I’d like to be able to use both for each hatch.
If that’s not possible, Plan B is to put all the eggs from the first hatch into one hatcher and (because it’ll be crowded), plan on moving hatchlings to the brooder as soon as possible. This is feasible but not ideal; opening the incubator to remove hatchlings will cause the humidity and temperature to drop briefly, and consistency is optimal. In addition, hatchlings can – and will – stumble around and roll eggs that are trying to hatch, making it more difficult to monitor hatching progress.
Plan C is also a possibility – to simply buy another hatcher to allow for additional breathing room. The advantage to doing this is that it can double as an incubator, if needed, so if a problem occurs (say, a fan stops working), I can use it as a back-up. Since I like to be prepared for all possibilities, I may acquire another hatcher to avoid juggling eggs as both groups approach their hatch dates. Note: I did buy another incubator because I like having multiple options.
I’ve also been thinking that it may be time to consider buying a cabinet incubator, rather than adding more tabletop units. While I have more flexibility with tabletop units, a cabinet model would allow me to set many more eggs at once (or stagger them if desired), and still use my hatchers for the actual hatching process. GQF also makes a popular cabinet incubator, the Sportsman. Another manufacturer of cabinet incubators is Dickey. I’m not prepared at this moment to spend around $600-$1,000 on a cabinet incubator, but I would certainly consider it for future hatches.
Hatching poultry eggs can be a very rewarding experience, but I always bear in mind that it’s bittersweet: as my friend, S., reminded me, the veil between life and death is very permeable near hatch. Disappointingly, sometimes hatchlings just don’t make it and the why is a mystery. While I would greatly prefer that every hatch be completely successful, there are many factors at play during incubation, and only some of them are influenced by my actions. Learning to accept those limitations is an ongoing exercise.
If you’re interested in artificially incubating eggs, invest in good equipment, buy fresh eggs from healthy birds (preferably local, because shipping can have disastrous consquences for fertile eggs), and learn as much about the process as you can before you undertake it….and continue to learn, even as you begin incubating. Happy hatching!