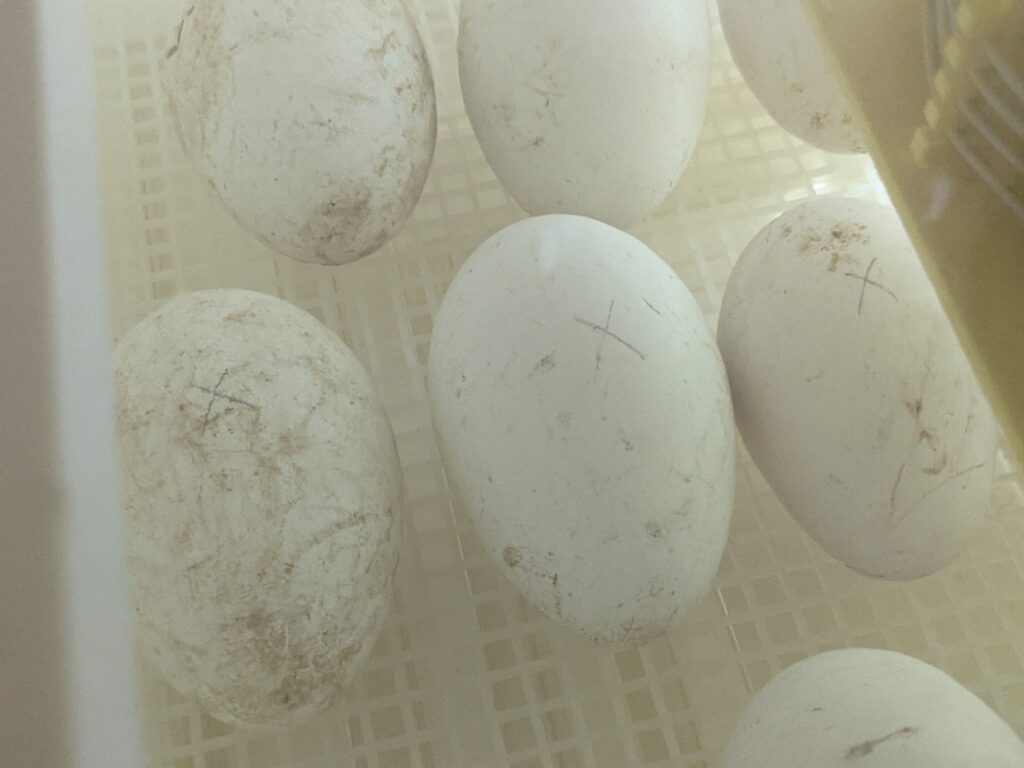
Happiness – for me, at least – is an incubator full of goose eggs. If all goes well, in a few weeks, the fuzzy charm of baby geese will return to the farm. It’s a short hatching season, so I’ll be making the most of it!
Goose eggs gave a reputation for being difficult to artificially incubate. I’d describe them as being high touch compared to chicken eggs: often too large to fit into incubators with automatic turners (hand-turning is optimal, anyway). Starting at day 10, they also benefit from daily misting and cooling, which involves carefully removing the eggs from the incubator, spraying them with lukewarm water, and letting them sit at room temperature for a specific period, which changes based on the eggs’ developmental phase.
Hand-turning the eggs at least three times a day (roughly every 8 hours), misting and cooling daily…these are eggs for the hands-on hatcher. “Set and forget” eggs these are not; in truth, I don’t incubate any of my eggs, regardless of species, that way because I like to check temperature and humidity several times a day, as well as talking to the developing eggs so that hatchlings already know my voice.
Pilgrim goose eggs have about a 30 day incubation period, which is roughly a week and a half longer than chicken eggs. When they begin to hatch, it can actually take a couple of days for them to zip and emerge – that egg, as large as it may be, is still a tight fit for a gosling. Since I’m hands-on, I closely monitor progress and assist if it looks like a gosling is running into trouble.
Let me be clear about this: I help as cautiously and incrementally as possible, with the goal of safely facilitating the hatchling’s emergence on its own. Assisting prematurely or too extensively can have serious (and potentially fatal) consequences for the hatchling. Further, hatching assistance should only be attempted after performing exhaustive research and preparation. If you’re hatching eggs, read, read, read and have your “assistance kit” prepared before you need it. Semper paratus!
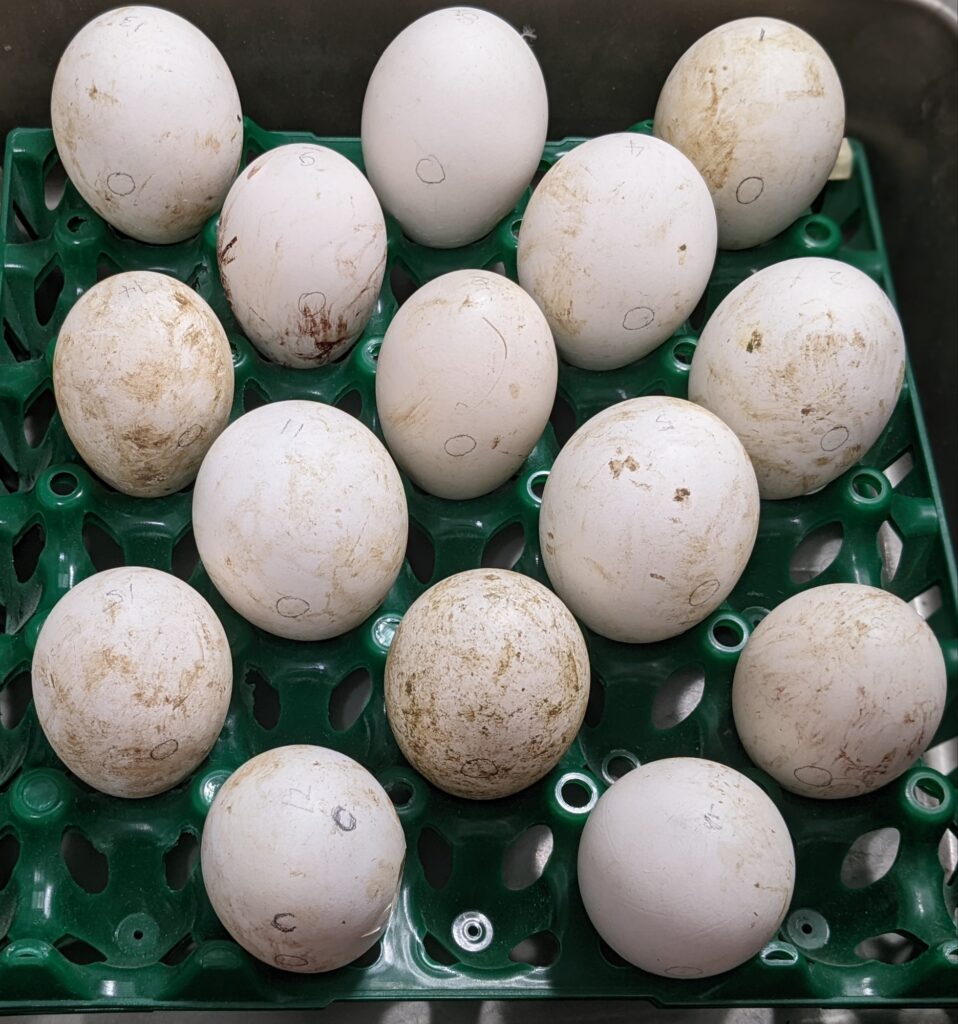
Our gaggle is comprised of both new and mature layers, so some of the first goose eggs are smaller than those laid by more mature geese. Generally, I wouldn’t expect fertility to be as high for new layers, and smaller eggs are reputed to have more issues at hatch, but new layers’ eggs can – and do – hatch. I set all of the fresh eggs I had collected, including one from a new layer with a large dent/crack in it.
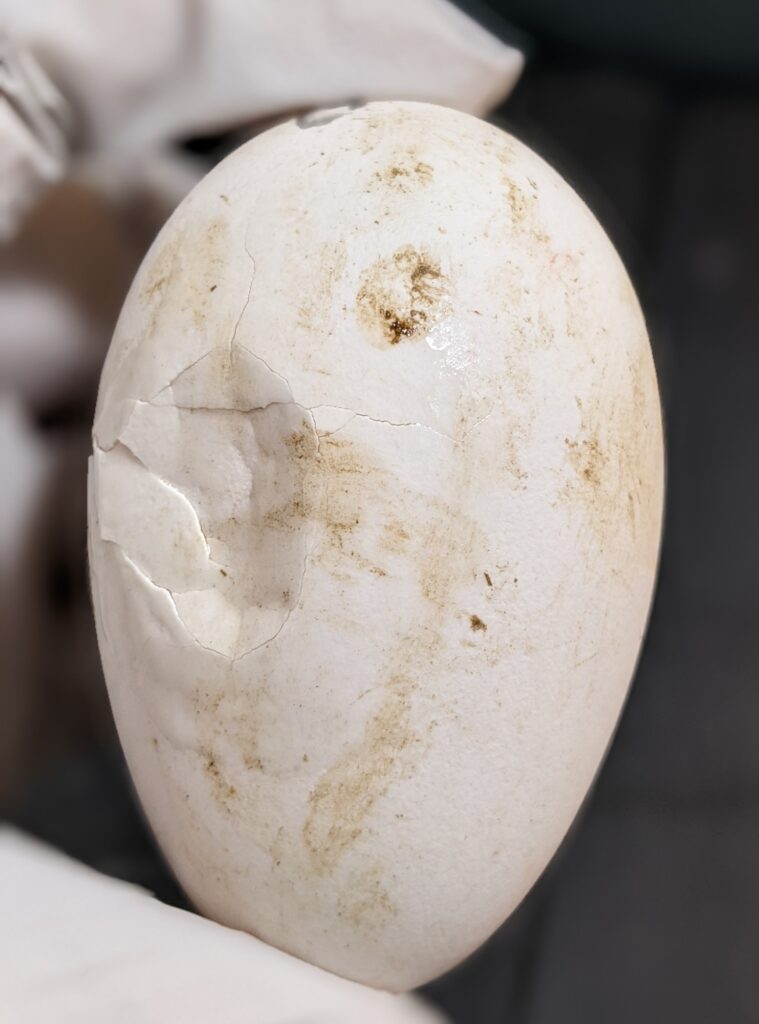
How, exactly, the crack occurred is a mystery: it was laid in a nest with thick hay atop a dirt base. The other egg in the nest with it was unscathed. Regardless, I’m going to give this egg – if fertile – the best chance I can to hatch; the damage only involved the outer shell, leaving the inner membrane intact. Had the membrane been punctured, I would have called the egg a loss: setting a leaky egg is asking for trouble.
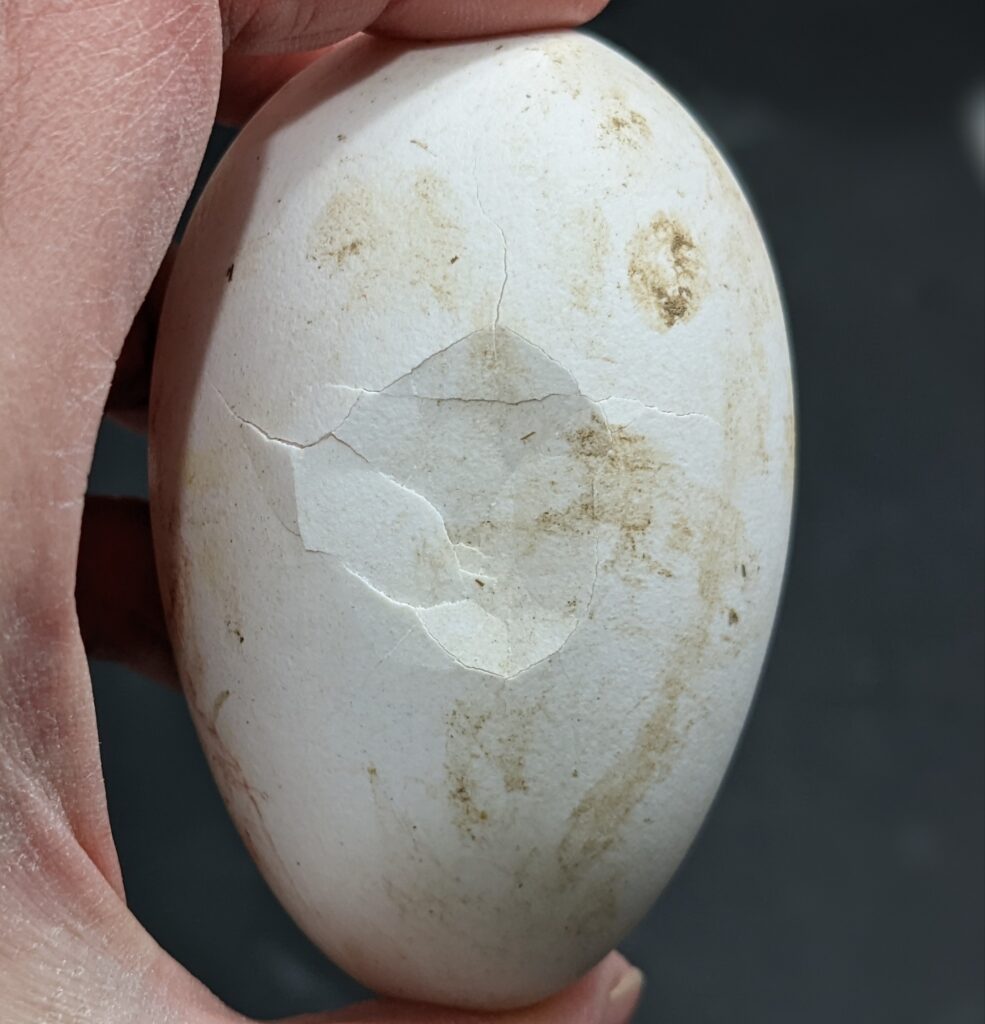
I put several layers of Liquid Bandage over the cracked areas, taking care to coat everything that looked damaged because those are points where moisture may escape prematurely, letting it dry between coats. Ultimately, the cracks appeared sealed and I placed the egg (marked with a “C” to catch my eye and remind me not to handle the egg on the damaged side) in the incubator with the others. I also made sure I marked the “x” and “o” on each side so that the dented area would not be on a resting side between hand turns.
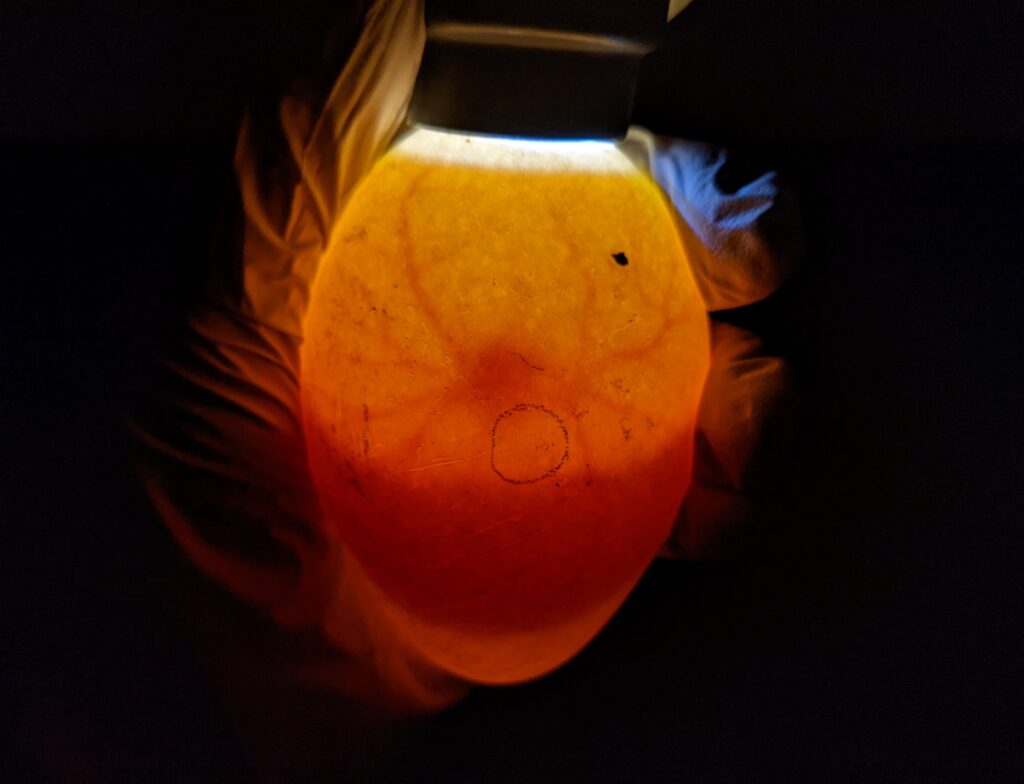
On day 6, I decided to candle a day early. The dented egg turned out to be a clear (not fertile). It was both a relief and a disappointment.
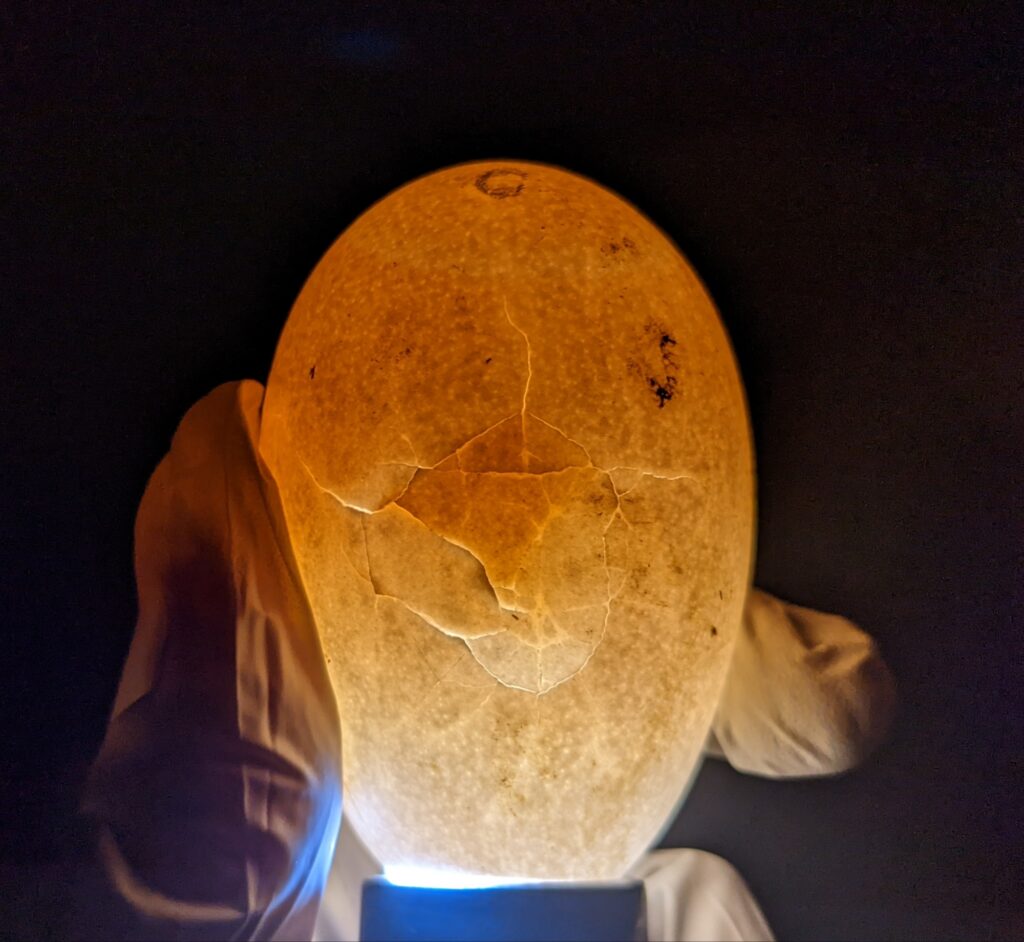
There was one other clear, but all of the others showed signs of development. There’s still 3+ weeks to go before any goslings hatch, but it’s looking promising for the first hatch of the year!
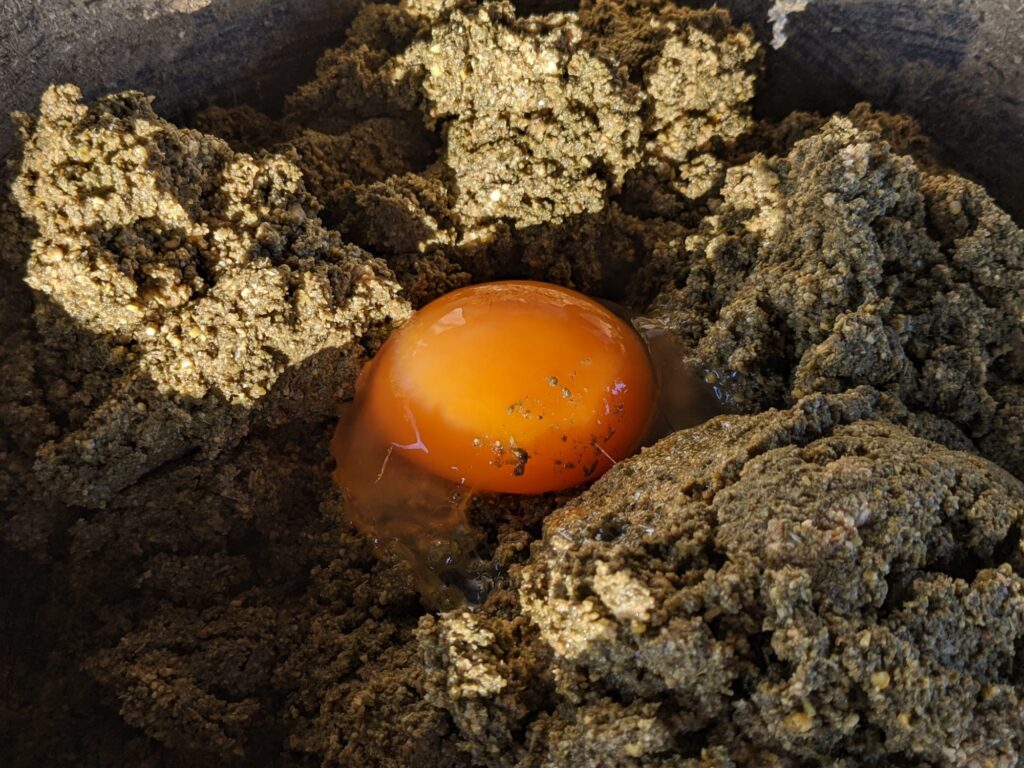
Ever seen a goose egg yolk? Here’s the yolk from the dented egg – it’s enormous and a beautiful orange color from all that fresh grass they’re eating. And, yes, goose eggs can be eaten, just like chicken or duck eggs (though we don’t eat eggs that have been incubated, like this one).
Updates on the goose egg incubation to come – stay tuned!
