
It’s been a few years since I bought my first Instant Pot and I still use at least one of them (I have six because I have “spare” 3 and 6 quart models – don’t want to find myself without!) every day. I usually find myself just using the “Manual” cook function even though there are many other programs…like Yogurt. Well, I finally took the leap and used the Yogurt function, and I am absolutely thrilled with the results!
From cooking lentils perfectly to making the most delicious no pectin and no-sugar-added jam, my Instant Pot rises to any challenge. My favorite size is the 3 quart, and it’s the one I chose to make my very first batch of yogurt in, despite the fact that the recipe I used was intended for a 6 quart model. No problem – I simply halved the recipe for the smaller pot. I also happened to have a thermometer I purchased some years ago to accompany a milk frother for my home espresso machine (I know – I hardly ever use it now), and it worked like a charm for making yogurt.
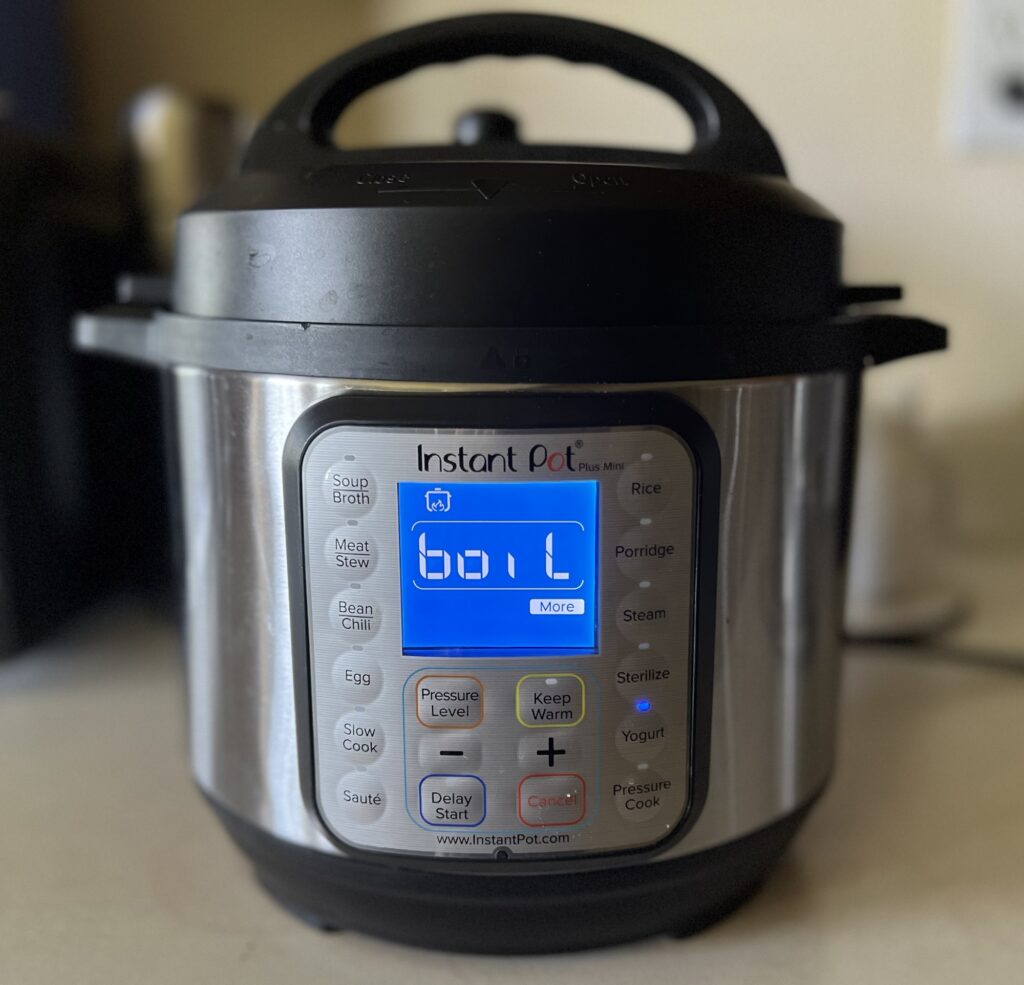
The process is mercifully simple: the milk must be boiled, which happens during the highest setting of the “yogurt” function. If you have a model with the Yogurt function, it will likely have three settings: the lowest will be set to 30 hours by default; the middle setting is set for 8 hours by default; and the highest setting is for “boil” (and it will display this message when the program is selected). So, accordingly, I took a quart of whole milk, poured it into the Instant Pot inner pot, ensured I had a “neutral”-smelling sealing ring (don’t use the one you use to make curry unless you like yogurt that tastes of curry), closed the lid, and hit the Yogurt function. The display read “Boil” and then it did its thing.
After the first boil, it shut off. I set it for a second round of boiling because the recipe I used suggested that boiling for some additional time would result in a thicker yogurt (and who doesn’t like thick yogurt??). After the second boiling, I removed the inner pot and took a temperature reading. It was over 140F, so I knew it would need to cool to around 110-116F. I wasn’t in a hurry, so I simply let the milk cool on the countertop, covered by paper towels, and attended to other tasks. Note: the cooling process can be significantly accelerated by placing the inner pot in a bowl of cold water. Don’t forget to dry the exterior of the pot thoroughly before moving on to the next steps!
When the milk had cooled sufficiently, I placed 2 tablespoons of store-bought organic Greek yogurt (with active cultures) into a bowl and whisked it with about a half cup of the cooled, boiled milk. Then, I poured the mixture back into the inner pot, whisked it together again, and closed the Instant Pot lid. This time, I selected the middle setting of the Yogurt function, which incubates the yogurt for 8 hours. Unlike the other programs, this one counts up, rather than down. After the 8 hours had elapsed, it shut off.
When I opened the Instant Pot and lifted out the inner pot, I did so slowly and carefully, trying to avoid jiggling the contents and potentially preventing it from thickening properly. Since I didn’t yet have a lid for the pot, I covered it in foil and then placed it in the refrigerator overnight. I have since purchased a silicone cover for the inner pot that works like a charm.

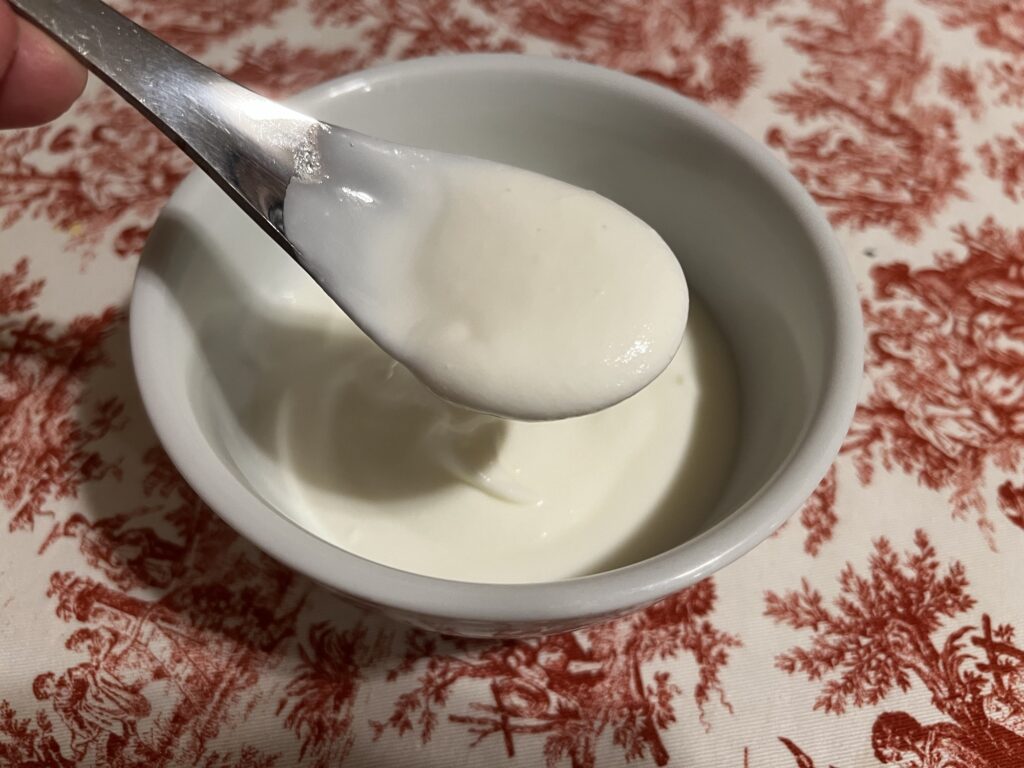
The next day, I took the pot out of the fridge and hoped that it had thickened to a reasonably firm consistency. If it was runny, I planned to strain out some of the whey. To my delight, what I found was a marvelously thick and smooth Greek-style yogurt…no straining necessary! And the flavor was so rich and creamy, with just a hint of yogurt tang, that it was a delight to eat with no sweetener – I simply sliced a ripe banana on top and dug in.
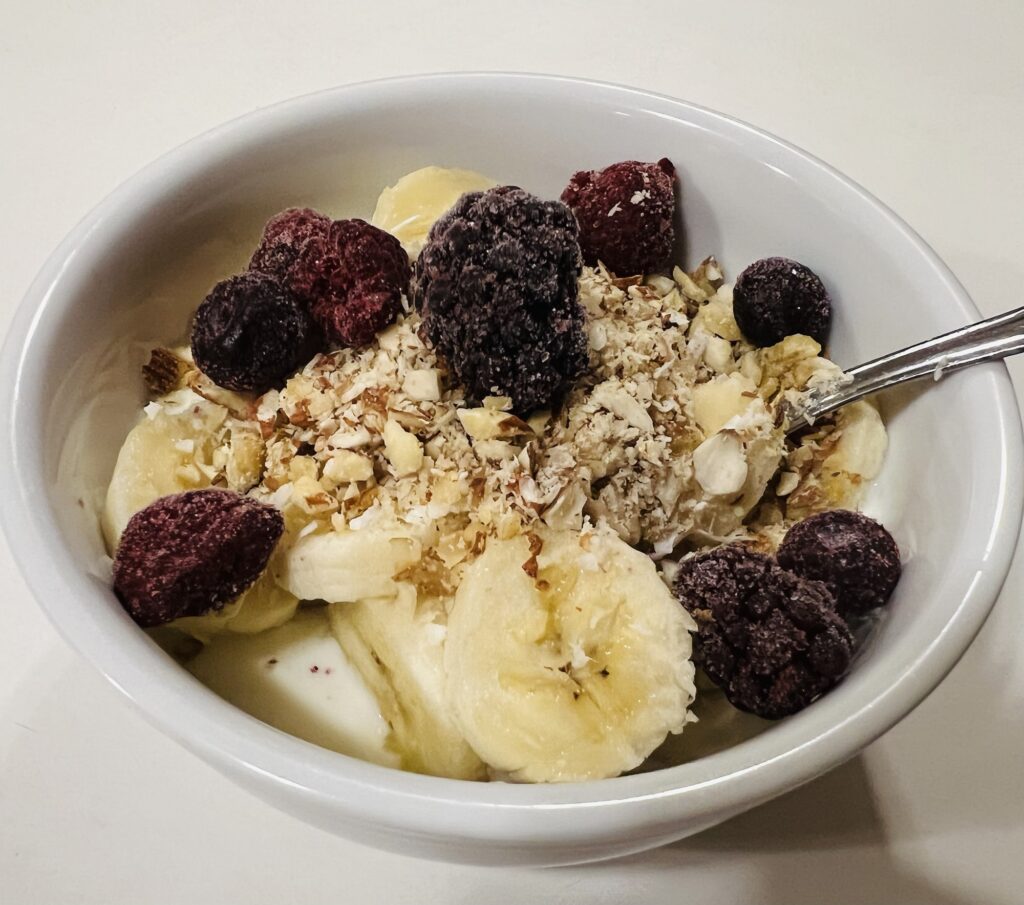
I’ve made yogurt several times now, and there’s no going back. The last time, I forgot to save a few tablespoons to use as starter before I divvied the last of the yogurt up and added sliced bananas and shredded coconut…so the starter did have a few errant flakes of coconut in it (which didn’t seem to affect its effectiveness – see what I did there?). To avoid a repeat, I now remove about 3 tablespoons of the new (cooled and firm) batch and save it in a jar in the fridge before I do anything else with it.
The Instant Pot has made probiotic- and protein-rich yogurt easy, delicious, and affordable, and I don’t have to worry about my yogurt being loaded with undesirable “extras” like sugar and artificial flavors. I foresee fresh homemade yogurt being a part of my diet for many years to come because there is always room for more ferments!
Did you know? You can buy replacement float valve gaskets for your Instant Pot! I was looking for a replacement sealing ring and ran across these (for 3 quart) so the previously brown one has been replaced by a fresh and clean new silicone gasket. It may not be a big deal with most food, but I don’t want to risk other flavors getting into the yogurt.